How to Brown Butter
This post may contain affiliate links. Please read my disclosure policy.
Learning how to brown butter is a kitchen essential! It adds richness to dishes, especially when baking! A step-by-step visual guide for an indispensable kitchen technique that you will absolutely love!

Brown butter adds so much flavor in cooking and baking! I love to use it in recipes where butter is called for to add an additional layer of flavor to pasta, vegetables, cookies, and cakes. The transformation of the butter as it reaches the perfect, nutty, golden brown is amazing and makes an already delicious dish absolutely irresistible!
I use unsalted butter for making my brown butter and generally begin with about 25% more than what I need for a final recipe as the volume of the butter will be different once the butter is browned.
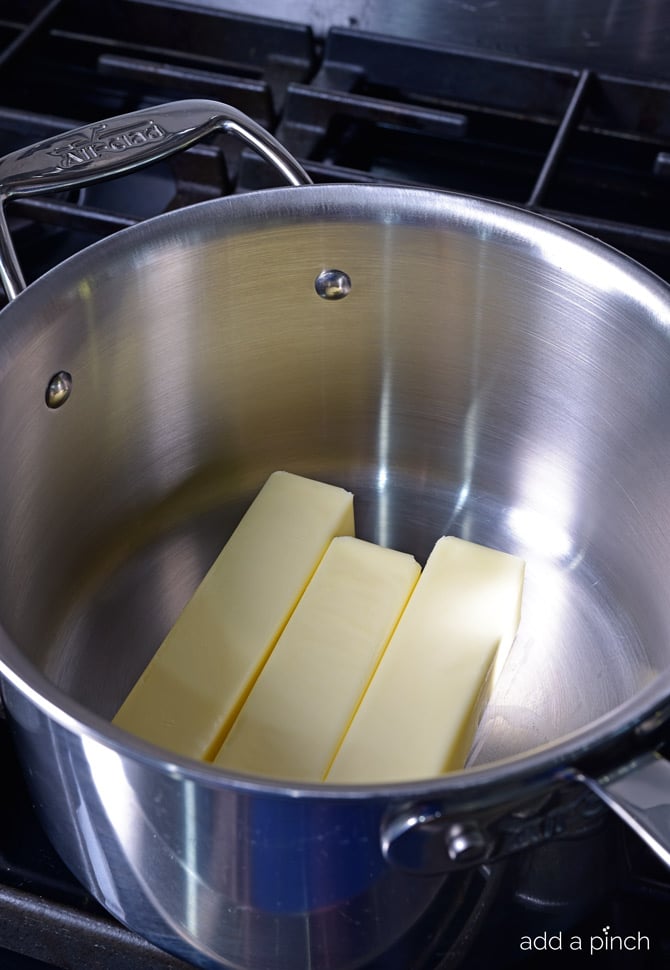
Making browned butter all starts by adding unsalted butter to a lightly colored, heavy bottomed pan over medium-low heat. While you could use a heavy skillet or other cooking vessel, you want to make sure that the bottom of the pan is light enough that you can monitor the color transformation of the butter as it cooks. You’ll also begin with 25% more butter than your recipe requires since the volume of the butter will be less once made into brown butter.
Even though it is a cinch to make, I like to make a bit extra since browned butter keeps well in the refrigerator. That way, I have it on hand to quickly add a depth of flavor to dishes that I make throughout the week.
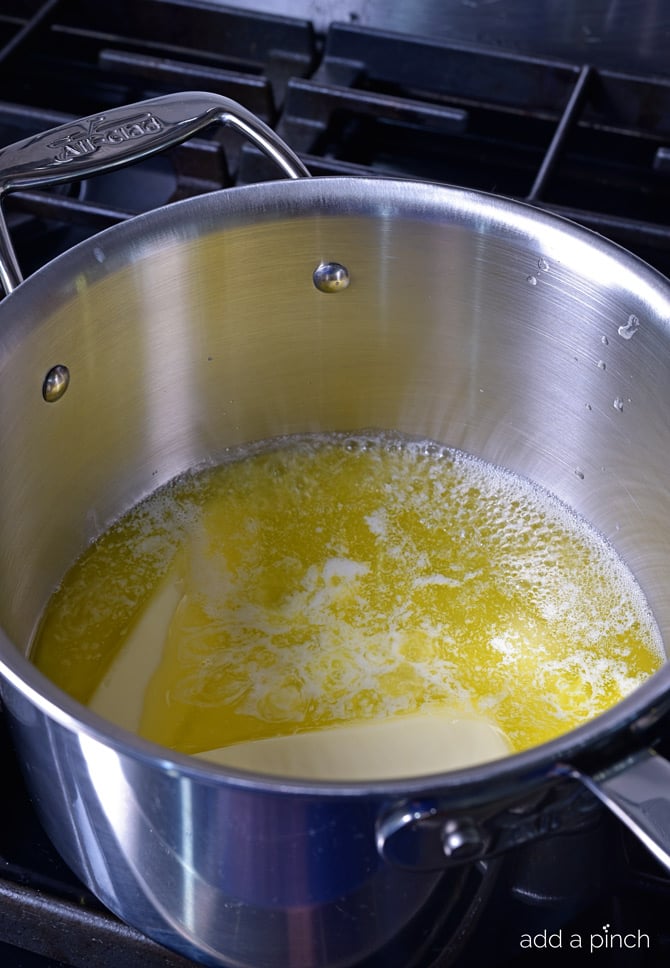
As the butter melts, it will bubble and foam as the water in the butter begins to cook off.
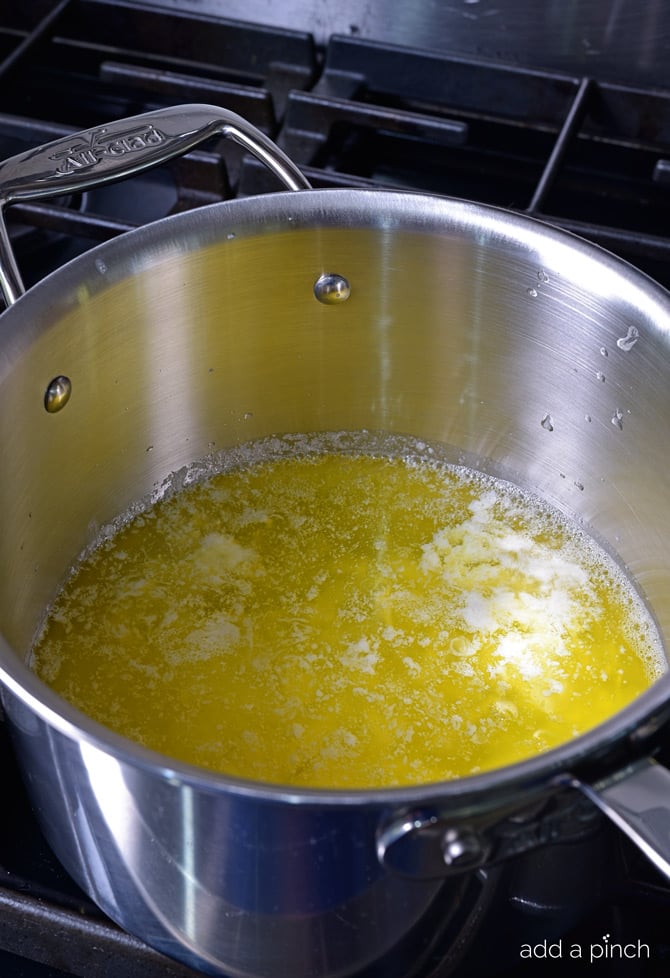
Let it continue cooking undisturbed until it begins to bubble slightly around the edges.
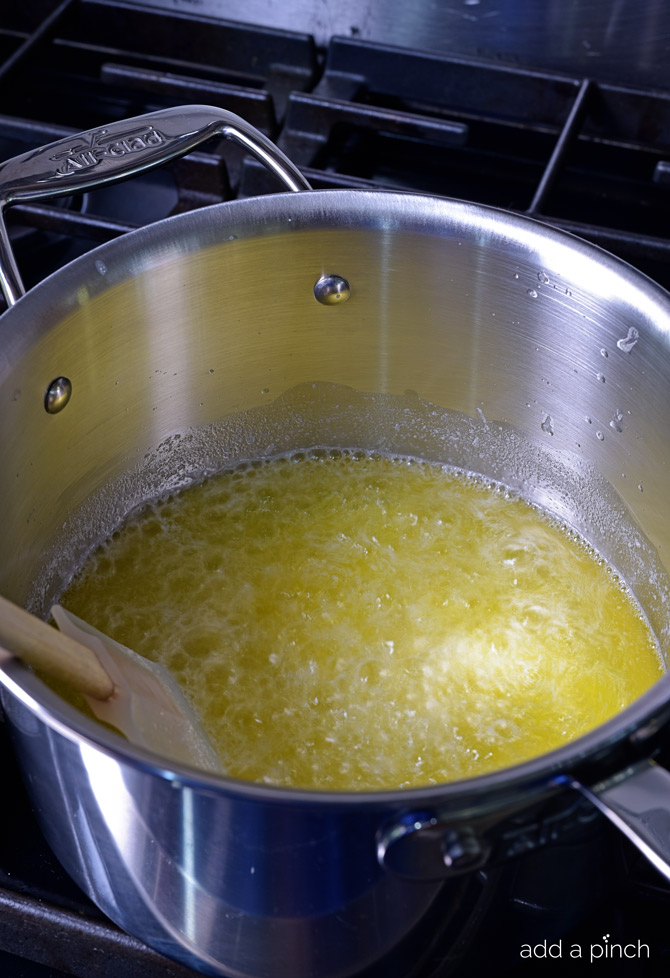
And then, stir occasionally and watch carefully so that it doesn’t burn.
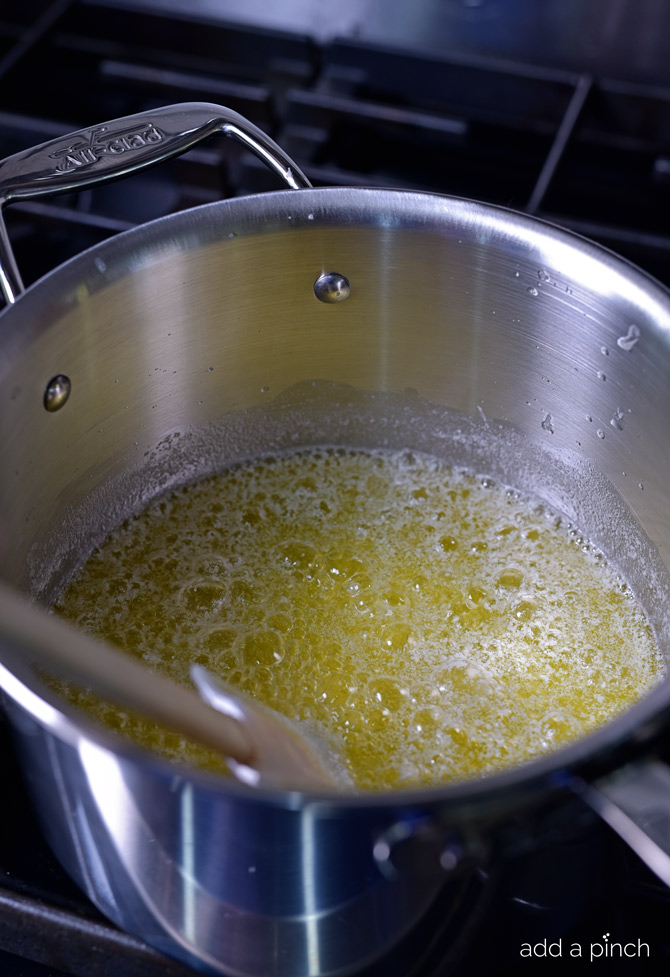
You’ll notice as it cooks that the butter turns from a bright lemony yellow to a more golden color to finally a nutty brown.
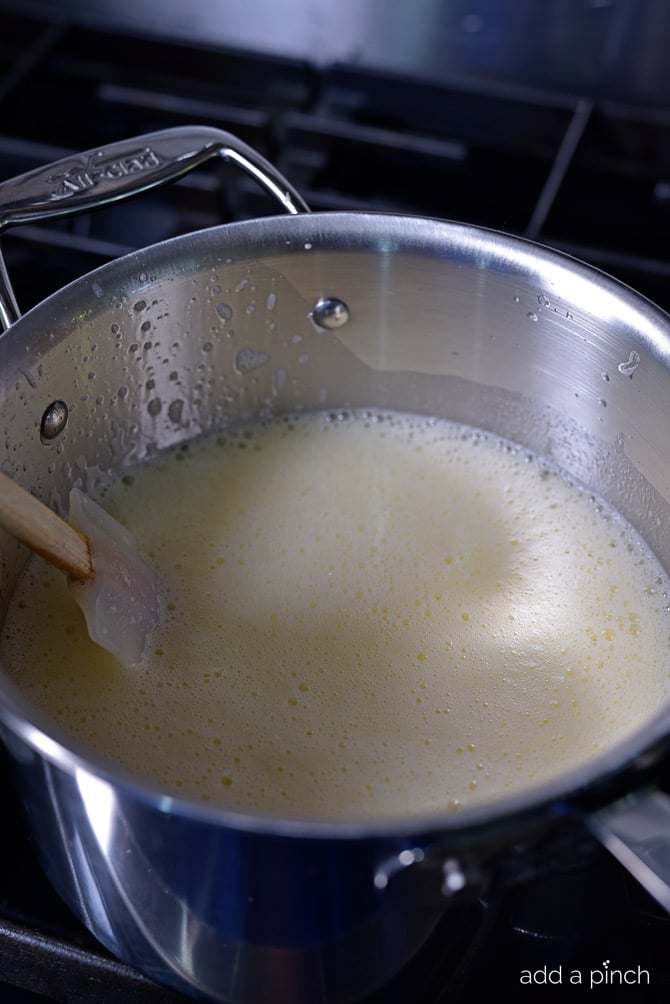
As the butter cooks, the formation of foam on the top may make it difficult to tell the changing color of your brown butter. Make sure you continue to stir the butter so that the milk solids that have formed as sediment at the bottom of your pan do not scorch leaving a burnt taste to your browned butter.
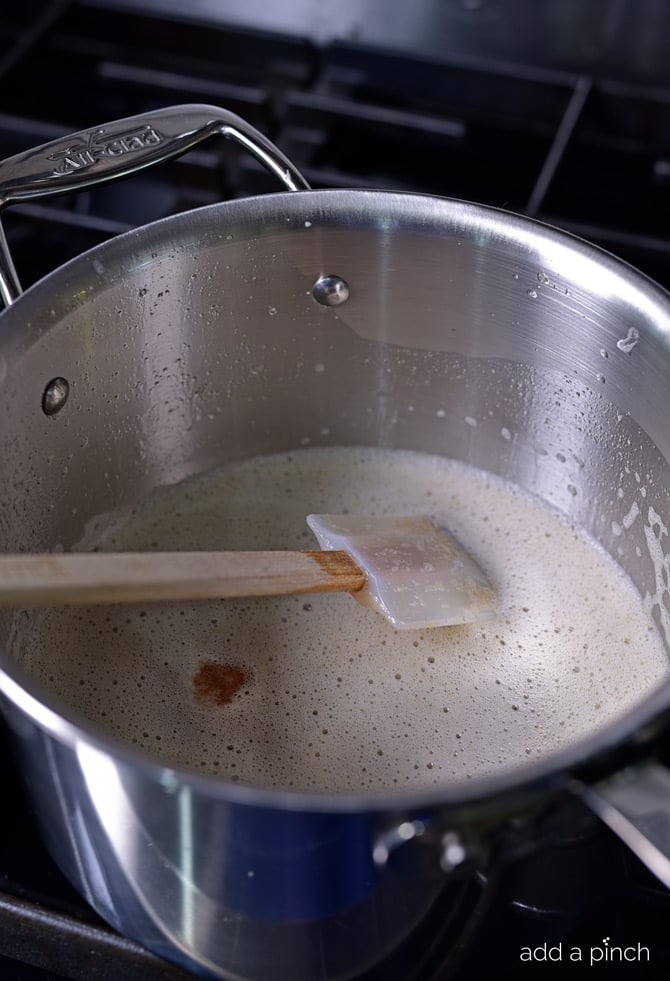
Once your brown butter has turned a nutty brown, remove it from the heat and transfer it to a heat-proof bowl to cool. Many do not like the flavor from the milk solids that have cooked to a much browner color and have a much stronger flavor. To remove them from the brown butter, simply strain the brown butter through a fine mesh strainer topped with a cheese cloth to a heat-proof bowl for cooling. If you enjoy the flavors from the browned bits, simply transfer your brown butter to a heat-safe bowl for cooling.
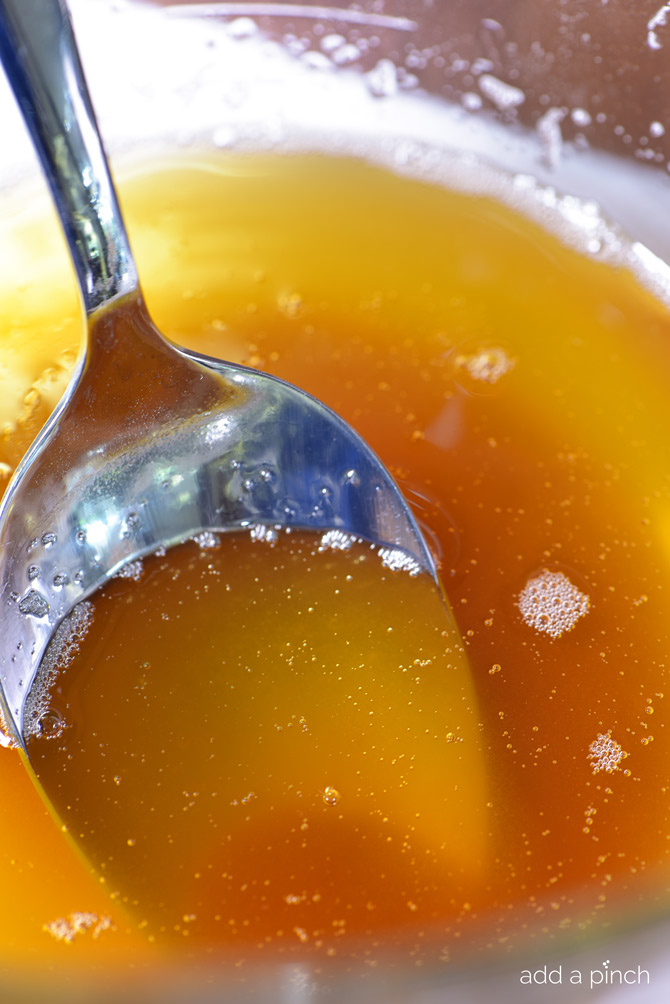
Brown butter lasts for a few weeks in the refrigerator or may be frozen in ice cube trays and then transferred into a zip top bag for up to a few months.
Here’s the recipe for how to brown butter. I hope you enjoy it as much as we do!
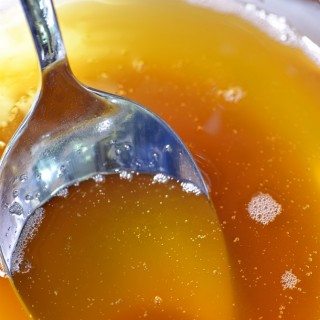
How to Brown Butter
Equipment
- Sauce Pan
Ingredients
- 1 1/2 cups (339 g) unsalted butter, 3 sticks
Instructions
- Add butter to sauce pan over medium-low heat. Watch carefully as butter melts and turns from a bright lemon yellow to a pale gold to a dark nutty brown. As it cooks, the water will boil off of the butter and the milk solids will settle to the bottom of the sauce pan. Begin stirring the butter at this stage to make sure that the milk solids do not burn since they cook faster. Once the butter has reached the desired color, remove it from the heat completely, spoon the foam off the top of the butter and pour into a heat-proof bowl for cooling.
- To remove the browned bits from the brown butter, pour brown butter through a fine mesh strainer topped with cheesecloth or a coffee filter into a heat-proof bowl for cooling.
- Brown butter keeps for up to a few months in an airtight container in the refrigerator provided no moisture is introduced into the butter. I recommend for longer term storage, freeze in ice cube trays and then transfer to a zip top bag to store in the freezer for up to six months.
Nutrition
Nutrition information is automatically calculated, so should only be used as an approximation.
Enjoy!
Robyn xo



Robyn,
I have difficulty browning butter so this post is great for me.
Annamaria
this is called clarified butter and also called ghee in India… thats how everyone cooks with it….
Your recipes are very similar to indian recipes..
I LOVE browning butter! One of my favorite things is browned butter frosting — awesome on brownies, banana bread, cookies, you name it! Not to mention, the smell is heavenly. 🙂
What name brand cookware do you use?
Hi Sharon,
I use different cookware for different purposes, but generally I use Lodge cast iron for my skillets (or that I inherited from my grandmothers), All Clad (pictured) for my stock and sauce pans, and Le Creuset for my Dutch ovens. I hope that helps! xo
Thank you for the tutorial. Apparently, I’ve been over browning my butter! I still enjoyed the flavor but others in the family weren’t as happy so I haven’t added it to recipes as much. I will have to try again. For some reason it never occurred to me to make extra to have on hand. You’re genius!
It is so easy to over do it and it happens quickly, too! I hope you enjoy having a bit stocked away in the refrigerator or the freezer for those times when you want to add a little extra oomph to a dish without a whole lot of hassle! xo
Robyn Thanks so much for thee great recipes. Can you use salted butter also since that is what I always have on hand. Thanks
Hi Jane,
I usually have salted butter on hand as well and use it for just about all of my cooking and baking, even. You may use it for making brown butter, but I think it makes the salty flavor more pronounced. For some recipes, that’s fine but for others you may want to use unsalted butter. I’d recommend giving both a try and see what you personally think. xo
There is nothing better than browned butter at all! It is fantastic! I love this tutorial.
Thanks so much, Jocelyn. We adore it, too!
Brown butter is MAGICAL! I especially love it on mashed potatoes – it’s the very best. Thanks for this great reminder on how to make it, and hope you had a delicious holiday weekend! xx
Isn’t it? I love it in so many recipes, but you are so right. It just takes mashed potatoes to a whole new level! I hope you had a wonderful holiday as well! xo