How to Measure Flour Correctly Every Time
This post may contain affiliate links. Please read my disclosure policy.
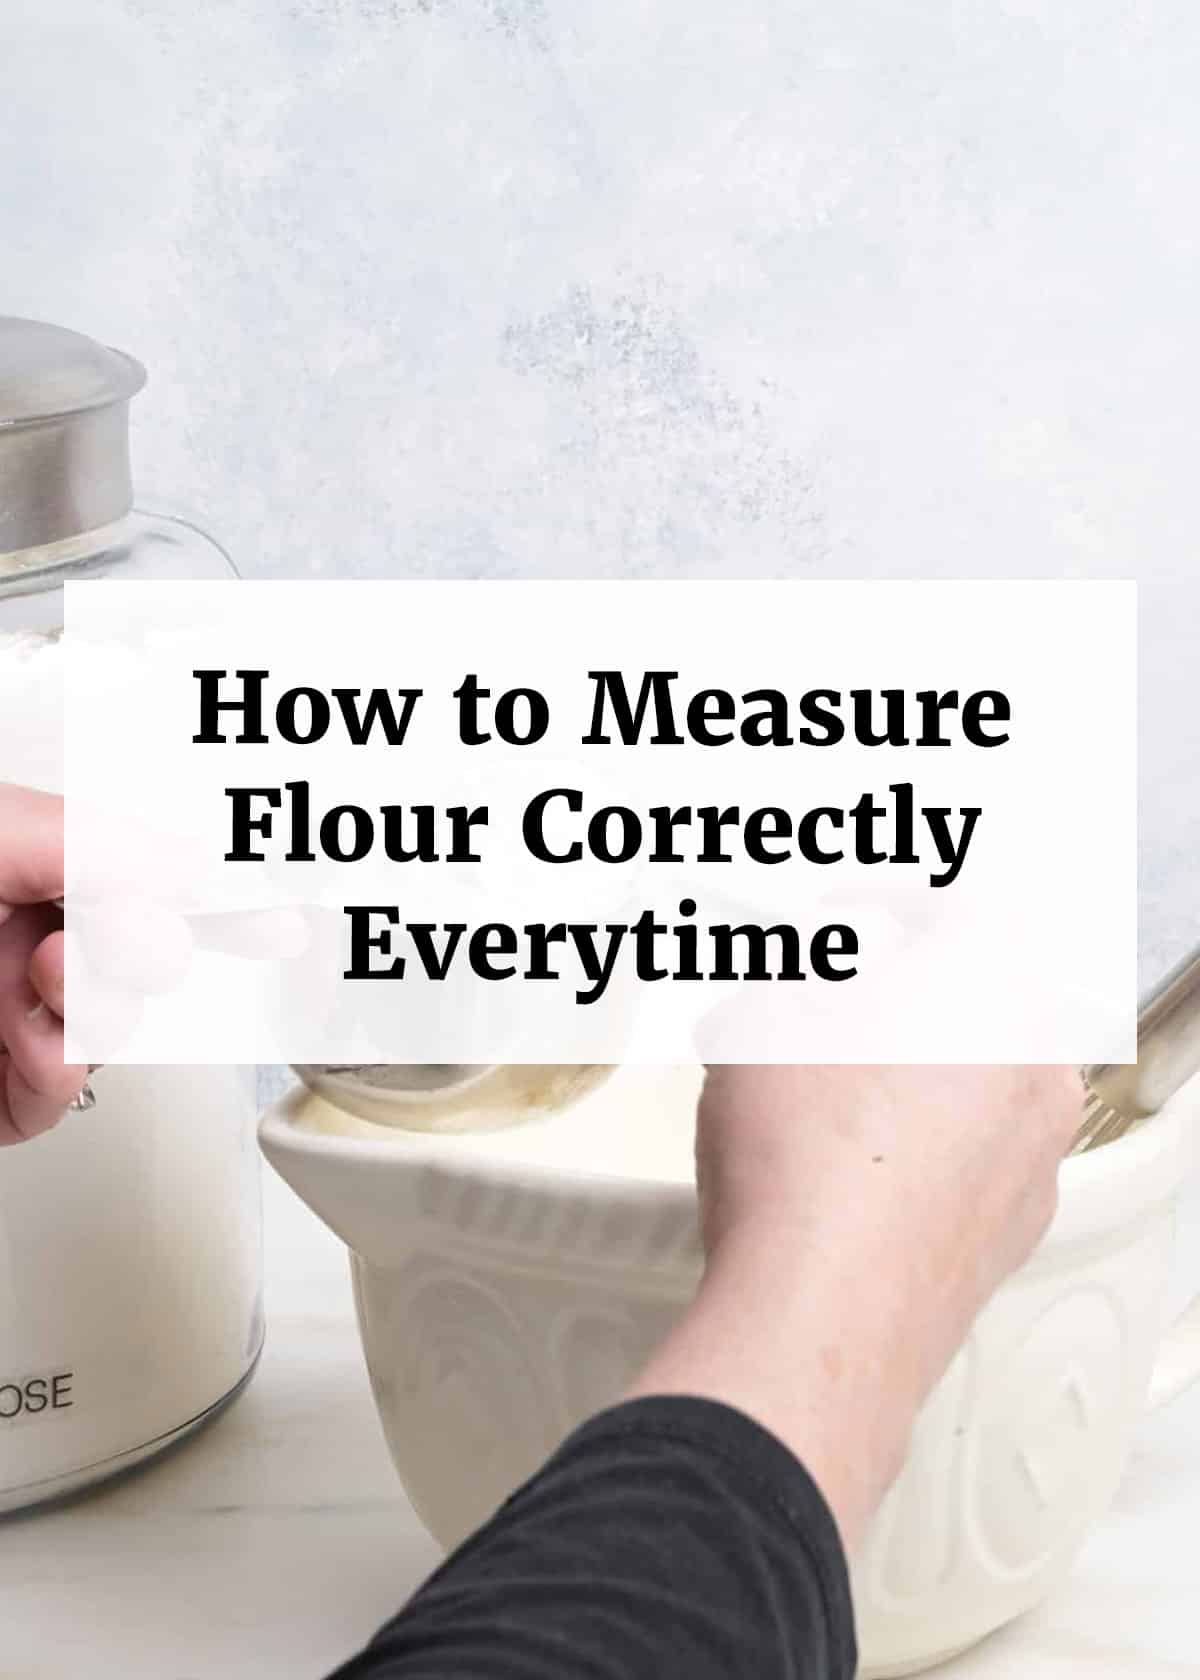
Learn how to measure flour accurately every time for perfect baking results. Discover the best methods: weighing on a scale, spoon-and-level technique, common mistakes to avoid, and tips for different flour types, including freshly milled.
Hi friends, as someone who’s been baking in my Southern kitchen for over 30 years and developing and testing foolproof recipes professionally for over 16 years, I know firsthand how a simple thing like measuring flour can make or break your baked goods.
Whether you’re whipping up my famous Buttermilk Biscuits or Chocolate Cake, getting the measurement right ensures light, fluffy results every time. In this guide, I’ll walk you through the best methods for measuring flour accurately, using tried-and-true techniques that have helped me perfect countless recipes.
This guide follows standards from baking authorities like King Arthur Baking (120g per cup of all-purpose flour) and professional testing—I’ve adapted them for home kitchens like mine.
Let’s dive in and make sure your baking is always spot-on!
Table of Contents
- Quick Cheat Sheet: Measure Flour Like a Pro
- Why Measuring Flour Correctly Matters
- Measuring Flour: The Big Difference
- Tools You’ll Need for Accurate Flour Measurement
- How to Weigh Flour (Most Accurate Method)
- The Spoon and Level Method for Volume Measurement
- Common Mistakes to Avoid When Measuring Flour
- Troubleshooting Common Baking Issues from Flour Measurement
- When and How to Sift Flour
- Measuring Different Types of Flour
- How to Measure Freshly-Milled Flour
- Tips for Baking Success with Properly Measured Flour
- Guide Summary:
- Frequently Asked Questions
Quick Cheat Sheet: Measure Flour Like a Pro
Golden Rule: Always fluff first, never tap/shake/pack.
Best Method: Weigh it! 1 cup all-purpose = 120–125g (4.25 oz).
No Scale? Fluff → Spoon → Level (never scoop directly!).
Too Much Flour = Dry, dense, crumbly bakes.
Too Little = Flat, greasy spreads.
Why Measuring Flour Correctly Matters
Baking is a science, and flour is often the foundation of your recipes. If you add too much flour, your cookies might turn out dry and crumbly, your cakes dense and heavy, or your bread tough instead of tender. On the flip side, too little flour can lead to flat, spreading baked goods that don’t hold their shape.
From my experience, inaccurate flour measurement is one of the most common baking mistakes I see. Studies from baking experts show that scooping flour directly from the bag can pack in up to 50% more than intended! That’s why learning the proper way is essential for consistent results. Trust me, once you master this, your baking will level up dramatically.
Measuring Flour: The Big Difference
Here is a quick-reference chart for the three major methods for measuring flour, the results in baking, and whether it is recommended.
| Method | How It’s Done | Typical Weight (1 cup all-purpose flour) | Results in Baking | Recommended? |
|---|---|---|---|---|
| Scoop & Level (Direct Dip) | Dip cup into flour → scoop heaping → level off | 140–160g | Often dry, dense, tough | No—avoid for precision |
| Spoon & Level (Recommended Volume) | Fluff → spoon in → level | 120–125g | Tender, moist, consistent | Yes—for cups |
| Weighing (Best Overall) | Place container onto digital scale → tare → spoon in | Exactly 120g (or recipe spec) | Perfect every time | Yes—top choice |
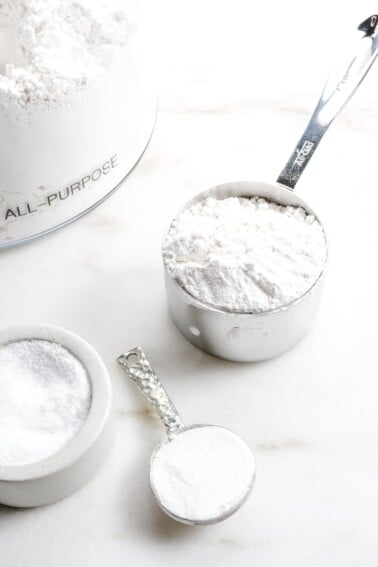
Tools You’ll Need for Accurate Flour Measurement
Before we get into the methods, gather these basic tools:
- A digital kitchen scale (my top recommendation for precision).
- Dry measuring cups (metal preferred, with flat rims).
- A spoon or scoop for fluffing and transferring flour.
- A straight-edged tool, like a knife or offset spatula, for leveling.
- Optional: A flour sifter if your recipe calls for it.
Some of the links above are affiliate links that pay me a small commission for referrals at no extra cost to you! Thank you for supporting Add a Pinch.
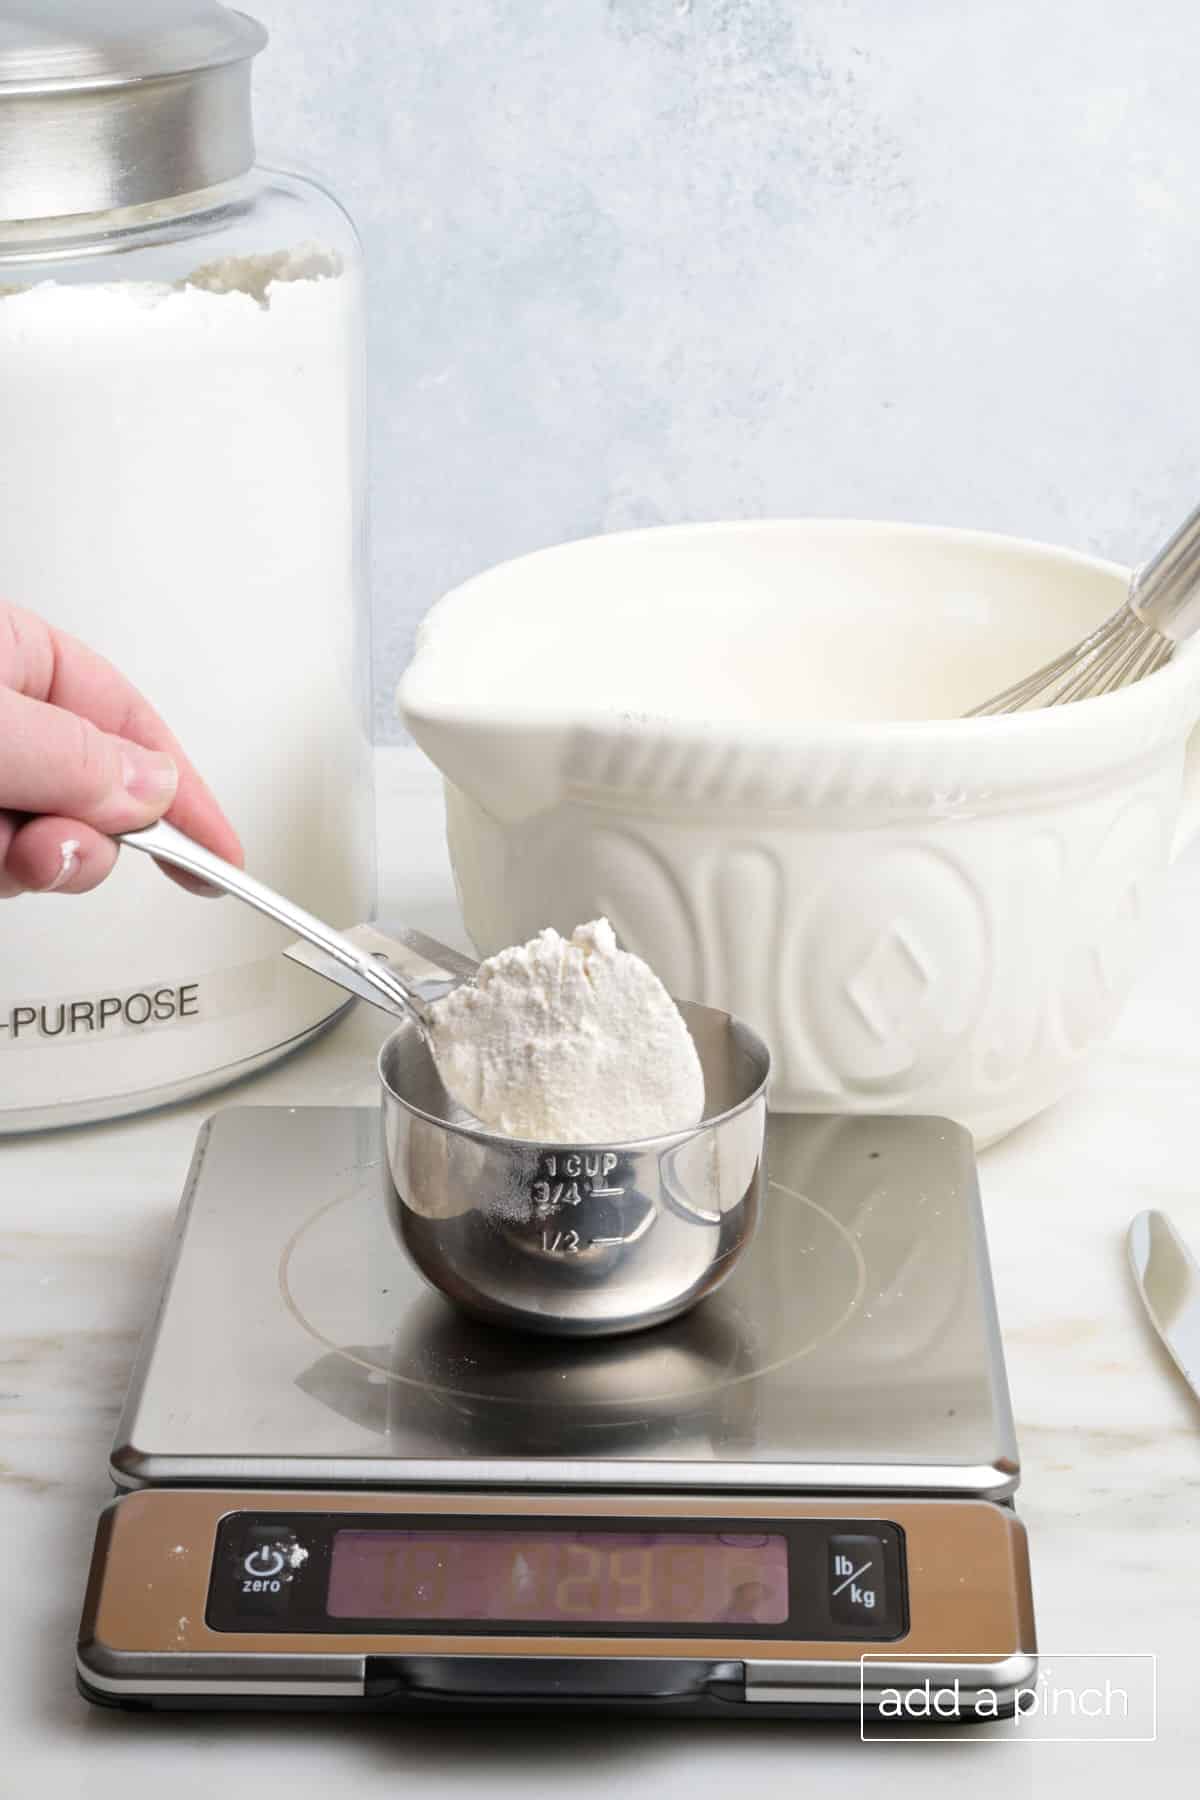
How to Weigh Flour (Most Accurate Method)
The absolute best way to measure flour is by weight, not volume. This eliminates variables like humidity or how settled the flour is in the bag. King Arthur Baking and many pros standardize 1 cup all-purpose flour at 120 grams (4.25 oz), which is what I use in Add a Pinch recipes for consistent results.
Here’s how to do it step by step:
- Place the bowl or measuring cup on your digital scale and press the “tare” button to reset it to zero.
- Spoon the flour directly into the bowl or measuring cup until you reach the desired weight (120g for 1 cup).
If you’re slightly over or under by 5 grams, it’s usually fine for home baking, but aim for exactness.
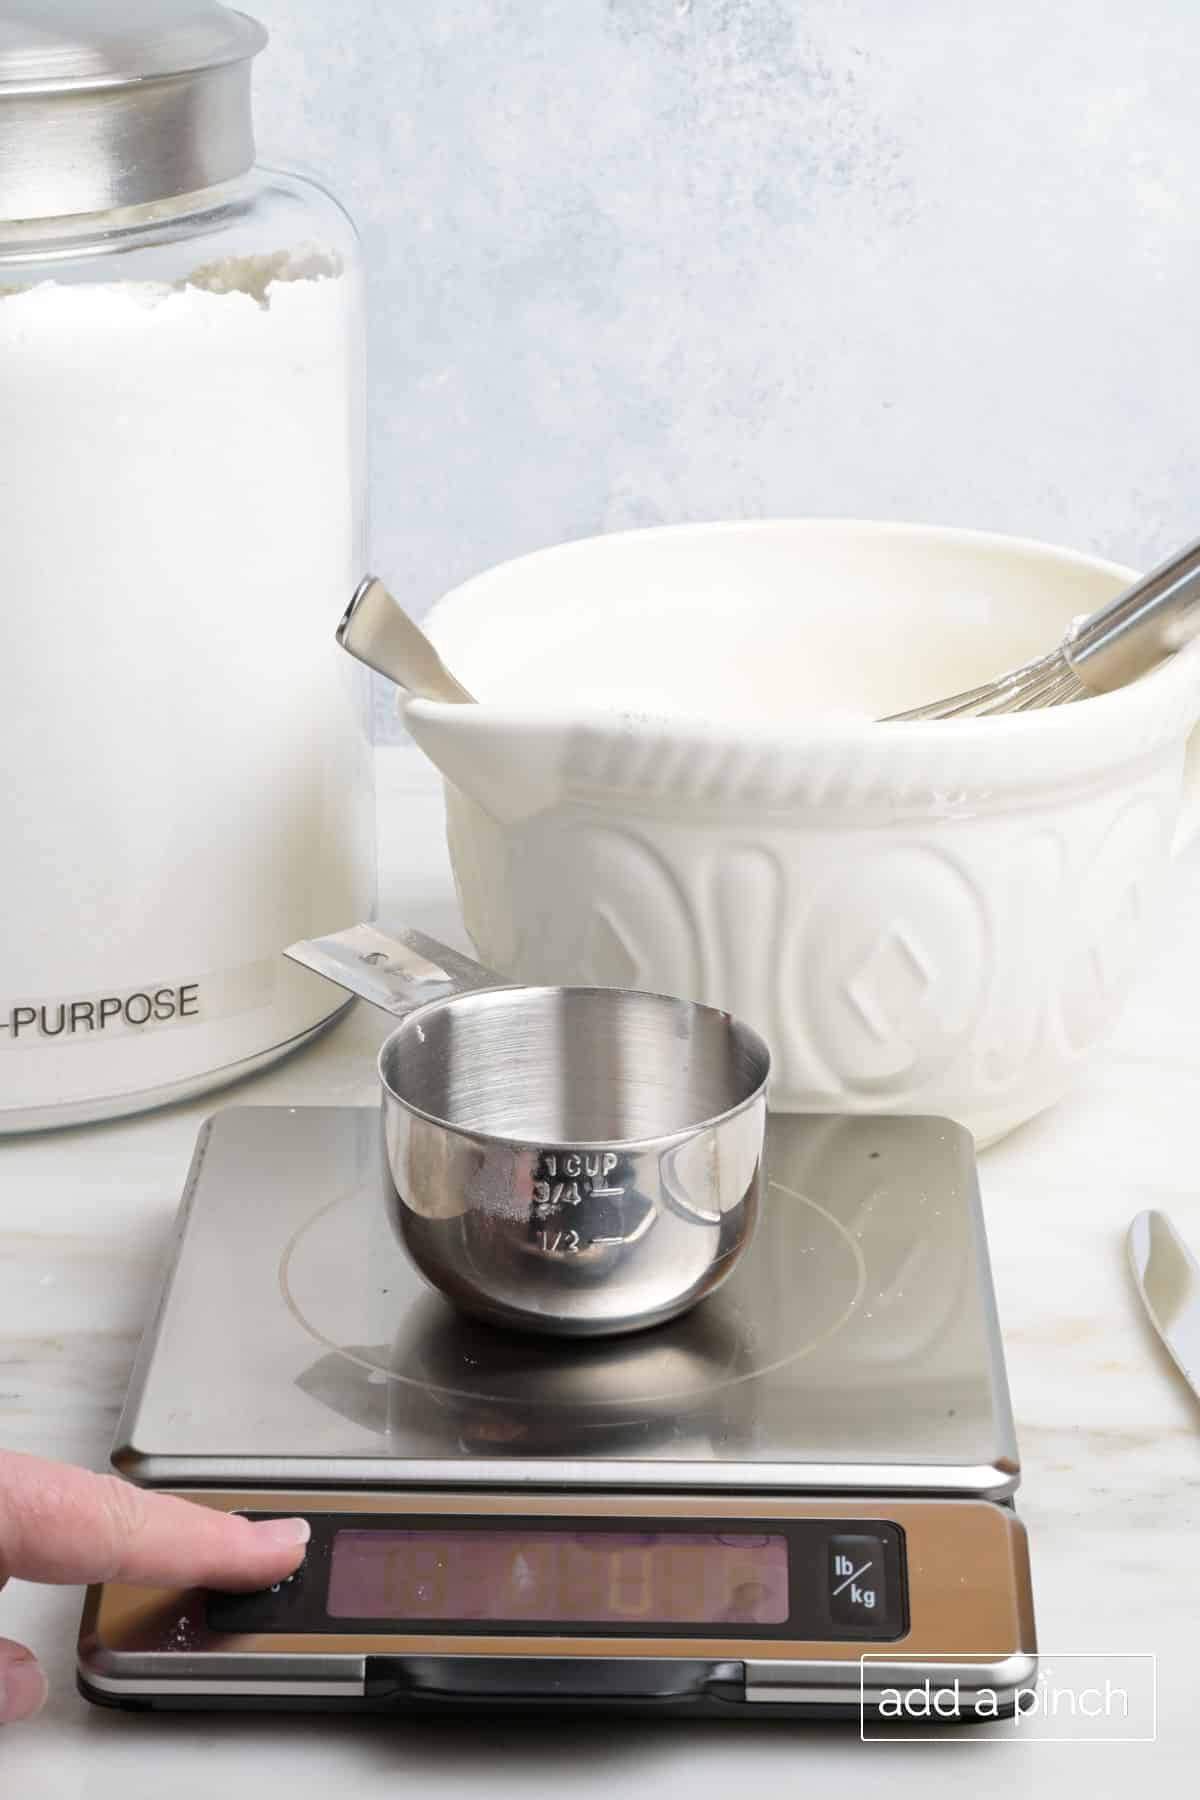
This method is foolproof and what professional bakers swear by. For example, when making my Cream Cheese Pound Cake, weighing ensures a perfect crumb every time.
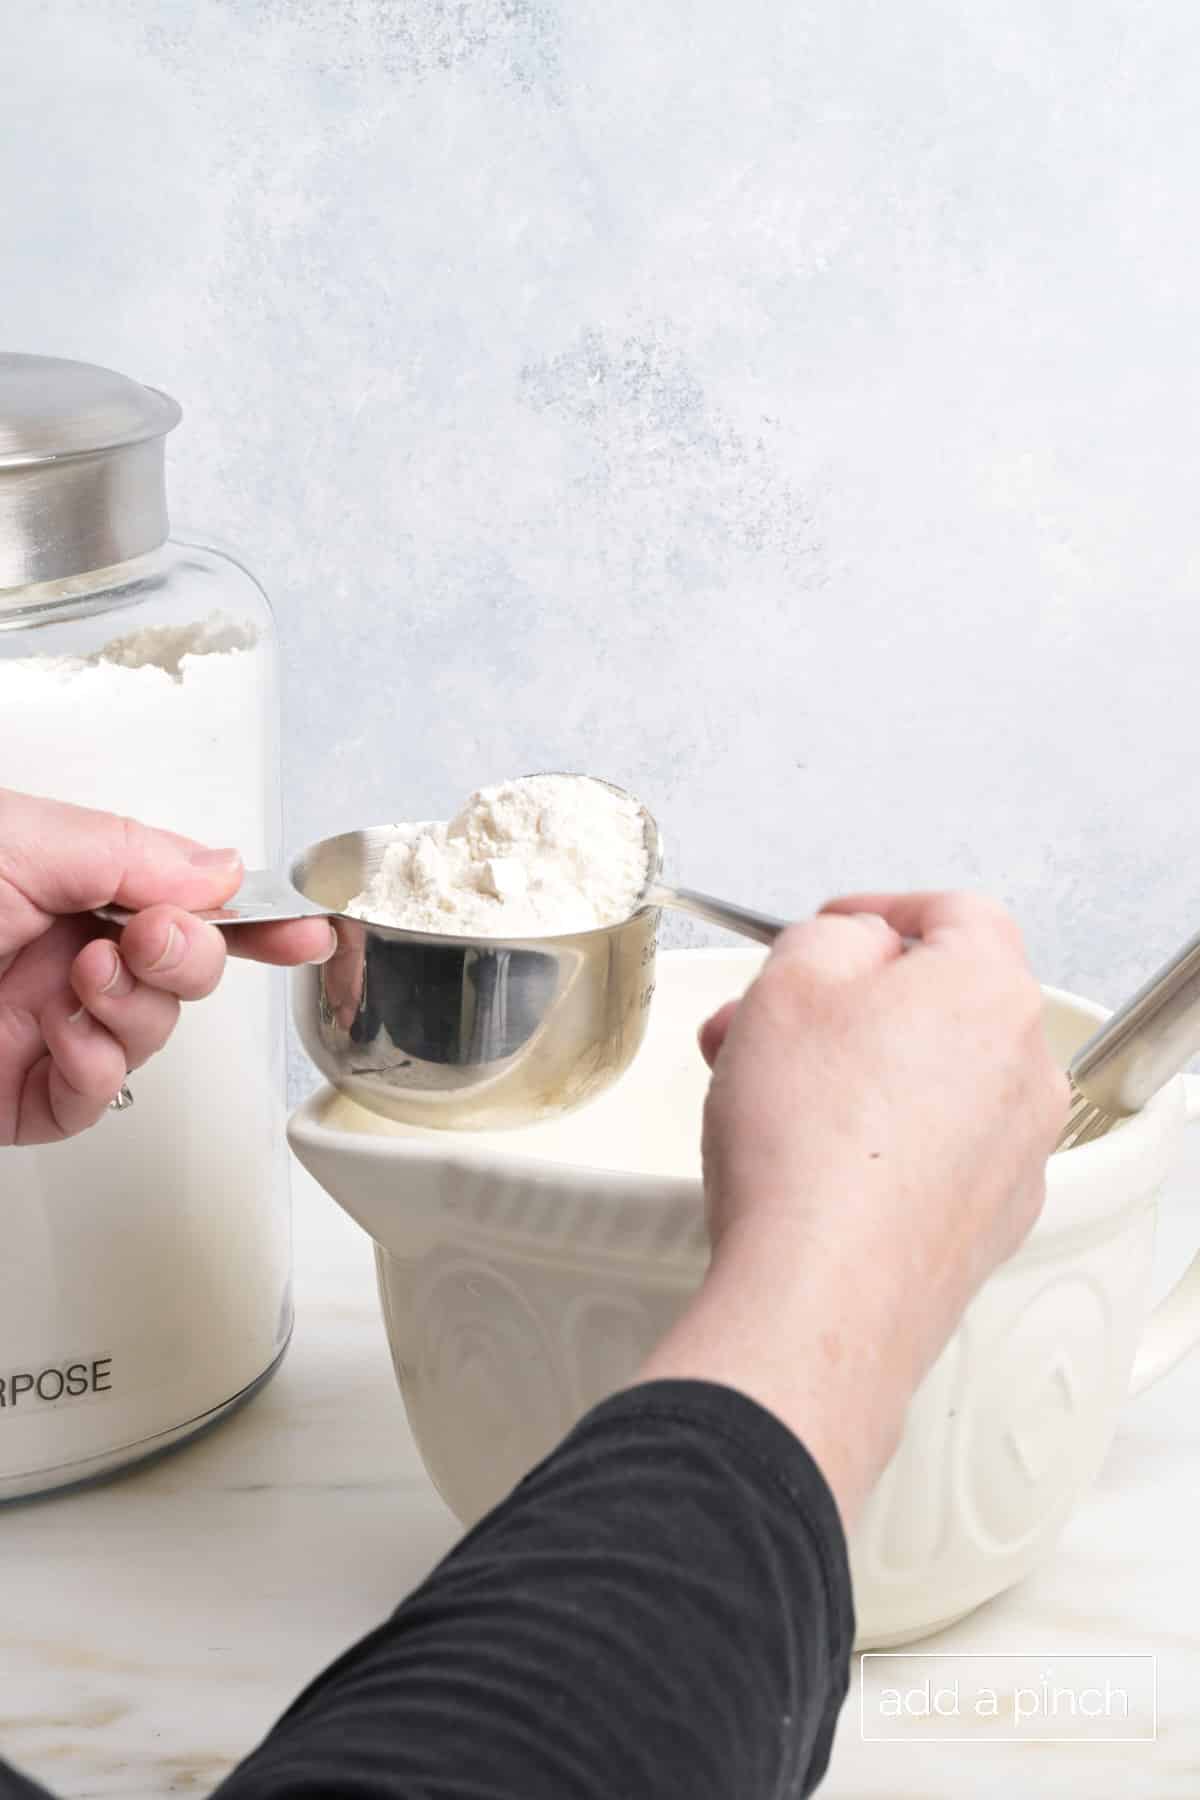
The Spoon and Level Method for Volume Measurement
If you don’t have a scale, the next best option is the “spoon and level” (or “fluff, sprinkle, and scrape”) technique. This prevents the flour from packing too densely. Avoid dipping the cup straight into the flour bag—that’s a surefire way to overmeasure!
Follow these steps:
- Fluff the flour: Use a spoon to stir and aerate the flour in its container or bag. This loosens any clumps and lightens it up.
- Spoon it in: Gently spoon the fluffed flour into your measuring cup until it’s overflowing. Don’t tap or shake the cup.
- Level it off: Use the back of a knife or straight edge to sweep across the top, removing excess flour so it’s even with the rim.
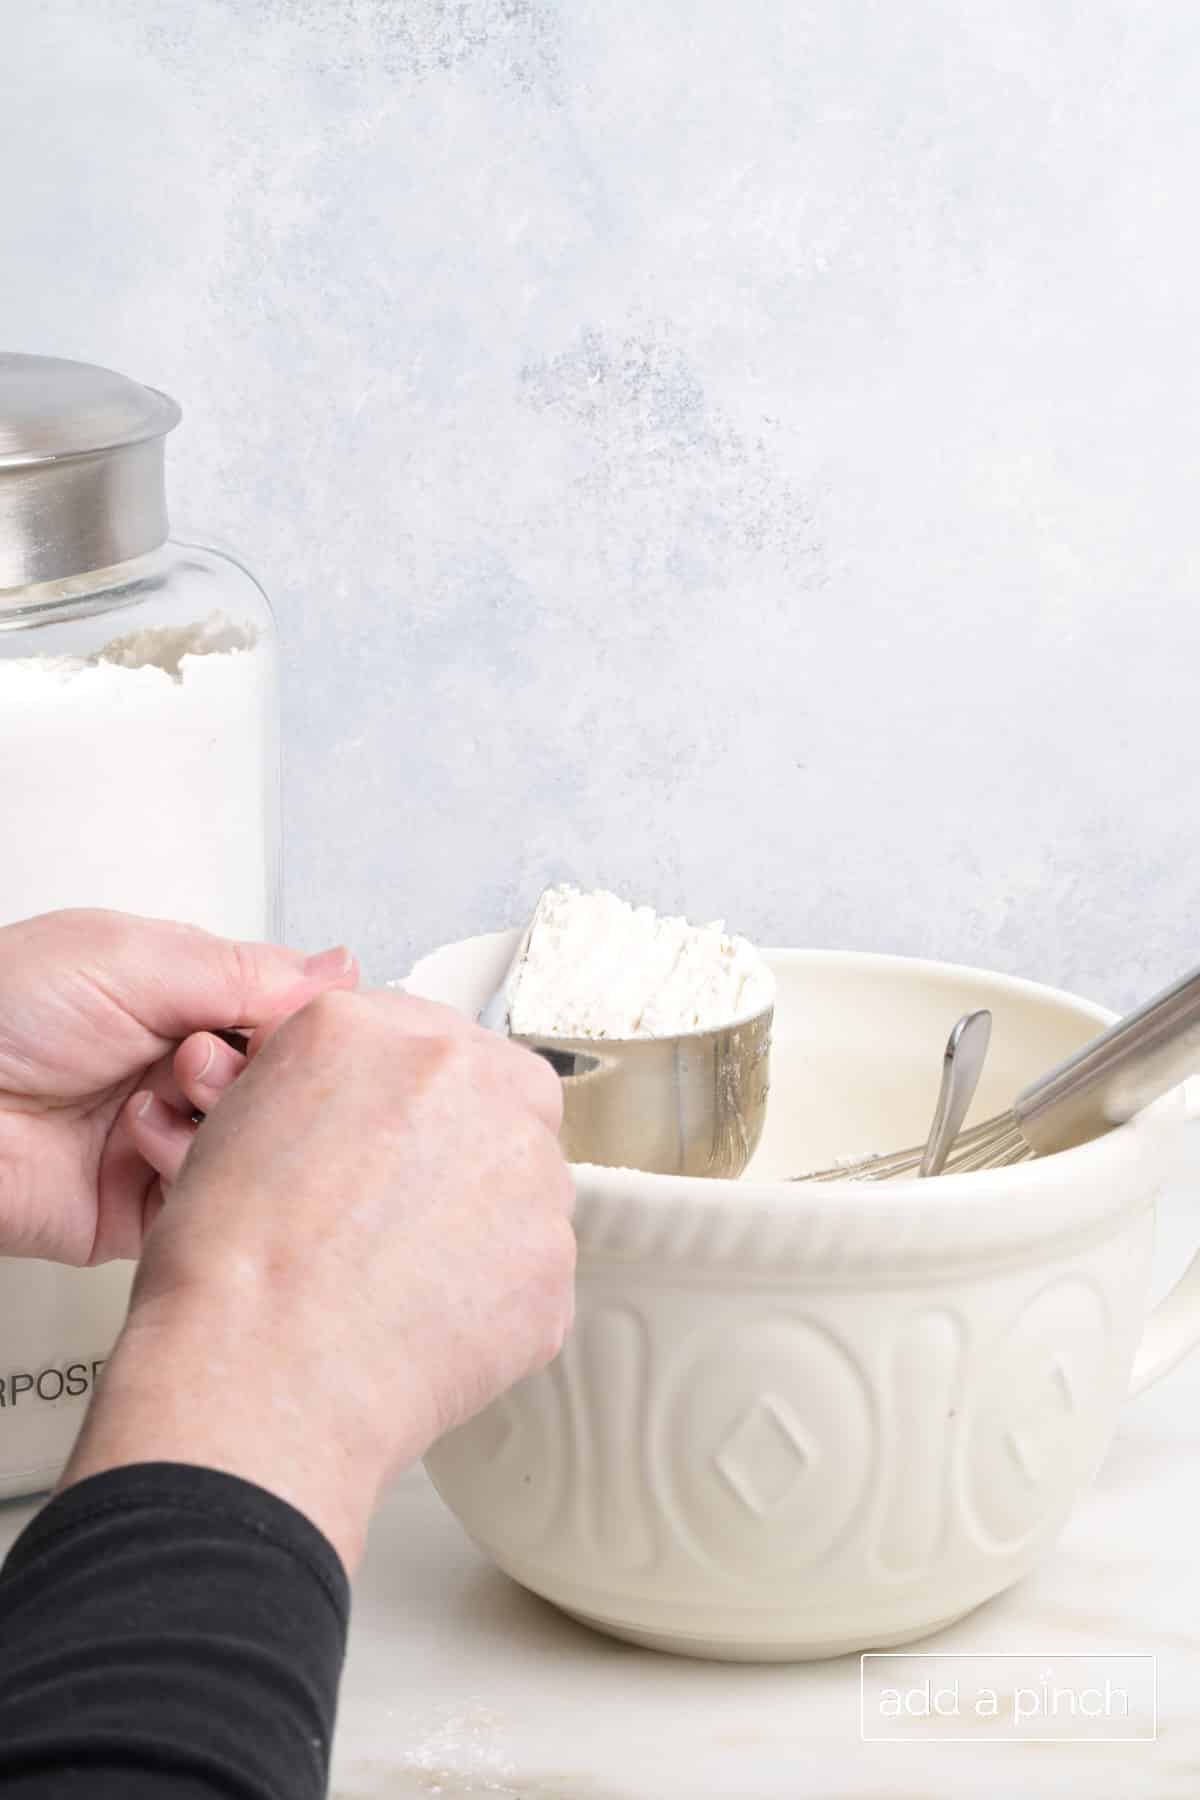
This method typically yields about 4.25 ounces per cup for all-purpose flour. It’s what I use when I’m in a hurry, and it works great for recipes like my banana bread.
Common Mistakes to Avoid When Measuring Flour
Even seasoned bakers slip up sometimes! Here are pitfalls I’ve learned to dodge:
- Scooping directly: This compresses the flour, adding extra weight—up to 6 ounces per cup instead of 4.25.
- Not fluffing: Settled flour is denser, leading to overmeasurement.
- Tapping the cup: This packs it down further.
- Using the wrong cup: Liquid measuring cups aren’t accurate for dry ingredients.
- Ignoring humidity: In humid climates (like my home state of Georgia), flour can absorb moisture—store it in an airtight container.
By avoiding these, you’ll see better results in your baking, including cookies, cakes, muffins, breads, cobblers and pies!
Troubleshooting Common Baking Issues from Flour Measurement
- Dense/heavy cake or bread? Likely overmeasured flour—try weighing next time.
- Cookies spreading too much? Too little flour—add 1–2 Tbsp extra if dough feels wet.
- Dry biscuits or muffins? Overpacked flour—switch to fluff-spoon-level or weigh.
- Inconsistent results? Humidity affects settled flour—store airtight and weigh.
- Baking in the South? Humidity can make flour clump—fluff extra well.
When and How to Sift Flour
Sifting isn’t always necessary, but it aerates flour and removes lumps for lighter baked goods. Pay attention to the recipe wording:
- If it says “1 cup flour, sifted”: Measure first, then sift.
- If it says “1 cup sifted flour”: Sift first, then measure.
To sift: Pour flour into a fine-mesh sifter over a bowl and gently tap or crank it. I sift for delicate cakes but skip it for heartier breads. I’ve found that running a whisk through my flour for quick breads helps lighten it.
Measuring Different Types of Flour
Not all flours measure the same:
- All-purpose flour: 120-125g or 4.25 oz per cup.
- Cake flour: Lighter at 115g or 4 oz per cup—great for tender cakes.
- Bread flour: 120-130g or 4.25-4.5 oz per cup, with more protein for chewy loaves.
- Whole wheat flour: Denser, so weigh 120g per cup and fluff extra well.
- Gluten-free blends: Follow package instructions, as densities vary.
- Freshly-milled flour: See the chart below
How to Measure Freshly-Milled Flour
| Flour Type | Grams per Cup | Ounces per Cup | Notes / Best For |
|---|---|---|---|
| Hard White Wheat | 125–130g | 4.4–4.6 oz | Dense; great for yeast breads, pizza dough. Often ~130g. |
| Hard Red Wheat | 120–130g | 4.25–4.6 oz | Earthy flavor; similar to hard white for hearty breads. |
| Soft White Wheat | 110–125g | 3.9–4.4 oz | Lighter, fluffier; ideal for cakes, biscuits, pastries. May need 20–25% more volume when subbing for AP flour. |
| Einkorn | 96–103g | 3.4–3.6 oz | Airiest ancient grain; lower gluten, tender bakes like cookies or quick breads. |
| Spelt | 110–120g | 3.9–4.2 oz | Nutty; good for muffins, breads. ~115g common. |
| Rye | 100–120g | 3.5–4.2 oz | Fluffy when fresh; tangy sourdoughs, dense breads. |
| Kamut | 120–130g | 4.25–4.6 oz | Buttery, high protein; pasta, yeast breads. |
| General Whole Wheat Blend | 120–130g | 4.25–4.6 oz | Mixed hard wheats; start with ~125g as a rule of thumb. |
Always check your recipe for specifics, and remember, weighing is king for any flour type. You may wonder why many types of fresh-milled flour weighs less per cup. It is airier with bran/germ intact – always weigh!
For the best all-around results that more closely replicate store-bought all-purpose (balanced protein, tenderness, and rise), bakers often mix freshly milled flours. This is especially popular for cookies, cakes, muffins, and general-purpose baking where you do not want too much chew or for your baked goods to be too tender.
Common Blend: 50/50 hard white wheat + soft white wheat (or sometimes 1/3 hard white + 1/3 soft white + 1/3 Kamut for extra nutrition and buttery flavor).
Tips for Baking Success with Properly Measured Flour
- Store flour in a cool, dry place to prevent clumping.
- If baking at high altitude, you may need slight adjustments—reduce flour by 1-2 tablespoons per cup.
- Practice with a simple recipe like my Sugar Cookies to test your technique.
- For batch baking, measure all dry ingredients at once to save time.
- If your baked goods consistently fail, double-check your oven temperature too—it’s often the culprit alongside measurement errors.
Guide Summary:
How to Measure Flour Correctly Every Time
Time needed: 5 minutes
Accurate flour measurement is key to perfect baking. Use weighing for precision or the spoon-and-level method if no scale is available. Avoid scooping directly to prevent overmeasuring and dense results.
- Gather Your Tools
Before starting, prepare a digital kitchen scale (for weighing), dry measuring cups, a spoon for fluffing, and a straight-edged knife or spatula for leveling. Optional: A flour sifter for airy recipes. Store flour in an airtight container, especially in humid areas like Georgia, to prevent clumping.
- Fluff the Flour (For Both Methods)
Stir the flour in its bag or canister with a spoon or fork to aerate it and loosen clumps. This prevents dense, settled flour from leading to overmeasurement—essential for accuracy in any method.
- Weigh the Flour (Most Accurate Method)
Place a bowl or measuring cup on your digital scale and press “tare” to reset to zero. Spoon fluffed flour into the bowl until you reach 120-125 grams (about 4.25 ounces) for 1 cup of all-purpose flour. This eliminates variables like humidity or packing—perfect for consistent results in recipes like biscuits or cakes.
- Spoon and Level the Flour (Volume Method Alternative)
Gently spoon the fluffed flour into your measuring cup until it’s overflowing—do not tap or shake. Use the back of a knife to sweep across the top, leveling it even with the rim. This yields about 120-125 grams per cup without overpacking. Avoid dipping the cup directly into the flour.
- Adjust for Flour Type or Sifting (If Needed)
For different flours (e.g., cake flour at 115g per cup or freshly milled hard white wheat at 125-130g), weigh for best results. If the recipe says “sifted flour,” sift after measuring; for “flour, sifted,” measure after sifting. Test in a simple recipe to confirm.
- Troubleshoot and Store Properly
If your baking results are dense, you likely overmeasured—retry with weighing. Store leftover flour airtight in a cool, dry place. For high-altitude or humid baking, reduce flour slightly and fluff extra well.
Frequently Asked Questions
For all-purpose flour, it’s approximately 120-125 grams or 4.25 ounces. Always weigh for precision.
No, only if the recipe specifies. Modern flours are pre-sifted, but it helps for airy textures. However, there are a few instances where I definitely recommend sifting, whether a recipe specifies sifting or not.
1. When using the “spoon and level” method. Run a whisk through the flour to “fluff”.
2. When there are visible lumps in the flour or the flour seems “heavy”.
Volume (cups) can vary based on method, while weight is consistent and more accurate.
No—dry measuring cups are designed for leveling, while liquid ones aren’t.
Different milling processes and moisture content can affect density. Stick to weighing.
No. Freshly milled flour (also called fresh-ground or home-milled flour) differs from commercial/store-bought flour in density and how it settles in a measuring cup. Freshly milled flour is often fluffier and less compact right after grinding due to trapped air and the presence of bran/germ in whole-grain versions. This leads to variation in grams per cup depending on the grain type, grind fineness, milling method, and how it’s measured. See the chart above regarding freshly milled flour measuring recommendations.
Weigh it, but increase liquids slightly as it’s thirstier.
There you have it—the ultimate guide to measuring flour correctly from my kitchen to yours. Now that you’re armed with these tips, try them out in one of my reader-favorite recipes like Homemade Pie Crust. If you have questions or share your baking wins, drop a comment below—I love hearing from you! Happy baking!
Share your results in the comments—what method do you use? Pin this guide, and subscribe for more Southern baking tips.
Happy baking!
Robyn xo