Two Ingredient Cream Biscuit Recipe
This post may contain affiliate links. Please read my disclosure policy.
This biscuit recipe uses just two ingredients to produce tender, flaky, and delicious biscuits every time. A cream biscuit recipe definitely is a cook’s treasure!
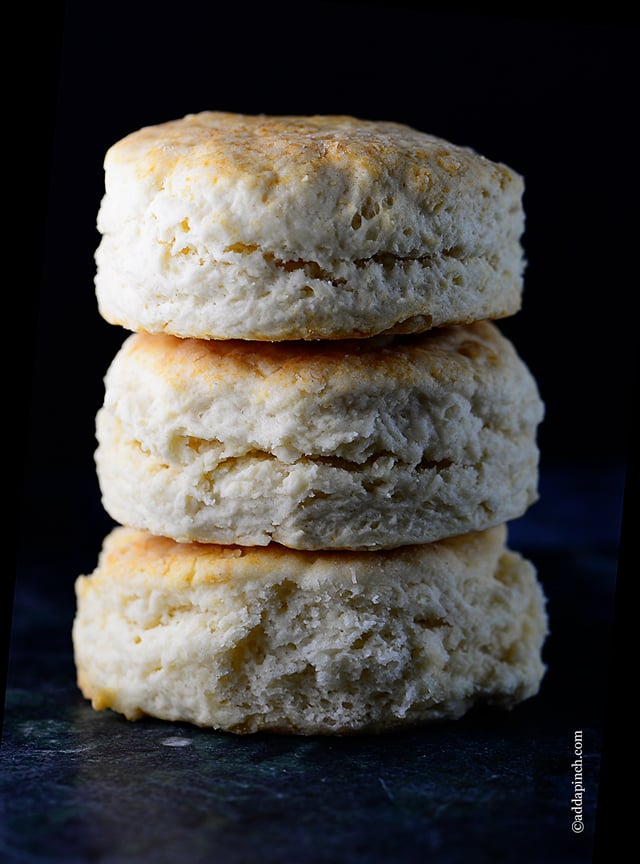
This incredible cream biscuit recipe comes together in a snap with just two simple ingredients, self-rising flour and cream. That’s it. No buttermilk, no shortening, no butter. Just two ingredients for the most tender, fluffiest biscuits!
Since this recipe does not require cutting in of shortening, butter, or any other ingredients, it really is one of the easiest recipes and must by why it was one of the first biscuit recipes my mother taught me to make. And the first biscuit recipe I taught my son Sam to make when he was a little boy.
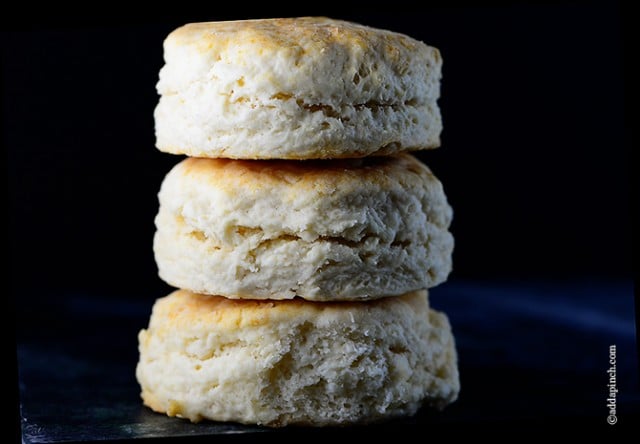
Two Ingredient Cream Biscuit Recipe
Light and delicious, they are a favorite if you are looking for a no fail biscuit recipe perfect for beginners and experts alike! I do recommend using White Lily® self-rising flour in this biscuit recipe, as I do with all of my biscuits. Since it is made with soft, winter wheat, it produces a much lighter biscuit that has out of this world texture and flavor, too.
Served with a drizzle of honey, a bit of butter or jam and you have a delectable dish your family will devour! At least mine sure does! I think you’ll love them!
How to Freeze
- Cool. Once cooked, allow to cool completely.
- Place in Containers. Portion into an airtight, freezer-safe container(s), label, and freeze for up to 3 months.
- Thaw. Allow to thaw overnight.
- Reheat and Serve. Reheat in oven or microwave until warm and serve.
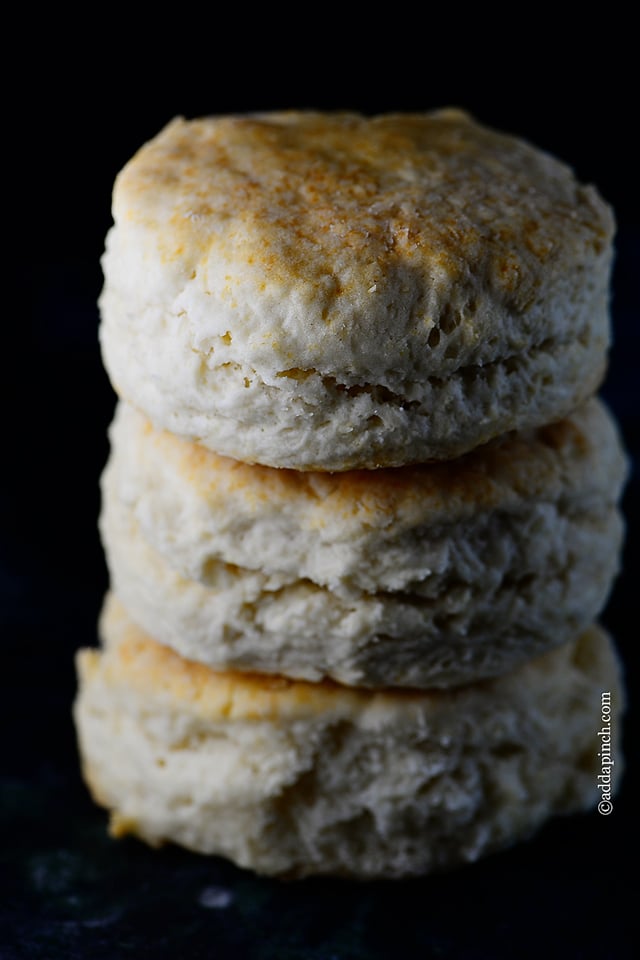
Here’s our two ingredient cream biscuit recipe. Make them soon and let me know how you like them!
Two Ingredient Cream Biscuit Recipe
Ingredients
- 2 cups (226 g) self-rising flour
- 1 1/2 cups (357 g) heavy whipping cream
Instructions
- Preheat oven to 475º F. Lightly coat rimmed baking sheet or cast iron skillet with vegetable shortening. Set aside.
- Add flour to a large mixing bowl. Slowly pour in heavy whipping cream and stir gently until just combined. Do not over mix.
- Pour biscuit dough onto a floured countertop or dough board. Gently pat or roll to about 1/2-inch thick. Cut out biscuits using about a 2-inch biscuit cutter. Place biscuits into skillet or on baking sheet pan, leaving about an inch between biscuits to allow them to rise and cook fully. Place in preheated oven and bake about 10-12 minutes. Remove from oven and serve.
Notes
Prepare biscuits as directed in instructions except for baking. Once you have biscuits cut and on baking sheet, wrap tightly to make freezer safe and place in the freezer for up to two months. When ready to bake, preheat oven as directed in recipe, place sheet pan directly from the freezer to the oven and bake a few additional minutes over the standard baking time. For individual biscuits: Once biscuits have frozen, remove from sheet pan and place in a zip top freezer bag up to two months. Remove the number of biscuits you plan to use and place onto a baking sheet and directly into the oven or toaster. Bake as included above. I recommend using White Lily® self-rising flour in this cream biscuit recipe. It produces a lighter biscuit with a great texture and flavor.
Nutrition
Nutrition information is automatically calculated, so should only be used as an approximation.
Enjoy!
Robyn xo
From the Add a Pinch recipe archives. Originally published 2012.




Absolutely love this. I’ll use it lots!!!!!
These turned out perfect! I’ll never use another recipe because these were just too good and too easy!
Thank you, Susan. Don’t you just love how easy they are to make?
I have tried recipe after recipe with little success! These biscuits are fool proof! Just remember, don’t twist your biscuit cutter, so the edges will be free to rise!
Never failed. I added my touch and ingredients and no matter what I did or added, they never failed. Just got better.
Thanks for the wonderful recipe. I added a little powdered sugar to mine. Came out fabulous! You have offered a great foundation to build upon.
hi the biscuit is good
I’ve made these 3 times so far. I love them with honey for breakfast. I’m going to freeze some the next time. They’ve turned out perfect every time. I used Washington brand self rising flour and baked them for 12 minutes.
I’m so glad you like these. Don’t you love how easy they are to make?
What a delicious biscuit! This step by step clear and detailed recipe is so easy. Follow it exactly as written and you will be amazed! I am amazed! I feel so proud and tickled right now! I made homemade biscuits after we got home from the store within 30 minutes!! Two ingredients! I did use unsalted butter for the pan because we didn’t have vegetable shortening on hand. I look forward to doing this again soon! Thank you so much!
Thanks, Molly. I love how easy these biscuits are to make, too.
My biscuits tasted ok, but they didn’t rise? Not as pretty as my old fashioned lard and bacon grease biscuits
Donna, I’m sorry your biscuits didn’t rise. Did you use self-rising flour?
These were amazing and took the stress out of my last minute biscuits and gravy!!! So light and so tender.. I didn’t have self-rising flour, but it was easy to sub with AP flour and some baking powder and salt. My son loved these more than my traditional baking powder biscuits. This will now be my go-to recipe! Thank you so much for sharing 🙂
Thanks, Maria. I love these biscuits, too, and they are so easy to make.
Made these and love them. I use the same temperature for the oven but cook them 12 minutes because they don’t get done in the middle at 10 minutes. Family members love them too. I will never make biscuits the other way ever again. Thanks!!!!!!!
Thanks so much, Merita. I’m so glad everyone loved the biscuits! xo