Cream Cheese Mints Recipe
This post may contain affiliate links. Please read my disclosure policy.
Easy Cream Cheese Mints Recipe come together quickly and melt in your mouth! These no bake mints make a holiday and party favorite!
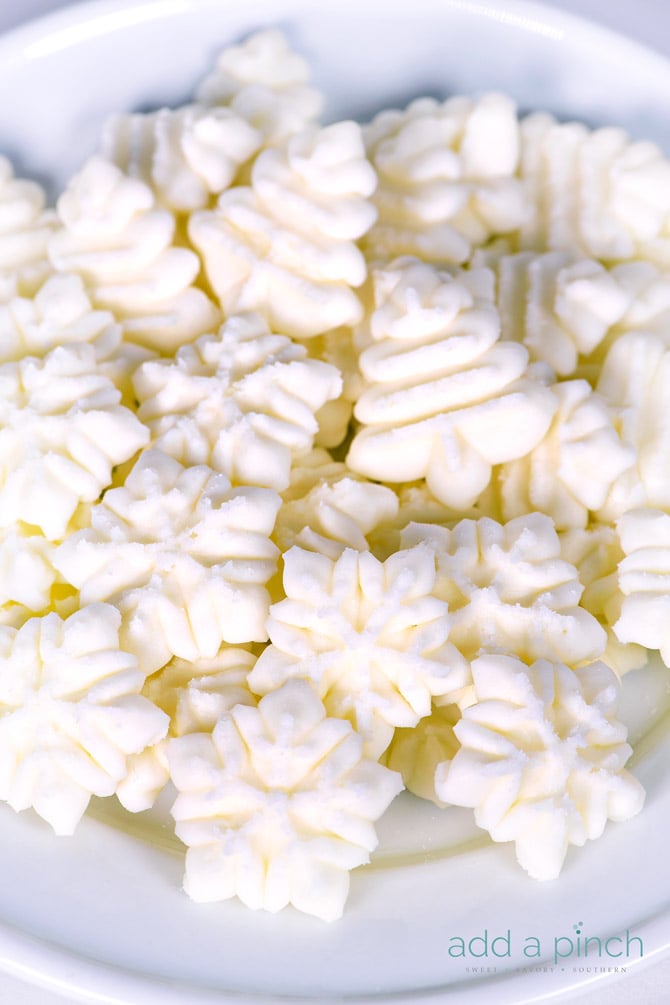
I remember as a little girl zeroing in on the location of these cream cheese mints anytime there was a bridal or baby shower, tea, or any other event or holiday where these little mints made an appearance.
Cream Cheese Mints Recipe
Sometimes they were tinted blue, pink, red or green for whichever occasion they were made to celebrate and sometimes they were left unadorned with just the simple mark from fork tines and a random dusting of confectioner’s sugar that fell off of the fork as it was pressed into the top of each mint.
And as much as I loved these little mints as a young girl, I love them even more now as an adult. I’m not sure if it is because of the pure nostalgia of them or that I can appreciate their taste a whole lot more now than I remember doing as I stood guard over them as a young girl.
But let me just tell you, they couldn’t be simpler to make and they are perfect for any get together – make that every get together!
How to Make Cream Cheese Mints
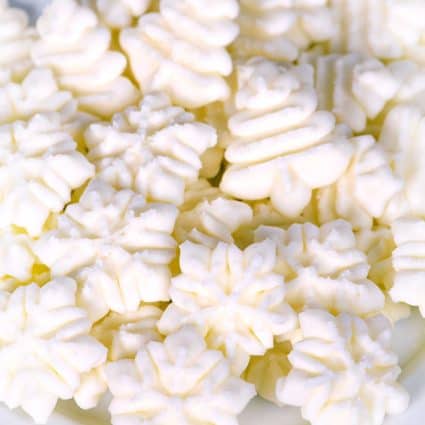
You can easily make them without, but I love the look of them made with a cookie press. You simply add the mint dough to your cookie press fitted with your choice of shape and press them as you would spritz cookies. Then, allow them to dry for about 2 1/2 hours or more and then carefully remove them from the baking sheet with a metal spatula.
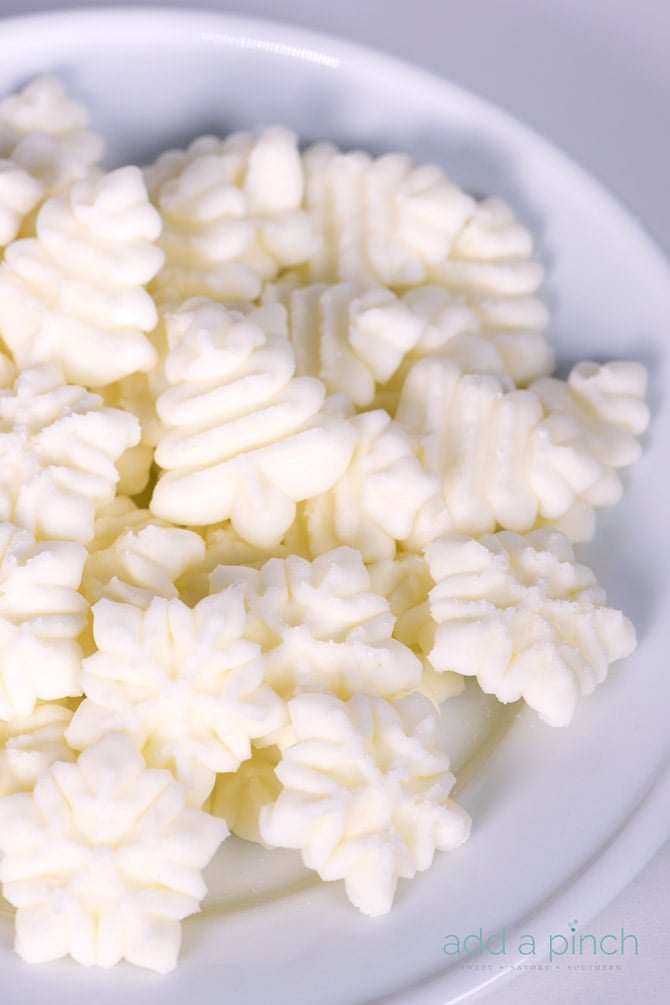
Here’s my family’s Cream Cheese Mints recipe. I hope your family loves them as much as mine always has!
Cream Cheese Mints Recipe
Ingredients
- 3 ounces cream cheese, room temperature
- 3 cups confectioners’ sugar
- 1 tablespoon butter, softened
- 1/2 teaspoon peppermint extract
Instructions
- Mix cream cheese, butter, confectioners sugar, and extract until well-combined and a dough is formed. Roll into small balls. Place on parchment paper. Press each ball with tines of fork dipped in confectioners sugar. Allow to stand at room temperature for 2 1/2 hours. Store in an airtight container and refrigerate up to 2 weeks.
Notes
Nutrition
Nutrition information is automatically calculated, so should only be used as an approximation.
Enjoy!
Robyn xo





Made these today for my kids to try! If they approve, I’ll be making a whole lot more for an early summer wedding! I want them to have a variety to see what the possibilities are so I used a cookie press with the sunflower and the heart, a silicone flower mold, and then just rolled a “rope” and cut it with scissors to appear like store bought mints. Each option was easy to work with and I thought they tasted amazing!
I’m so glad to hear that you liked them Mischelle! They are perfect for weddings, parties and just to have as special treats! Thanks so much! xo
Could Creme de Mint be used instead of peppermint? If so, what do you think about the taste? Which is better? If the mint were used how much?
Could these be molded in silicone molds?
like all thank you
Robyn,
Hope you had a wonderful Christmas! This looks like a delicious recipe.
Annamaria
These remind me of mints that were served at a country restaurant we went to when I was a child. I can’t wait to try this one!
Love this idea! Where did you get the snowflake cookie press shapes? Or what brand of cookie press did you use? Thanks!
Look like 3d for delecieo.Thank you for share.
Why not onto parchment paper?
I wondered this as well–having tried it, I can tell you! It’s because the dough won’t stick to the parchment paper and pull off the cookie press. It also would not stick to any of my cookie sheets (whether nonstick coating or not), to my countertops, my dinner plates, or to the front (coated) or back of paper plates. I finally got them to stick to the soapstone surface of my breakfast bar. And they look very nice. Now to keep everyone away from them until the drying time is up….
I’m with Kathi. I couldn’t get the dough to stick to anything, even though it is, ironically, a very sticky dough. Love the idea of using a press for these, but it was simply too frustrating.
I ended up rolling them into balls, then using the snowflake press disk — after dipping the disk in powdered sugar — to press a design on the top of each candy.
Tink, these won’t stick to parchment or silicone mat like a Silpat or a nonstick baking sheet. I use a metal sheet pan for these. Try placing the baking sheet in the freezer for a few minutes before using the cookie press.
Very nice, good idea, so cute.