Salt Dough Ornaments
This post may contain affiliate links. Please read my disclosure policy.
Learn how to make Salt Dough Ornaments. They make a great tradition for the holidays and throughout the year.

One of my favorite things to make with my family during the holidays is salt dough ornaments.
It’s a simple craft using materials we already have at home without the temptation of eating any of the dough. Great for when you’re trying to keep your calories in check.
But seriously, making salt dough ornaments is a great way to spend time with your children making precious memories for the holidays. You may even want to save this craft for a rainy afternoon to keep all boredom at bay! The giggles and smiles will take over in no time.

Here is how I make them.
Salt Dough Ornaments
Equipment
- Cookie Cutters your favorite shapes
- Straw
- Paint
- Glitter
- Markers
- Varnish
Ingredients
- 1/2 cup kosher salt
- 1 cup flour
- 1/2 cup water
Instructions
- Preheat oven to 250º F.
- Mix together all ingredients in a large bowl until dough is formed. Remove from bowl and place on a lightly floured surface. Knead until dough is smooth. Lightly dust with flour if dough is sticky. Take care not to over flour as it will cause the ornament to be over dry.
- Roll dough to 1/4″ thick with a rolling pin. Use favorite cookie cutters to cut out shapes for ornaments. Punch a hole in the cutout with a plastic straw for inserting a ribbon when finished.
- Place cutouts onto parchment lined cookie sheets. Bake for 2 hours. Remove from oven and cool completely before decorating.
- Paint your ornaments in your favorite colors, patterns, etc. Allow to air dry and then apply a thin coat of sealer such as varnish, shellac or epoxy.
- Allow to dry overnight and then insert ribbon or string into pre-punched hole for hanging.
- Additional options: rather than punching a hole and hanging your creations as ornaments, you can glue pin backs onto the back of your ornaments for festive holiday pins to wear and give as great gifts.
Now, I want to share with you my very favorite salt dough ornament we’ve made.
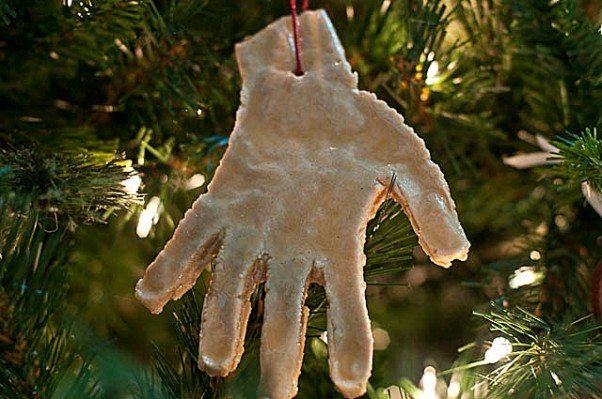
It’s Little Buddy’s hand cutout. Basically, Little Buddy placed his hand onto the salt dough and I carefully traced his hand with a regular pencil. After he lifted his hand, I used a knife to cut out the final shape, punched a hole, baked the cutout, and then sealed it with epoxy.
Salt dough ornaments make wonderful gifts for friends, teachers, and especially relatives, but the time making them with your children is absolutely the best gift of all.
Enjoy!
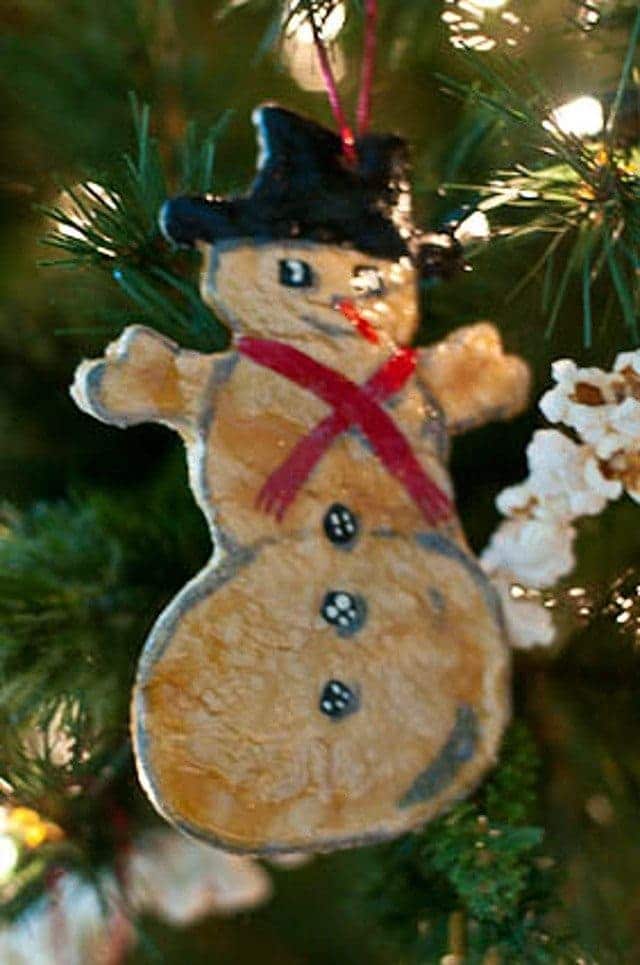
Hey y’all, a reader sent me a great question about how to make the hand ornaments brown. What a great question! So, my sweet husband had a great idea of using a stain and polyurethane. We tested with Mixwax PolyShades which is a stain and shade mix. The stain colors we used were pecan, olde maple, and antique walnut. Great for being able to create the perfect shades needed.






Precious! Love to do these, so fun & such great memories being “made” 🙂
LOVE this idea & the fact that none of us will be tempted to eat this salt dough. My kids would have som much fun making these 🙂
just so cute Robyn! i remember this recipe from years ago w/my kids but i don’t think i have any ornaments left (insert sad face here) – terrific project to do w/children!
I remember making these as a kid! Thanks for the recipe. I can’t wait to try them out with my own kids now.
I”ve always wanted to make these. I just may have to try it this year!
So adorable. I have one my son made about 15 years ago when he was just a little guy. I love that ornament.
My kids would LOVE this!!! And honestly, I think I would too! Blessings-
Amanda
We haven’t done this yet with our kids, I think we’ll have to do it on a weekend soon. They would love it! They have a mini Christmas tree that is theirs to decorate and these would be so cute on it. Thanks, Robyn!
I loved this! I immediately went to my kitchen and put the kiddos to creating! Thanks!
I used to make these when I was a kid. So fun!