Southern Banana Pudding Recipe (Video)
This post may contain affiliate links. Please read my disclosure policy.
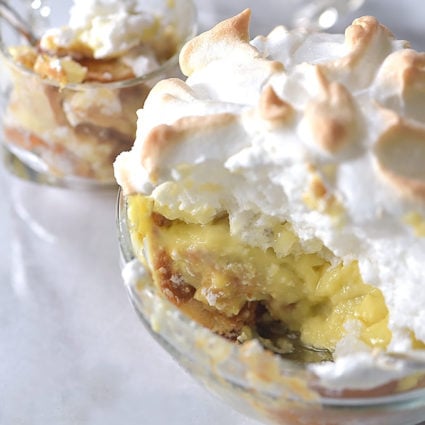
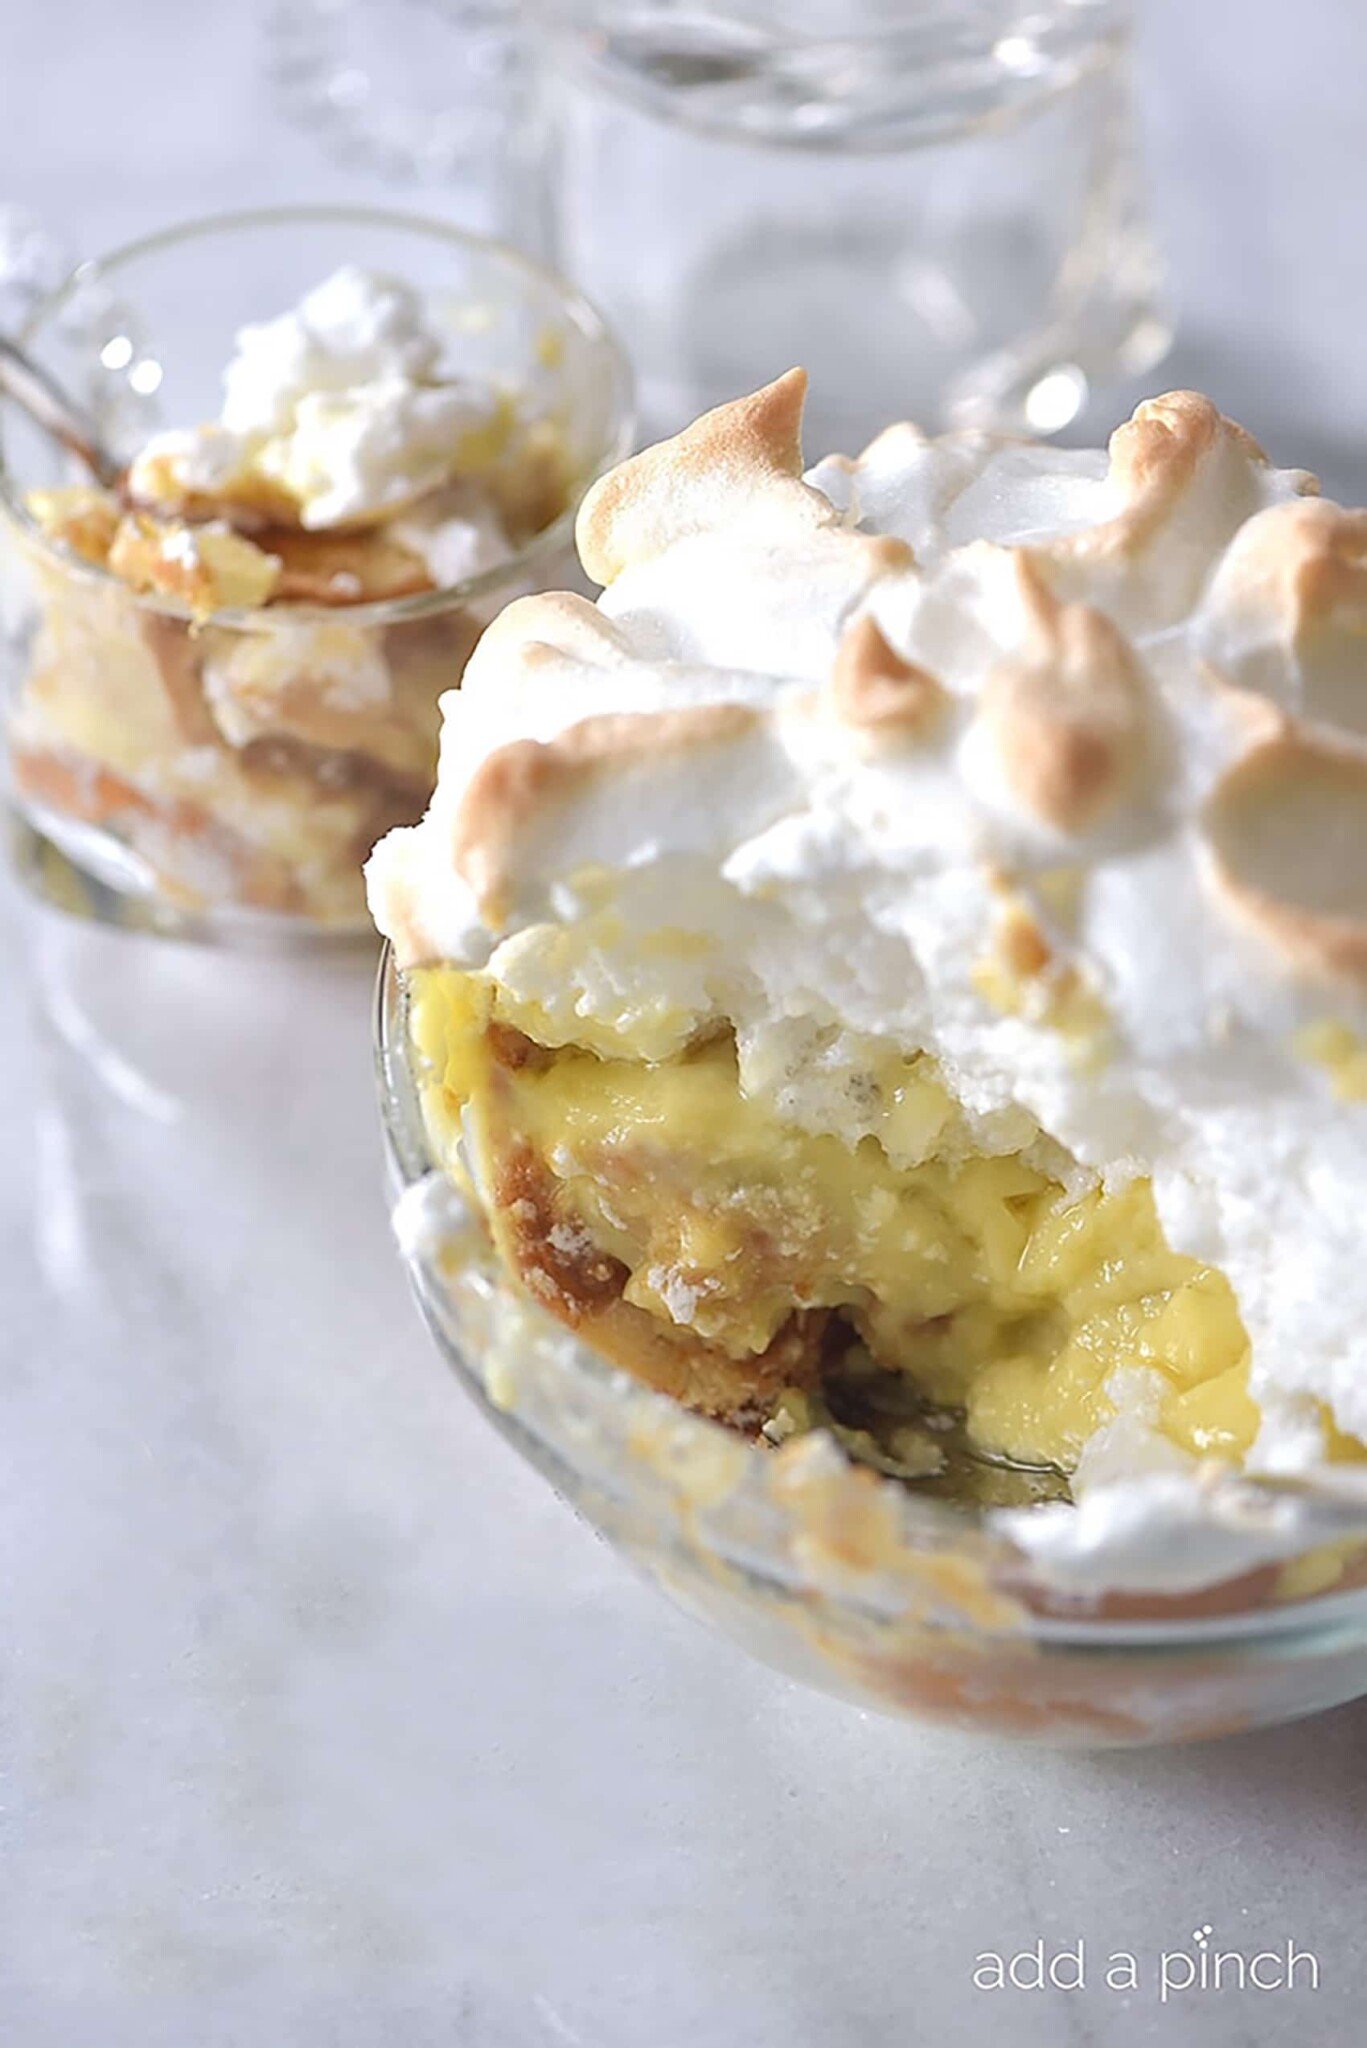
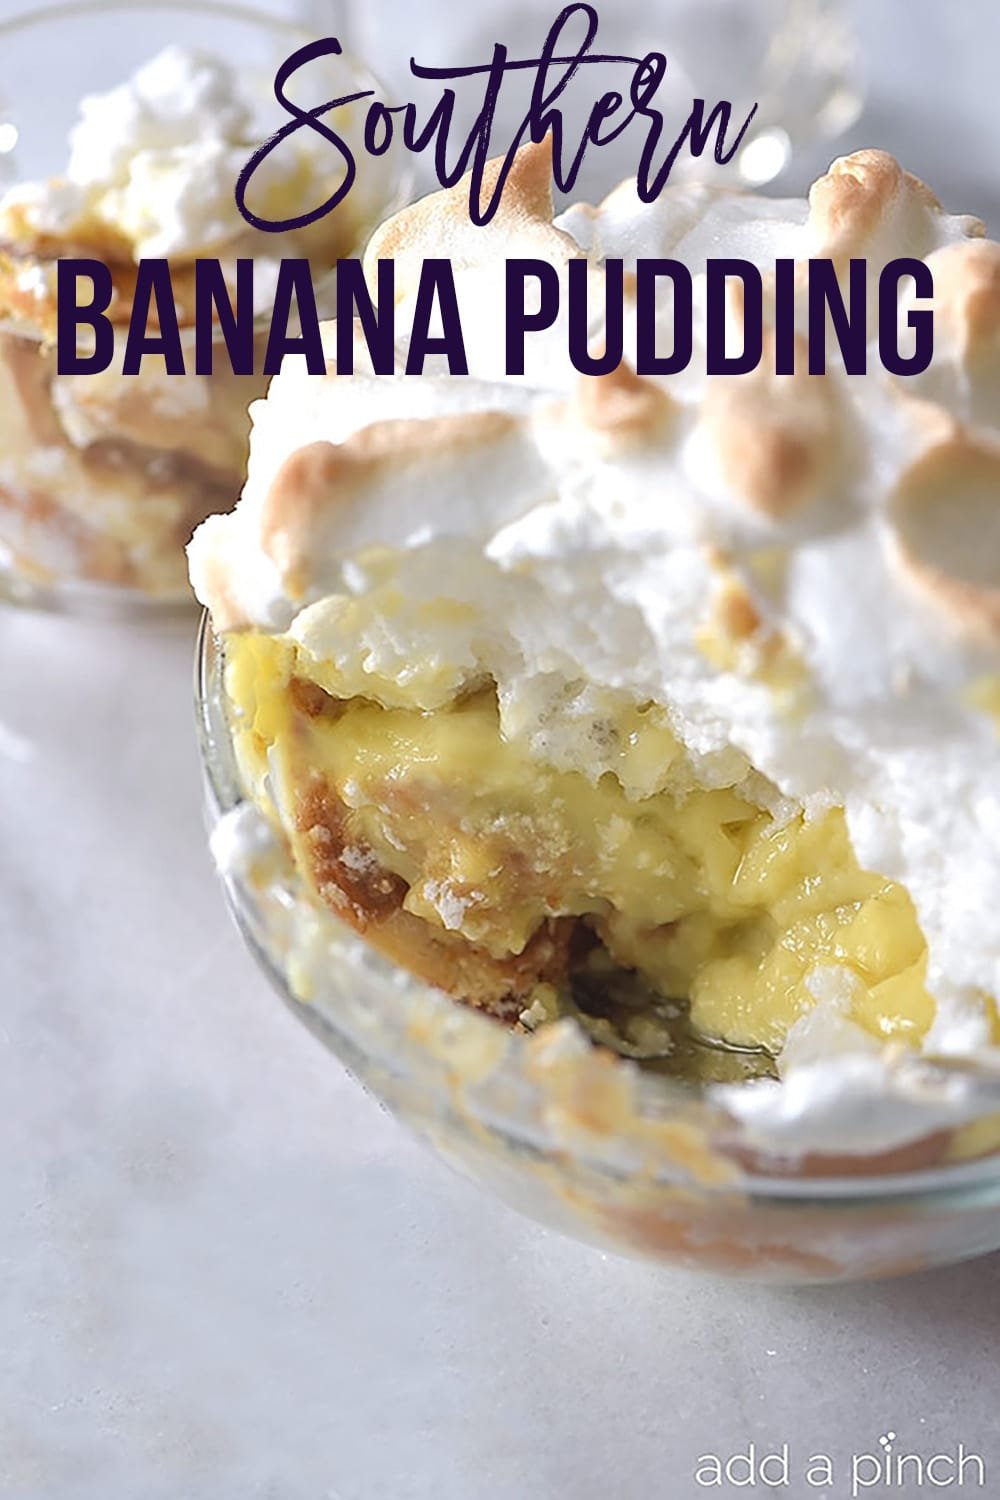
An easy homemade Southern Banana Pudding Recipe. Rich and creamy homemade banana pudding between layers of vanilla wafers and fresh bananas and topped with an airy meringue. This makes the BEST banana pudding recipe! Always a favorite dessert!
Looking for more Southern desserts for the holidays? I think you’ll love my Caramel Cake, Sweet Potato Casserole, and Coconut Cream Pie recipes. They are delicious!
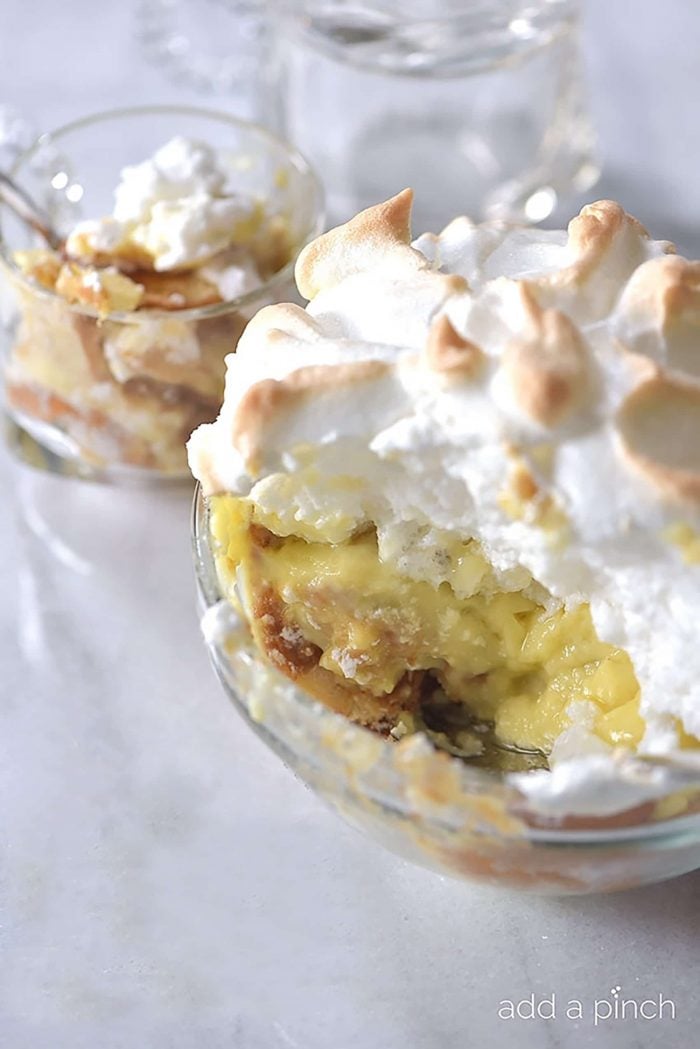
The Best Banana Pudding Recipe
Banana pudding is at the top of my list for banana desserts! I imagine it is one that immediately comes to mind for many. Here’s why I think you’ll love this recipe:
- Ultimate recipe. My recipe includes how to make the homemade creamy custard for the pudding as well as variations to make my no-bake banana pudding. It really is the only banana pudding recipe you’ll want or need! 🥰
- Easy, made-from-scratch recipe. You can not beat the flavor of this homemade banana pudding! This recipe is easy to prepare in just a few simple steps and is ready in 30 minutes!
- Simple ingredients. This recipe uses ingredients that you most likely already have in your refrigerator and pantry and can easily pronounce! It is made from real ingredients that you can feel confident feeding your friends and family!
- Impressive. This makes an impressive, beautiful dessert recipe!
What is Banana Pudding?
Banana pudding is an old-fashioned Southern dessert with layers of vanilla custard, vanilla cookies, and slices of fresh bananas. Fluffy, golden meringue tops my Grandmother’s traditional recipe. However, you can use whipped cream.
This recipe does not contain sweetened condensed milk and is made with wholesome, made-from-scratch ingredients! However, if you are looking for a recipe that uses vanilla pudding mix, I have provided that in the recipe variations below and in the recipe card.
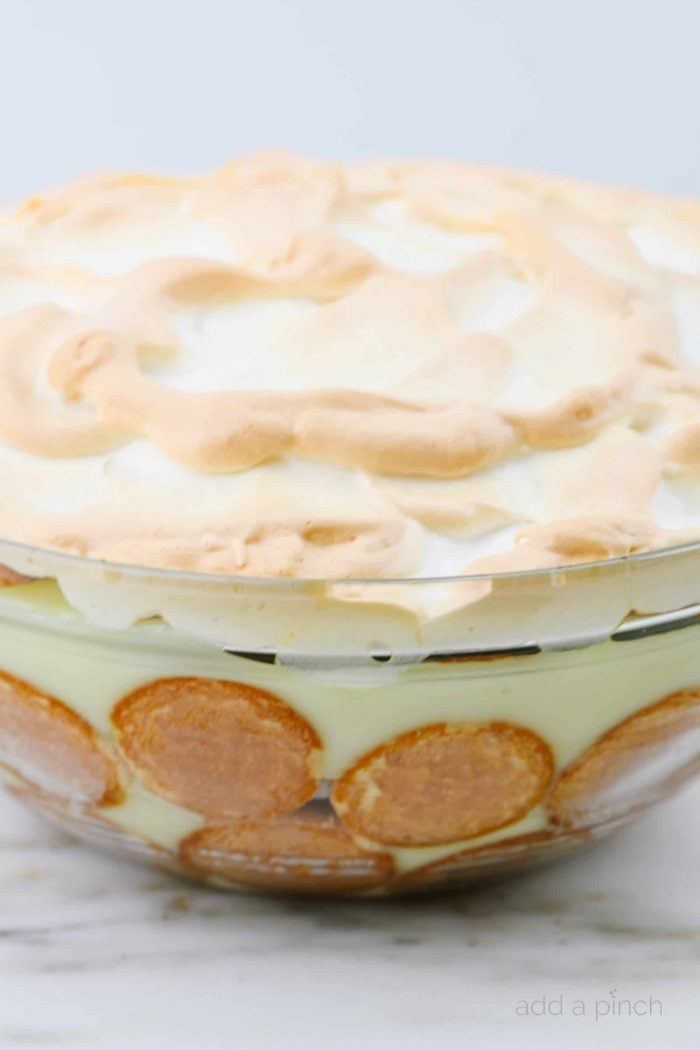
Banana Pudding Ingredients
Just a few simple ingredients are needed for this banana pudding. I’ve included substitutions as well.
- all-purpose flour – if you are gluten-free, you can use a gluten-free flour option.
- sugar – the recipe uses granulated sugar for the pudding. See the common questions section below for a less sugar option.
- salt – just a pinch is all you need for the custard.
- eggs – you will use three whole eggs in this recipe; the egg yolks are in the custard, and the egg whites are used in the meringue.
- milk – use your favorite milk. I use whole milk.
- vanilla extract – I love to use my homemade recipe, but just be sure to use a really good vanilla extract.
- vanilla wafers – I love to use the Nilla wafers brand. You can use your favorite vanilla wafer or see my list of substitutions below.
- bananas – sliced fresh bananas give this pudding such an amazing flavor.
- cream of tartar – used in the meringue to hold shape. If you do not have the cream of tartar, you can omit it.
How to Make the Best Banana Pudding
This classic dessert is perfect for making for holidays, Sunday suppers, and celebrations! It is always a favorite! Be sure to watch the video where my Mama shows you how to make her mother’s delicious dessert! 🥰
Prep: Preheat the oven and chill the beaters from a hand mixer and a mixing bowl in the refrigerator.
Make the Custard: Add the dry ingredients to a large saucepan. Beat your eggs and milk together and whisk into your dry ingredients. Stir constantly until the custard has thickened. Remove from the heat and stir in the vanilla extract.
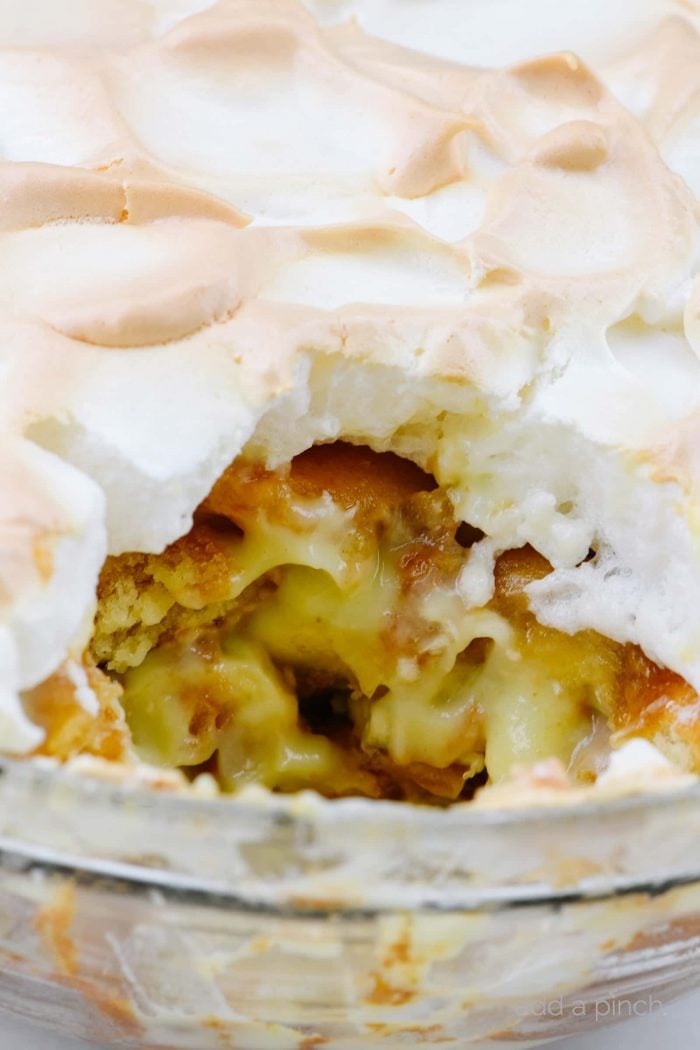
How to Assemble the Banana Pudding:
- Arrange 1/3 of the vanilla wafers on the bottom oven-safe dish. You can use a glass bowl (as photographed) or a 9×13 baking dish.
- Slice bananas and place 1/3 of them on the vanilla wafer layer.
- Pour 1/3 of the pudding over the wafers and bananas.
- Repeat the layering process, ending with a layer of wafers.
- Top with meringue and bake.
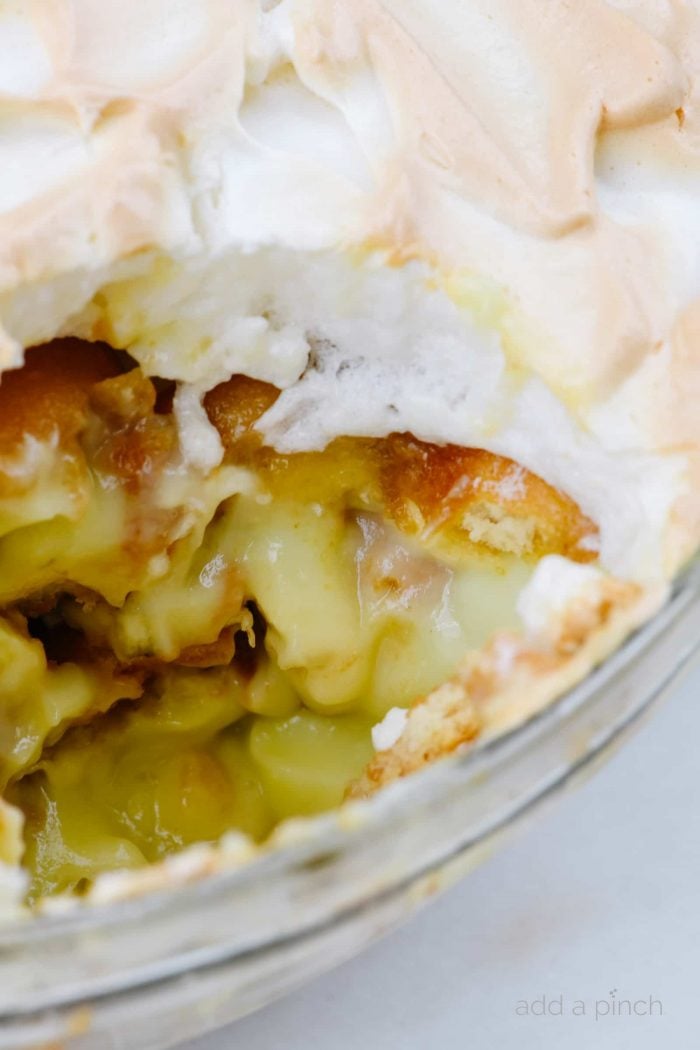
How to Store Banana Pudding
Banana pudding will keep in the refrigerator for up to 3 days.
Variations
- Banana-less Banana Pudding: Simply omit the bananas from the recipe. It is still delicious! This works great for those who don’t like or can’t have bananas!
- No-bake Banana Pudding: Top the banana pudding with whipped cream and omit the meringue. You will not need to bake!
- No-cook Easy Banana Pudding: Use 2 (3.4-ounce) packages of instant vanilla pudding mix, 1(14-ounce) can of sweetened condensed milk, 2 cups milk, and 2 teaspoons vanilla extract in place of the custard ingredients (flour, sugar, salt, and milk). Use whipped cream in place of the meringue. Store in the refrigerator for 2 hours before serving.
Common Questions
Do you have to bake if making with the meringue?
Yes. Meringue is made of egg whites. It must be baked to be safely eaten. You’ll know that the meringue is cooked once the peaks have turned a golden brown.
How to know when the custard is ready?
Watch the recipe video for a visual example of how to know the custard is done.
Do you have to refrigerate?
Yes. You have to store the pudding in the refrigerator.
Can I reduce the amount of sugar in the recipe?
This recipe is exactly how my Grandmother made her pudding, and it tastes incredible! You can reduce the sugar to 1 cup in the custard or use your favorite sugar substitute that was developed for baking. The cooking time of the custard may need to be increased to thicken the custard appropriately.
How to keep bananas from browning?
Bananas exposed to air will brown. Keep the bananas covered completely with the custard or pudding when assembling.
Can You Use Cool Whip?
You can use Cool Whip in place of the meringue or whipped cream. It will make the final dessert topping a bit sweeter.
Substitutes for Vanilla Wafers?
Use Graham crackers, animal crackers, or another similar cookie.
Here is Grandmother’s Southern Banana Pudding recipe. I know you’ll love it!
Southern Banana Pudding Recipe
Equipment
- Mixing Bowl oven safe
Ingredients
- 4 tablespoons (30 g) all-purpose flour
- 1 1/2 cups (297 g) sugar
- pinch (0.4) kosher salt
- 3 large (150 g) eggs, separated (you’ll need whites later for meringue)
- 3 cups (681 g) milk
- 1 teaspoon (5 g) vanilla extract
- 1 (11-ounce) package (311 g) vanilla wafers, approximately 45 wafers
- 5-6 (575-690 g) bananas
- 3 egg whites, reserved from above
- 1/8 teaspoon (0.38 g) cream of tartar
- 1/4 cup (50 g) sugar
- 1 teaspoon (5 g) vanilla extract
Instructions
- Prep. Preheat oven to 325º F. Chill the bowl and beaters for making the meringue (if making).
Make the Custard:
- Combine flour, sugar and salt in a large, heavy saucepan.
- Lightly beat egg yolks and combine with milk in a large bowl or measuring cup. Pour the egg and milk mixture into dry ingredients in heavy saucepan. Cook over low to medium heat, stirring constantly, until ingredients are thickened and smooth. Remove saucepan from heat and stir in vanilla.
- To layer your banana pudding, begin by placing 1/3 of the vanilla wafers on the bottom of a 2 quart oven-safe glass bowl or baking dish.
- Slice bananas and place 1/3 on top of wafers.
- Pour one-third of custard over wafers and bananas.
- Repeat layering process two more times until all wafers, bananas, and custard have been used, ending with a final layer of the wafers.
For the Meringue:
- Whip egg whites with an electric mixer set at high speed.
- Allow egg whites to foam, add cream of tartar and then gradually add sugar one tablespoon at a time. Continue whipping until sugar is well-dissolved. Add vanilla once stiff peaks have formed and whip until well-combined.
- Spread the meringue over banana pudding, making sure to spread to the edges of the dish.
- Bake for about 25 minutes until the meringue is lightly browned.
Notes
How to Store Banana Pudding
Banana pudding will keep covered in the refrigerator for up to 3 days. Variations-
Banana-less Banana Pudding:
Omit the bananas from the recipe. It is still delicious! This works great for those who don’t like or can’t have bananas! -
No-bake Banana Pudding:
Top the banana pudding with whipped cream and omit the meringue. You will not need to bake! -
No-cook Easy Banana Pudding:
Use 2 (3.4-ounce) packages of instant vanilla pudding mix, 1(14-ounce) can of sweetened condensed milk, 2 cups milk, and 2 teaspoons vanilla extract in place of the custard ingredients (flour, sugar, salt, and milk). Use whipped cream in place of the meringue. Store in the refrigerator for 2 hours before serving.
Video
Nutrition
Nutrition information is automatically calculated, so should only be used as an approximation.
Enjoy!
Robyn xo

From the Add a Pinch recipe archives, originally published 2011.




I made this it turned out great the only problem I had was the topping and that’s because I did not buy the cream of tater but I used lemon juice instead, Next time I’ll get all what I need and it should be perfect .
For those who had trouble getting the custard to thicken, it can take 15-20 minutes to tighten up and you need to stir almost constantly or the flour will settle. If it does that the custard will not thicken. I also use about 3 tablespoons of flour.
I tried this twice and couldn’t get it to thicken either time. I tried a different saucepan, getting all ingredients to room temperature, heating it more, heating it less, heating it slower, stirring less, stirring more… I can never get anything to thicken, it seems like. Maybe it’s my flour? Eggs too old? I have no idea. I’m very sad.
I’m sorry it didn’t thicken for you, Bridgette. It should thicken when cooking it while stirring constantly over low to medium heat. I hope this helps and you give it another try. It does help to use fresh flour that’s not too old. Thanks!
I added , slowly, another Tbsp of flour and mine thickened right up. Can’t wait to taste it!
Thanks for sharing
This recipe was super easy to follow and was really good! It does help to turn the custard up to a higher heat and stir it constantly. I had mine on low-medium for almost twenty minutes and nothing happened. Custard is thick so it takes longer to heat. Stir constantly on higher heat because you don’t want the milk to scald. Then lower the heat.
My only suggestion is it was SOOO sweet. Way too sweet. I put in only 1 cup of sugar and it was still way too much. I could probably have done just a half cup and been fine. But will definitely keep! Thanks for this!
Loved this recipe. Do I have to refrigerate it? The kids love it warm.
Hi Shirley,
You can serve warm right after baking it, but any remaining leftovers (if any) will need to be refrigerated after initially serving it. Thanks!
Hi Thanks for the recipe however after mixing all of the ingredients I could not get the pudding to thicken. I am not sure what I did wrong? /: waisted all of my ingredients after pouring them on the cookies and bananas only to finding them all floating to the top. ):
I’m sorry your pudding didn’t thicken, Kristy. It sounds like it did not cook long enough on the stove as it should thicken during this step, because it will not get any thicker after being removed from the stove. The oven is just to brown the meringue topping. I hope this helps. Thanks!
I am about to try this now. It sounds the same as my mom’s recipe. I have made hers before and had to use cornstarch to thicken it. Someone said it could be the humidity ?? I do know that everyone else is correct in saying that it needs to cook longer on stove top.
I will have to make this a day in advance. If I refrigerate it will it ruin the meringue?
Love this recipe!
I cannot figure out what I did wrong, but my custard would not thicken, and I ended up throwing it all out. Any advice? I am a recipe follower, so I can’t imagine what happened. It made me so sad. I was extremely excited to make this for my upstate NY husband! I will try it again, with advice!
Hi Sherri,
I’m sorry it didn’t thicken earlier – it should thicken on the stove while you are cooking it. Maybe it needed a bit longer? I’m not sure what could have happened but I hope this helps! Thanks!
Use whole milk or at least 1% or 2% milk. If you use skim milk it won’t thicken as well.
Use evaporated milk
Mine didn’t thicken either! I just put it on high and then didn’t stir it and it worked!
This happened to me to. Up the heat to high to get started and then lower. It allows it to thicken. You want to it to reach 212 degrees Fahrenheit (100 degrees Celsius) and lower it. It helps to switch between medium high and low to finish it off. Hope this helps!
This suggestion was very helpful! I started out medium low and wasn’t getting thick. Up the heat on my gas stove to 5 until thick and then lowered.
Whole Milk is the key..
My step mom made this when I was a kid and I was always intimidated by the recipe. Today I decided to try it and the results are amazing. So easy to make and so delicious! My kids have never had it this way before but I’m sure they’ll love it too.
Thanks so much Sonia! xo