Sandwich Bread Recipe
This post may contain affiliate links. Please read my disclosure policy.
Homemade sandwich bread in an easy, no-fuss recipe! This recipe uses simple ingredients for a delicious bread you’ll make time and again.
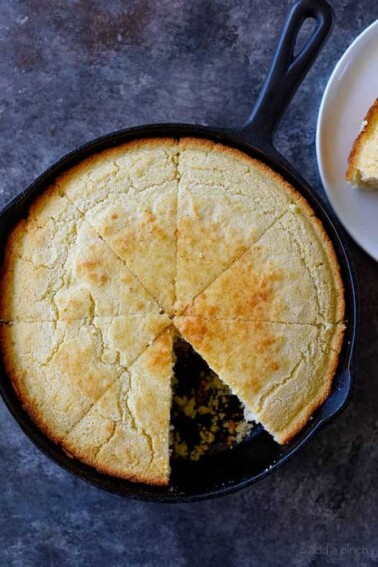
Looking for more easy bread recipes? I think you’ll love my angel biscuits, cornbread recipe, and this 4-ingredient, no-yeast Irish soda bread.
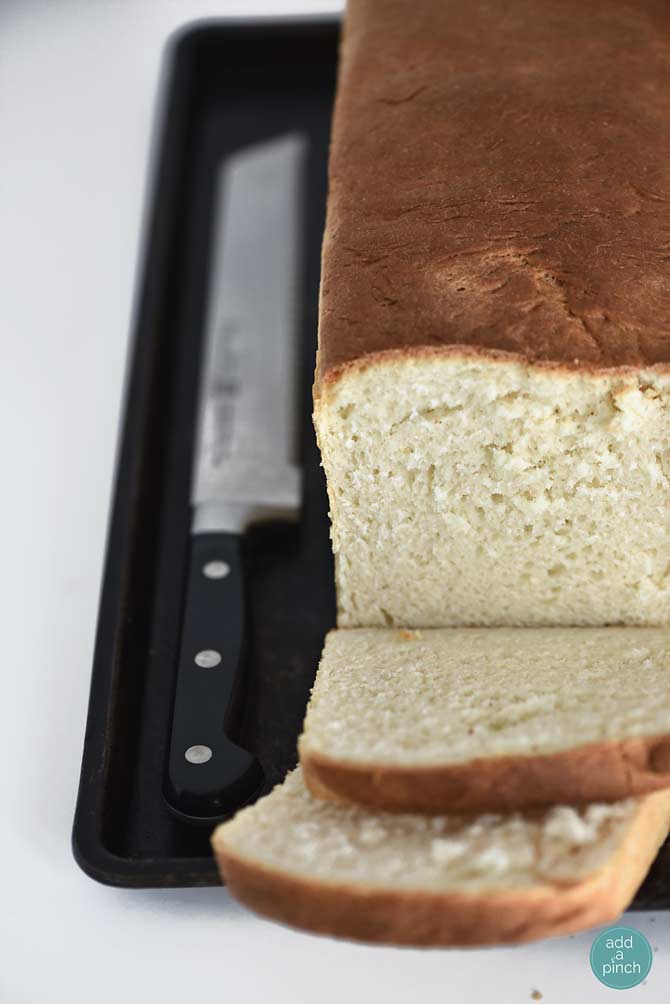
Lately, Bart has made as much of the bread (if not more!) than I have in our house!
While it has always been his thing to make cinnamon rolls at Christmas and cornbread and Southern buttermilk biscuits in the Dutch oven on camping trips, he’s gotten even more so into bread baking lately.
He’s been making Challah bread for French toast for camping trips when I don’t make it ahead and to make his own sandwich bread from scratch, among other things.
It is like he has a mental list of bread recipes he wants to master; he works and works the recipe until he has it just the way he wants it, and then he moves on to the next.
Thankfully, he continues to make those that he’s been successful in making, like his sandwich bread recipe while working on the others on his list.
About the Ingredients
His sandwich bread recipe uses ingredients that I generally keep on hand, simple ingredients of flour, yeast, butter, and milk, that when worked just right turn into the best thick-cut slices of bread for sandwiches, toast and even French toast.
Milk – the milk gives the bread a soft texture and enhances the flavor of the bread. You will want to warm the milk to 100º – 110º F. Do not exceed 110º F.
Yeast – the yeast works to help the bread rise. We prefer to use Instant Yeast. Instant Yeast is sold in small packets or in jars at most grocery stores and online. It does not require proofing; however, I still proof it just to be certain (you can never be too careful, right?). If you do not have Instant Yeast, you can also use Active Dry Yeast as a substitute in an equal amount and still follow step one of the instructions for proofing yeast.
Butter – the butter helps to feed the yeast in the bread as well as provides flavor to the bread. If you do not have butter, you can substitute an equal amount of oil in the recipe.
Salt – the salt not only adds flavor to the dough, but also slows the rising time of the dough which strengthens the dough.
Sugar – the sugar helps to feed the yeast within the bread and strengthen the dough. You can also substitute honey in place of the sugar, if you prefer.
Flour – you will find many homemade bread recipes that recommend using bread flour. For this recipe, we prefer to use all-purpose flour. It is the flour that we always have on hand and always produces a delicious bread in this recipe. If you have bread flour and prefer to use it, you can. You’ll use the same amount called for in the recipe. You will notice that the bread has more “chew” to it.
What Equipment is Needed to Make Homemade Sandwich Bread?
While we use a Pullman loaf pan for baking our sandwich bread, you could also use two regular loaf pans, if you’d like. For the pullman loaf pan, we leave the cover off of the pan to get a nice, rounded and crusty top on our sandwich bread. However, you could definitely use the cover for square sandwich bread.
How to Store Sandwich Bread
Store in a breadbox or under a cake dome as you enjoy it for up to a week.
How to Freeze Sandwich Bread
Store in an airtight, freezer-safe bag. Carefully remove as much air as possible as you seal the bread. If you do not have a freezer-safe bag, wrap it tightly in plastic wrap and then again foil. Store in the freezer for up to 6 months.
Here’s Bart’s Sandwich Bread Recipe. I hope you enjoy it as much as we do!
Sandwich Bread Recipe
Ingredients
- 1 2/3 cup (363 g) milk, warmed to 100º F – 110º F
- 2 teaspoons (6 g) instant yeast
- 6 tablespoons (85 g) unsalted butter, softened to room temperature
- 2 teaspoons (5 g) kosher salt
- 3 tablespoons (37 g) granulated sugar
- 4 – 4 3/4 cups (480 – 570 g) all-purpose flour
Instructions
- Add yeast and one tablespoon of granulated sugar to warmed milk in a large glass or metal bowl. Allow to sit for about 3 minutes to proof (the yeast will begin to bubble and foam in the milk. If it does not, your yeast is not active and will not leaven the bread.)
- Once the yeast has proofed, stir in the butter, salt, remaining sugar and 4 cups of the flour. Stir until the dough begins to pull away from the sides, adding more flour at 1/4 cup at a time until it does so.
- Pour the dough onto a lightly greased countertop and knead the dough by hand until it is smooth, about 8 to 12 minutes. Place the dough in a lightly greased bowl, cover with plastic wrap and place in a warm, draft free location to double in bulk, about 1 1/2 – 2 hours.
- Pour the risen dough onto the countertop and form into one or two loaves, depending on the number of baking pans you are using.
- Lightly grease your loaf pan(s) and place the risen dough into the pan(s). Lightly cover with plastic wrap and allow to rise within an inch of lip of the loaf pan(s), about 15 – 20 minutes. As your dough is rising, preheat the oven to 350º F.
- Remove the plastic wrap from the loaf pan(s). Bake your sandwich bread until it registers 190º F on an instant read thermometer, about 40-45 minutes. Turn your baked bread onto a rack to cool completely.
To store:
- Store in a bread box or under a cake dome for up to a week.
To Freeze:
- Wrap carefully in plastic wrap and then again in foil. Store in the freezer for up to 6 months.
Notes
1st rising: 1 1/2 hours
2nd rising: 15 minutes Adapted from: USA Pans
Nutrition
Nutrition information is automatically calculated, so should only be used as an approximation.
Happy bread making!
Robyn xo



Thanks for your recipe. However, I have a one question want to ask to you. How many cups all-purpose flour you have use? I think that your meaning is 4 cup to 4cup+1/4cup+1/4cup+1/4cup! But add 1/4cup vs add 3/4cups is a big gap.
The recipe calls for you to use ABOUT 4 cups of flour adding any increment more UP TO 3/4 IF necessary. The weather (humidity) or the brand/type of flour you use may affect how your dough comes out.
As stated in the recipe, you add the 4 cups THEN “Stir until the dough begins to pull away from the sides, adding more flour at ¼ cup at a time until it does so.” I wish I could bold the part that states UNTIL IT DOES SO. You may need less flour for it to PULL AWAY FROM THE SIDES, or you may need the full 3/4 extra cup. Any more than stated in the recipe may possibly result in a dense, tough bread.
Baking can be an art, you get a feel for what works the more you try. 🙂
What adjustments need to be made to make this bread in the bread machine?
I would use the machine to make the dough, but bake this as stated.
Just be sure that your machine can accommodate the amount of ingredients.
If you have the type that bakes long horizontal loafs, you may be able to bake in your machine, as long as
it can handle the amount of ingredients.
Wow, I never thought making bread was this easy and straight forward. Now you’ve got me excited to bake some homemade bread! Nothing like freshly baked bread for a sandwich!
What would conversion be if using whole wheat flour and/or bread flour?
Finally! Someone who makes a post that has me thinking, “THATS WHAT I NEED!” and what i need is a good sandwich bread recipe. Thank you!
I hope you enjoy it, Kelsey! It is an essential around here now!
What size of pullman loaf pan does he use? There seem to be several sizes according to search results, mostly indicated by loaf poundage (1.5 lb, etc). Thanks! My son loves to cook and he wants to try this bread as his first attempt at bread baking.
Hi Cindy,
I love that your son enjoys cooking and wants to try this bread! It is so delicious! For our pullman pan, we use a 13-inch pullman loaf pan (13x4x4). I sure hope he enjoys making it!
What do you “lightly grease” your countertop and pans with? Cant wait to try!
Hi Jeanne,
You can use whatever oil you prefer or butter. I hope you enjoy it!
This looks like a perfect loaf of bread!
Thanks so much, Gaby! We’re spoiled with it now!
Can this be made in a bread machine? thanks!
Hi Michelle,
I’m sure that it could be. I’ve not tested it in a bread machine as I don’t have one anymore. Mine was collecting dust in the cabinets from lack of use. Ha! If you do adapt it for a bread machine, I’m sure there are others that might love that information if you wouldn’t mind coming back to the post and sharing your modifications.
Love this! As easy as it is to throw together sandwich bread, it never comes out just how I want…think I’ll have to try your recipe!
Thanks so much, Karly.