Espresso Powder Recipe
This post may contain affiliate links. Please read my disclosure policy.
Learn how to make homemade espresso powder for baking with this easy recipe. Enhance chocolate flavor in cakes, brownies, cookies, and frostings without any coffee taste. Step-by-step instructions, tips for beginners, and storage ideas.

Make your own espresso powder at home with this easy, budget-friendly recipe. Professional bakers swear by it to deepen and intensify chocolate flavor in cakes, brownies, cookies, frostings, and more—without any noticeable coffee taste when used in the right amounts.
I originally shared my homemade espresso powder recipe in 2015 and I have made it at least four times a year since then. As you know, I think recipes are living things to be updated as you find a way that works better, faster, or more easily for you, or gives a result you like a little bit more. That’s the case with this recipe. This post is now updated to include this update of using brewed espresso grounds. This method produces a more concentrated flavor than toasting whole beans directly. Both methods work well, but brewing first often produces a stronger, more effective powder for baking.
Whether you’re a first-time baker experimenting with chocolate recipes or a seasoned pro looking to elevate your baked goods, this simple DIY version delivers professional results. It’s customizable, stores well, and costs far less than store-bought over time.
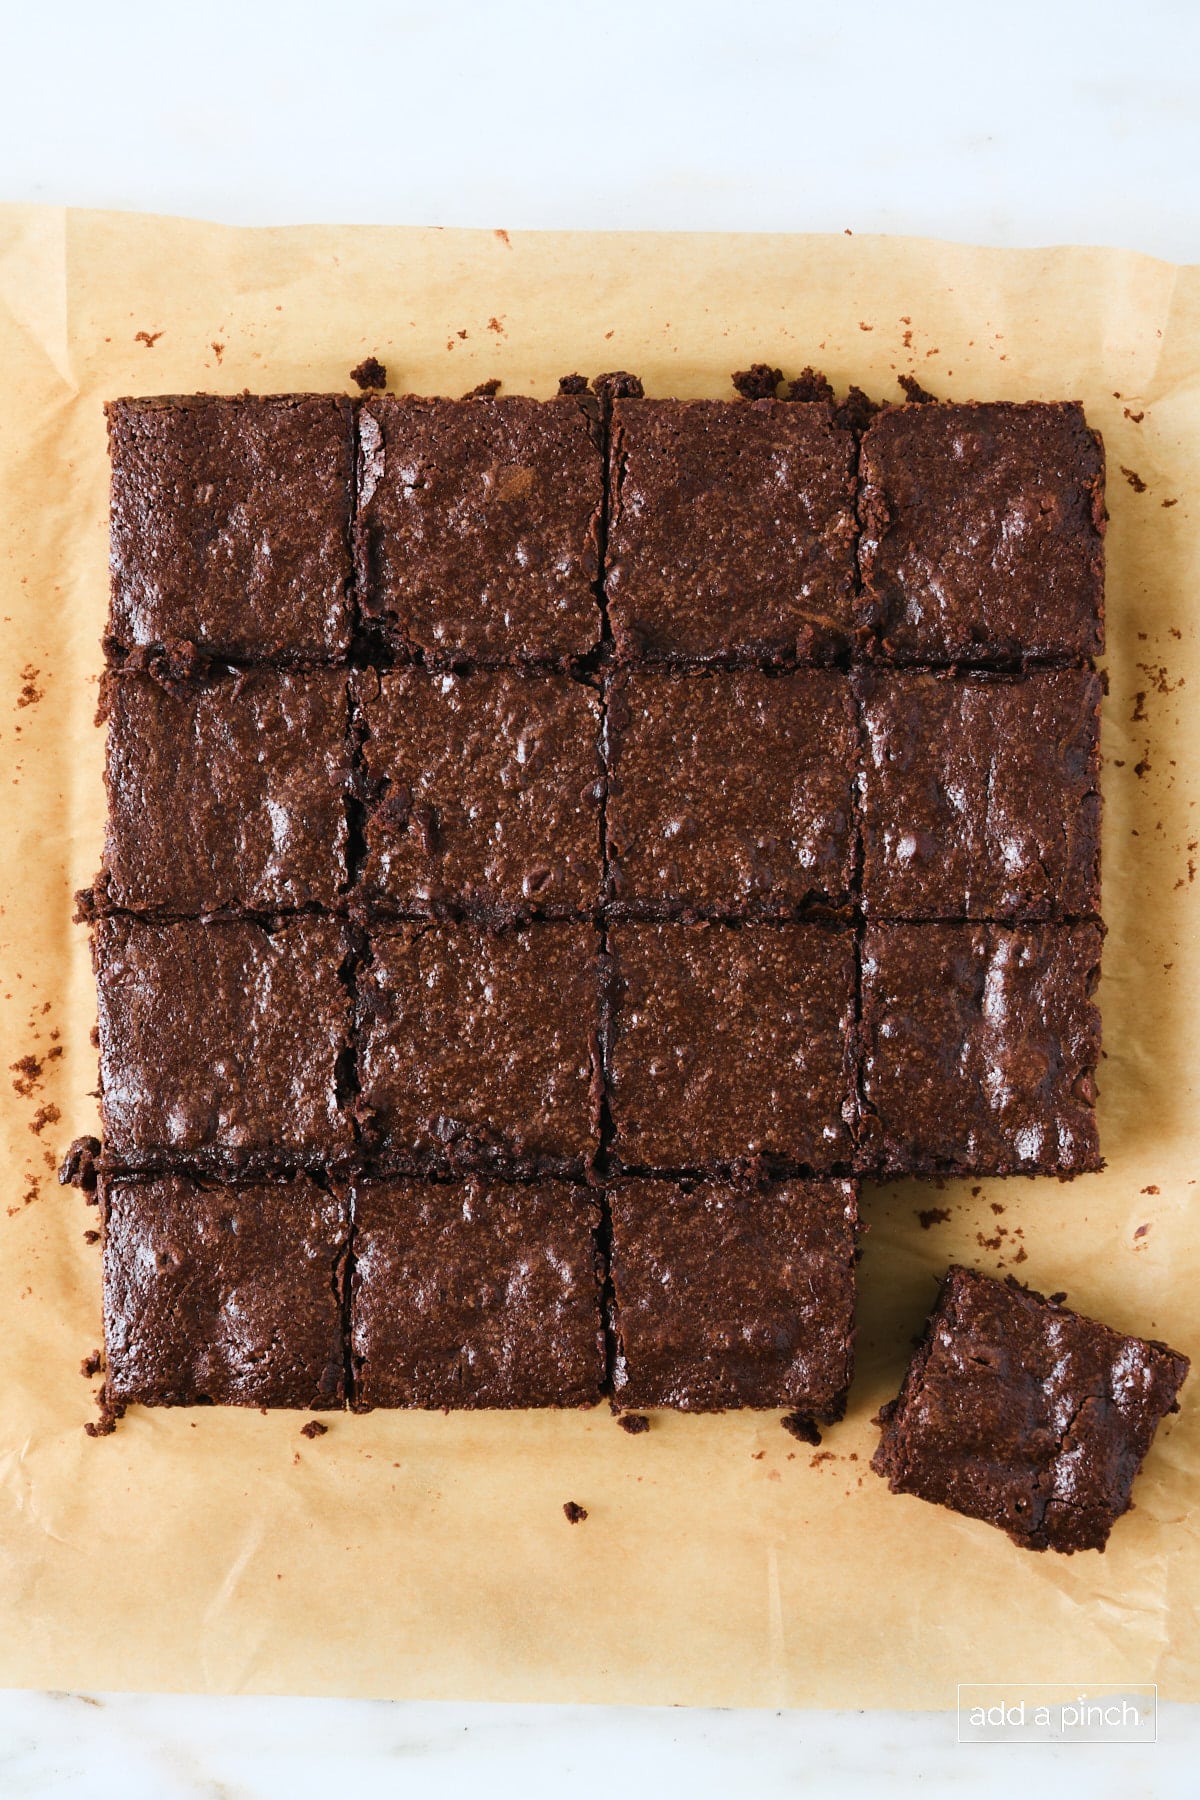
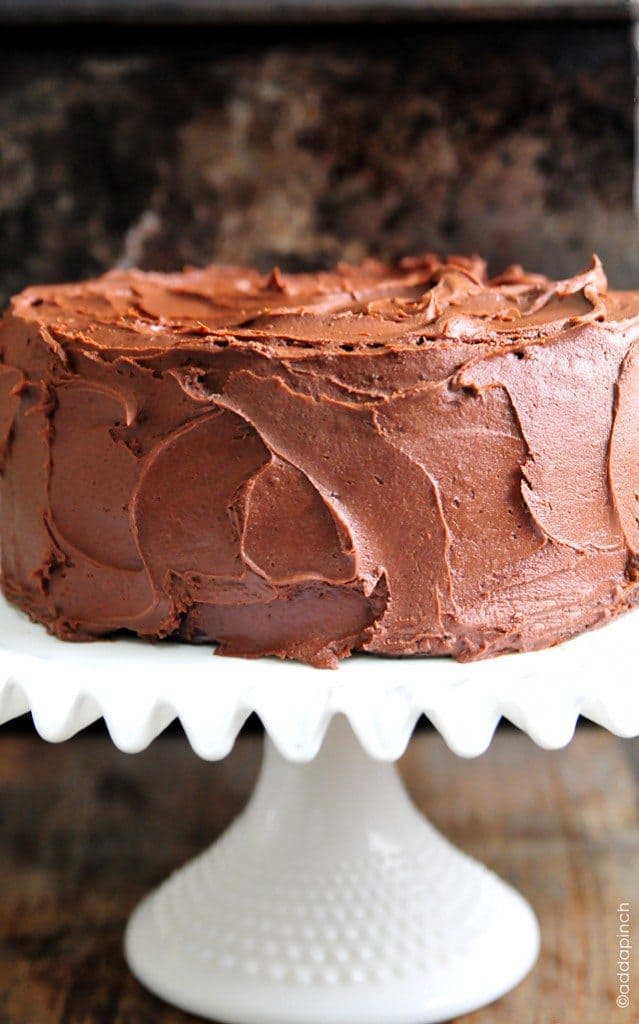
This is that one special ingredient that intensifies the chocolate flavor in your baking for the best chocolate cakes, fudge brownies, brownie cookies, and your other chocolate baked goods.
Imagine everyone drooling over that chocolate cake topped with chocolate buttercream frosting that everyone requests for their birthday, anniversary, or any other special occasion.
Well, I shared that cake and frosting with you many, many years ago, and I even shared the one secret ingredient that I think takes that cake to the next level of deliciousness – espresso powder!
Now, let’s learn how to make it at home!
Why Make Homemade Espresso Powder?
A small amount (often just 1 teaspoon) transforms ordinary chocolate desserts into show-stoppers. It enhances cocoa’s natural richness and darkness without bitterness or a coffee aftertaste. Perfect for:
- Chocolate cakes and cupcakes
- Fudge brownies
- Chocolate buttercream frosting
- Cookies, chocolate banana bread, and more
Many readers notice the difference immediately when comparing versions with and without it. Best of all, you control the quality and freshness.
Homemade Espresso Powder Recipe
Many of you have asked me where to find espresso powder over the years. You can purchase it online at many bakery supply stores, Amazon, and grocery stores. I’ve also found it in my local Publix and Kroger grocery stores recently. But I also love that I can make it myself!
This super simple recipe is one that once you make your own, you’ll want to make sure to have a supply of it at all times!
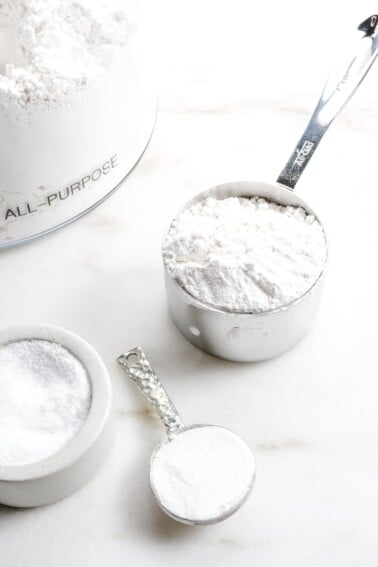
What You’ll Need to Make Homemade Espresso Powder
You only need a handful of simple tools and ingredients to make this easy homemade espresso powder. Here’s everything that works best:
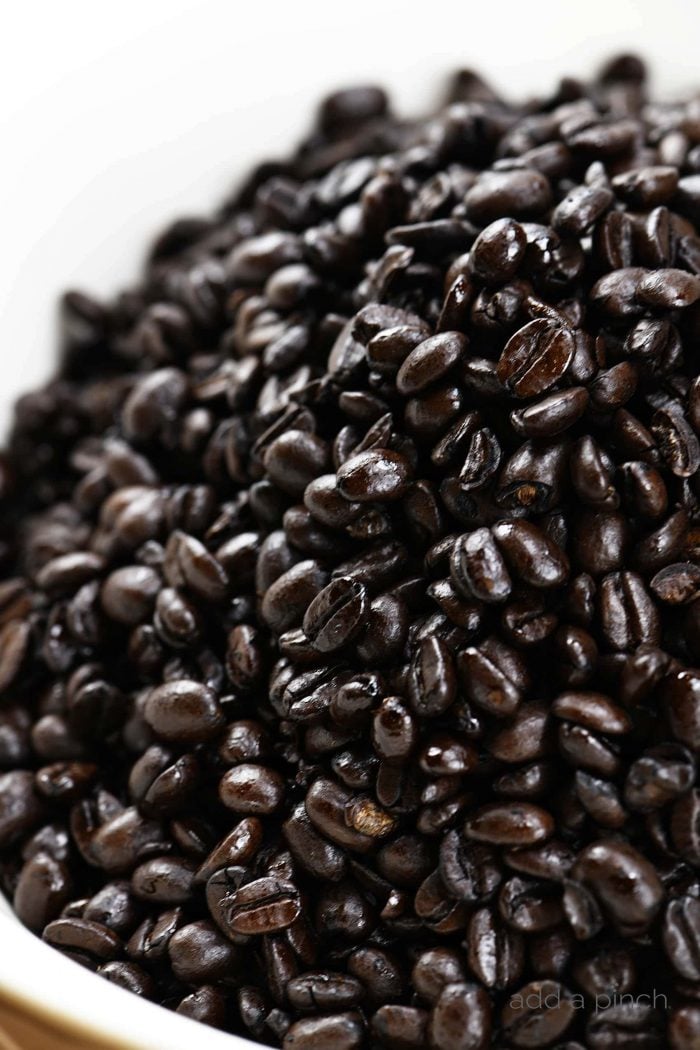
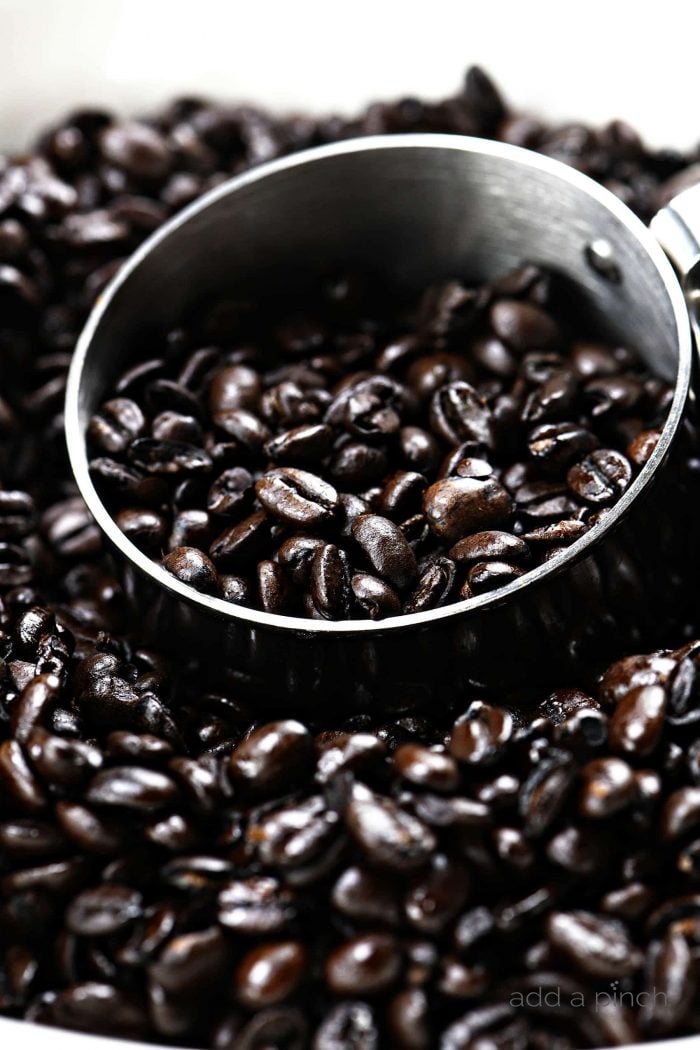
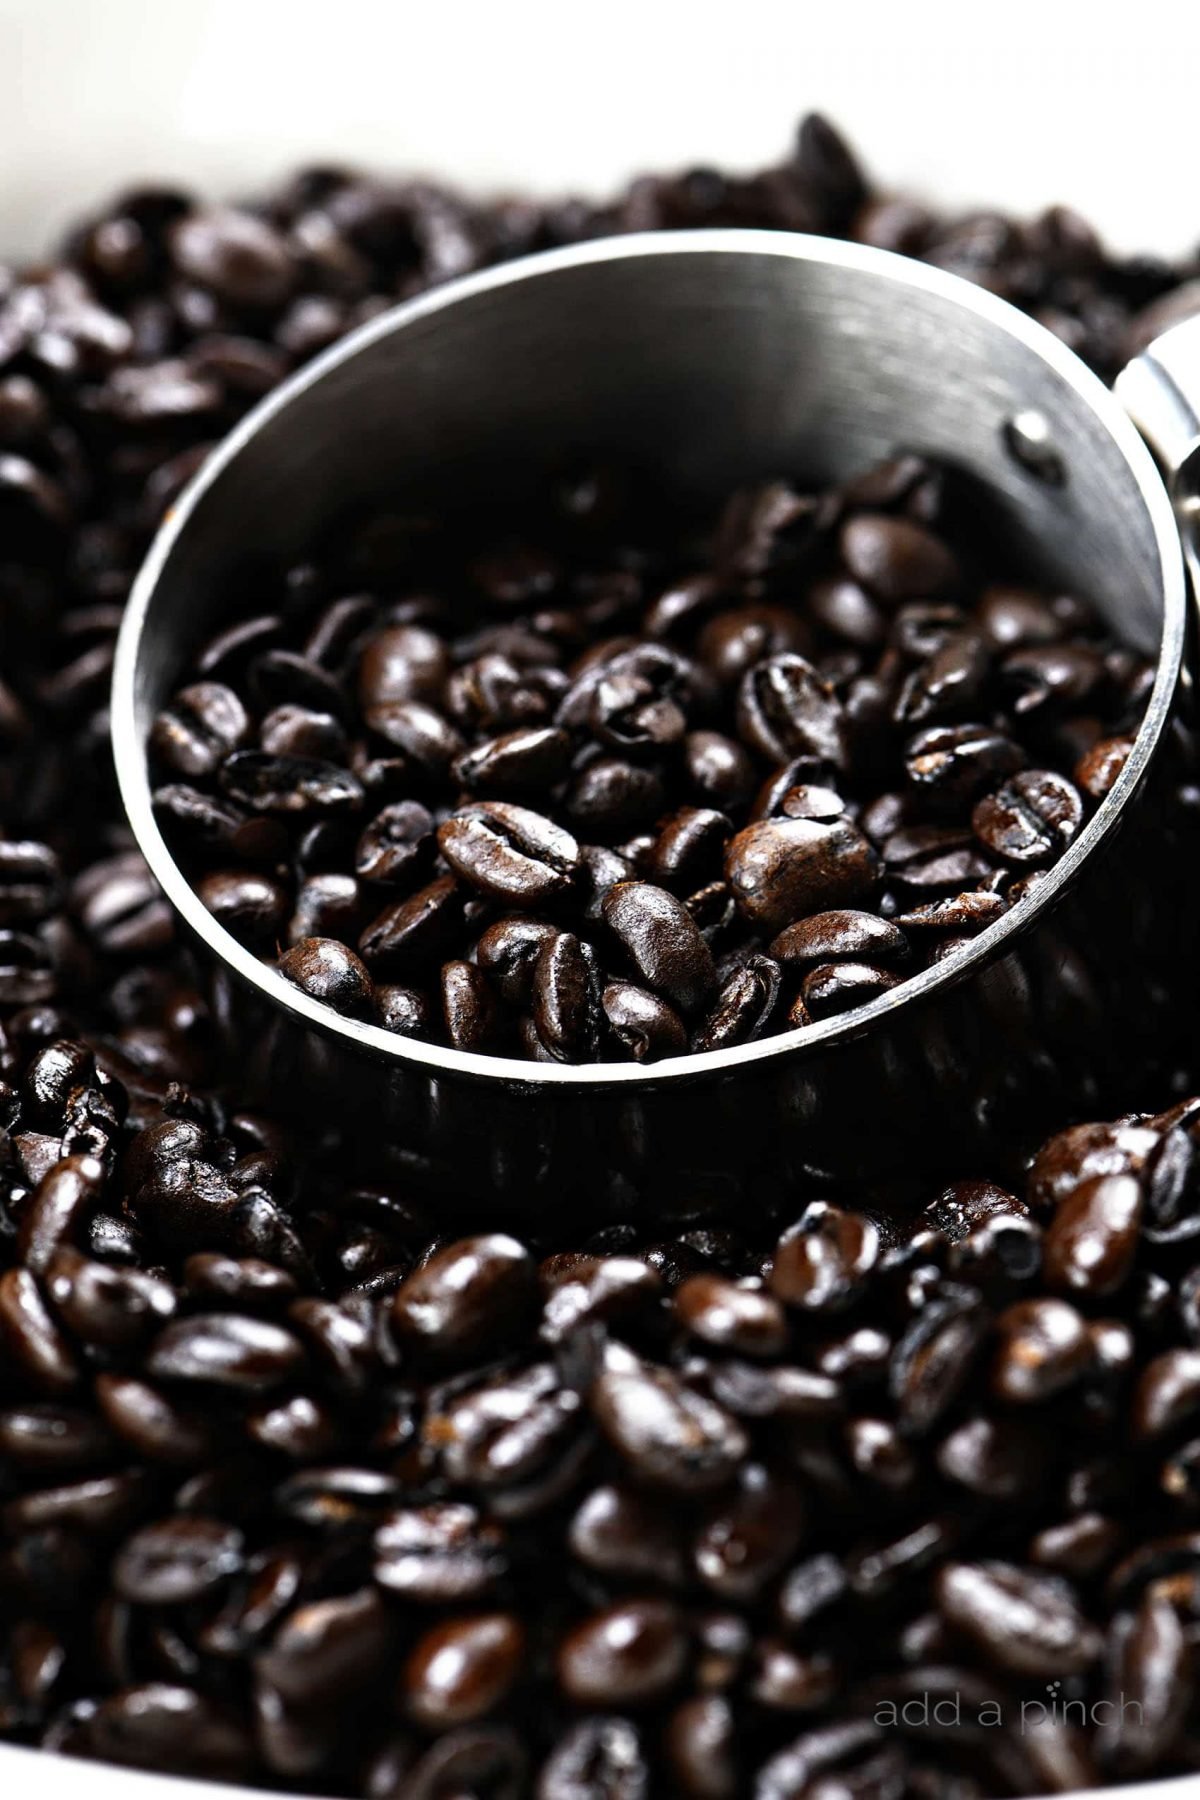
- Espresso beans or ground espresso (for brewing strong espresso)
- Rimmed baking sheet
- Parchment paper
- Coffee or spice grinder (or high-powered blender)
- Airtight storage container (small Mason jar or spice jar)
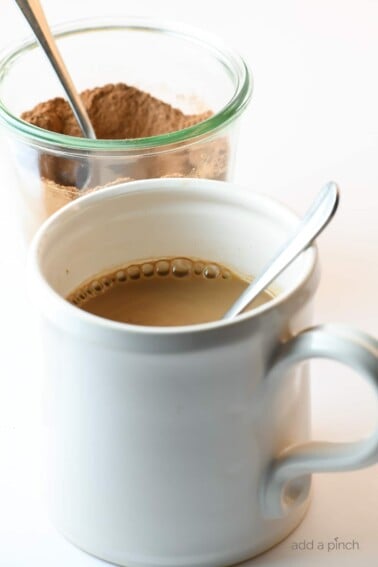
Espresso Beans / Grounds: Brew very strong espresso using your preferred beans or grounds. Medium-roast espresso beans (organic if possible) deliver excellent results. Locally roasted or grocery store options like Starbucks Espresso work well. Decaf is perfect for caffeine-sensitive households. The amount you brew determines your final yield.
Rimmed Baking Sheet: A standard rimmed half-sheet pan is ideal because the edges keep the grounds contained while allowing even heat circulation. Line it with parchment paper for easy cleanup and even drying.
Coffee or Spice Grinder or High-Powered Blender: A dedicated coffee or spice grinder produces the finest powder, which is essential for smooth incorporation into batters and frostings. Burr grinders are excellent, but even an inexpensive blade grinder works great. Many readers also achieve good results with a high-powered blender like a Vitamix. Clean it thoroughly before and after use.
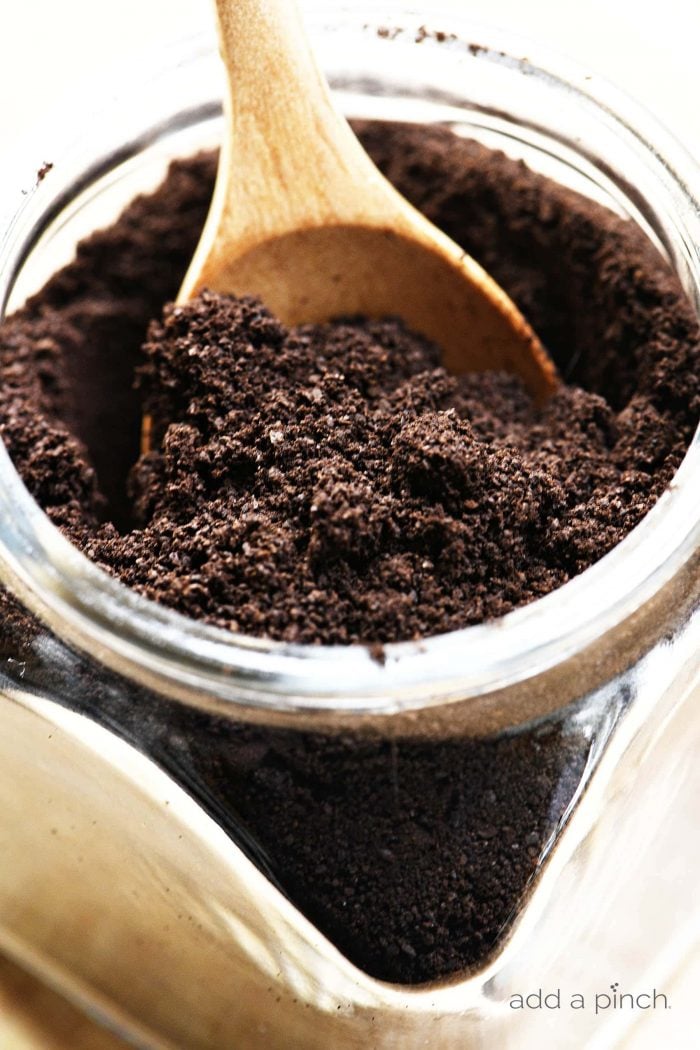
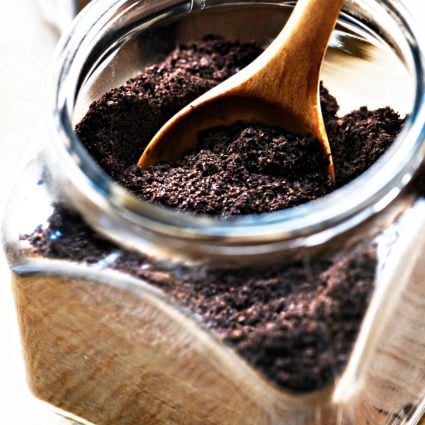
Airtight Storage Container: Transfer your finished espresso powder to a small airtight jar—such as a spice jar or mini Mason jar—for maximum freshness. Stored properly in a cool, dry place, it will stay potent for up to 6 months. Labeling the jar with the date is a helpful habit.
How to Make Homemade Espresso Powder for Baking
Ingredients
Be sure to see the recipe card below for the full listing of ingredients, instructions, notes, and estimated nutritional information.
- Espresso Beans (or ground espresso)
Step by Step Instructions
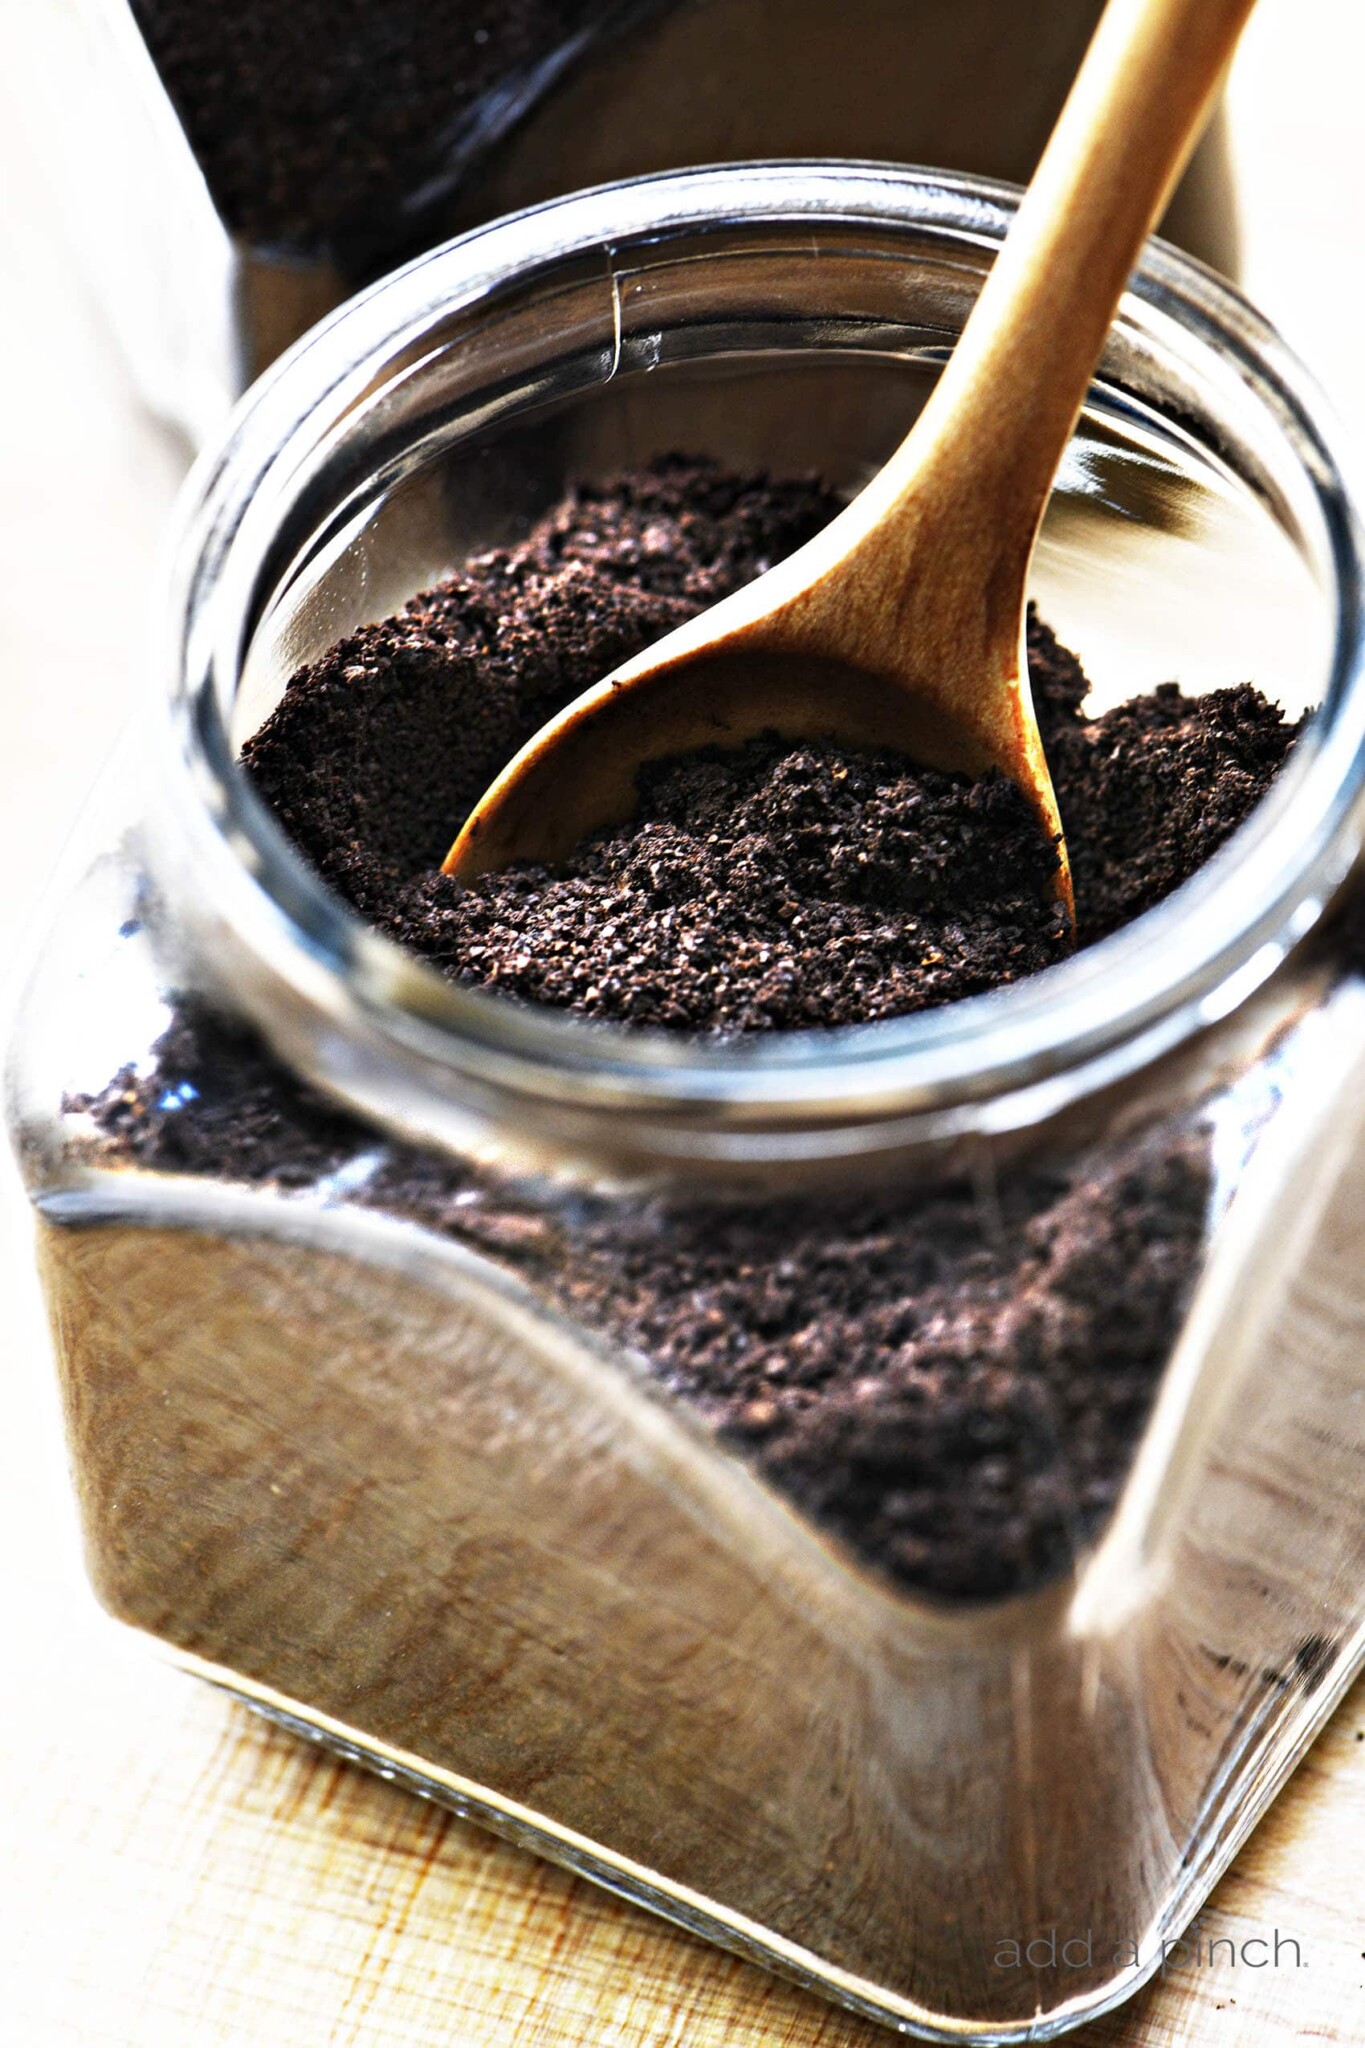
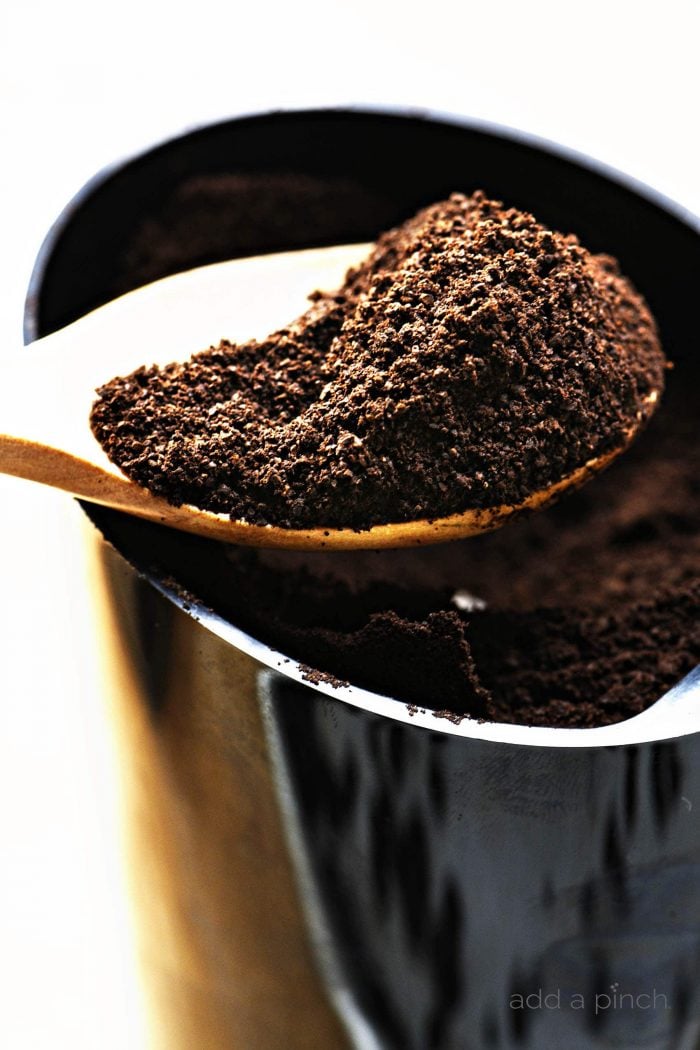
- Grind espresso beans very finely. Brew and drain the grounds.
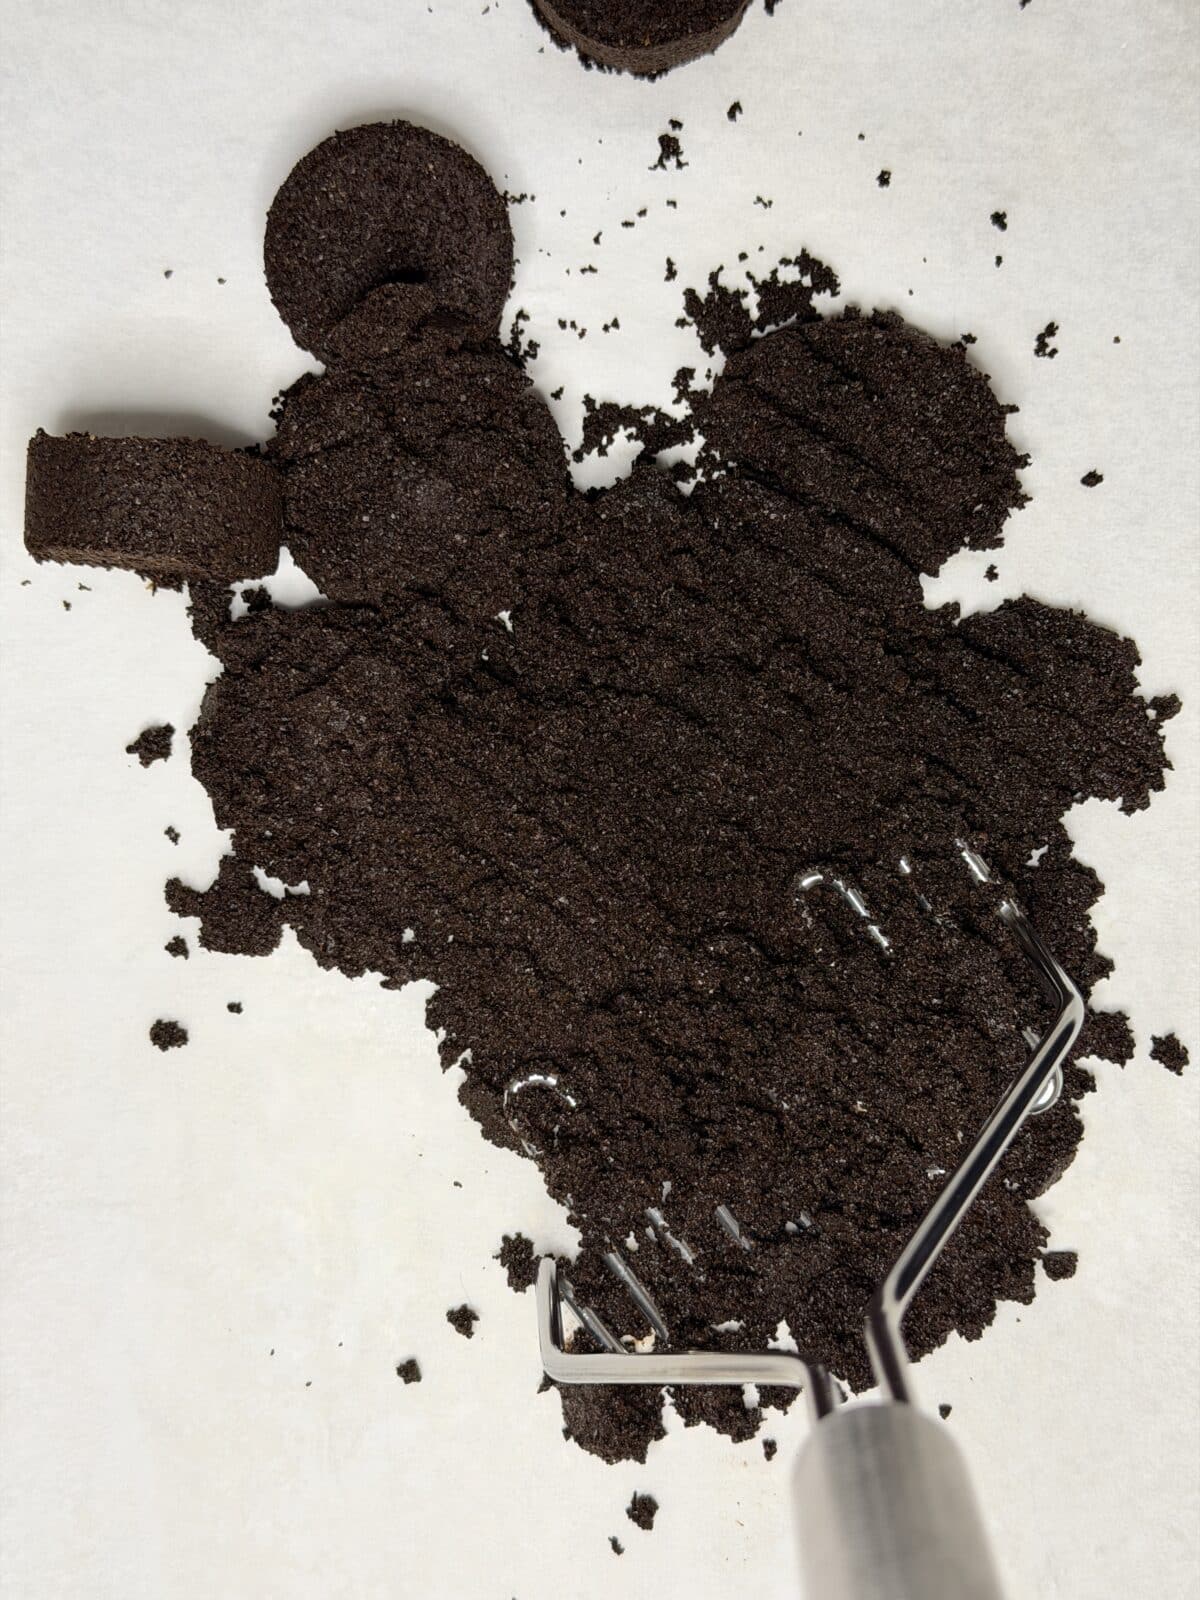
- Spread the grounds in a single layer onto a parchment-lined baking sheet.
- Bake until dried, about 1 to 3 hours. Allow to cool completely.

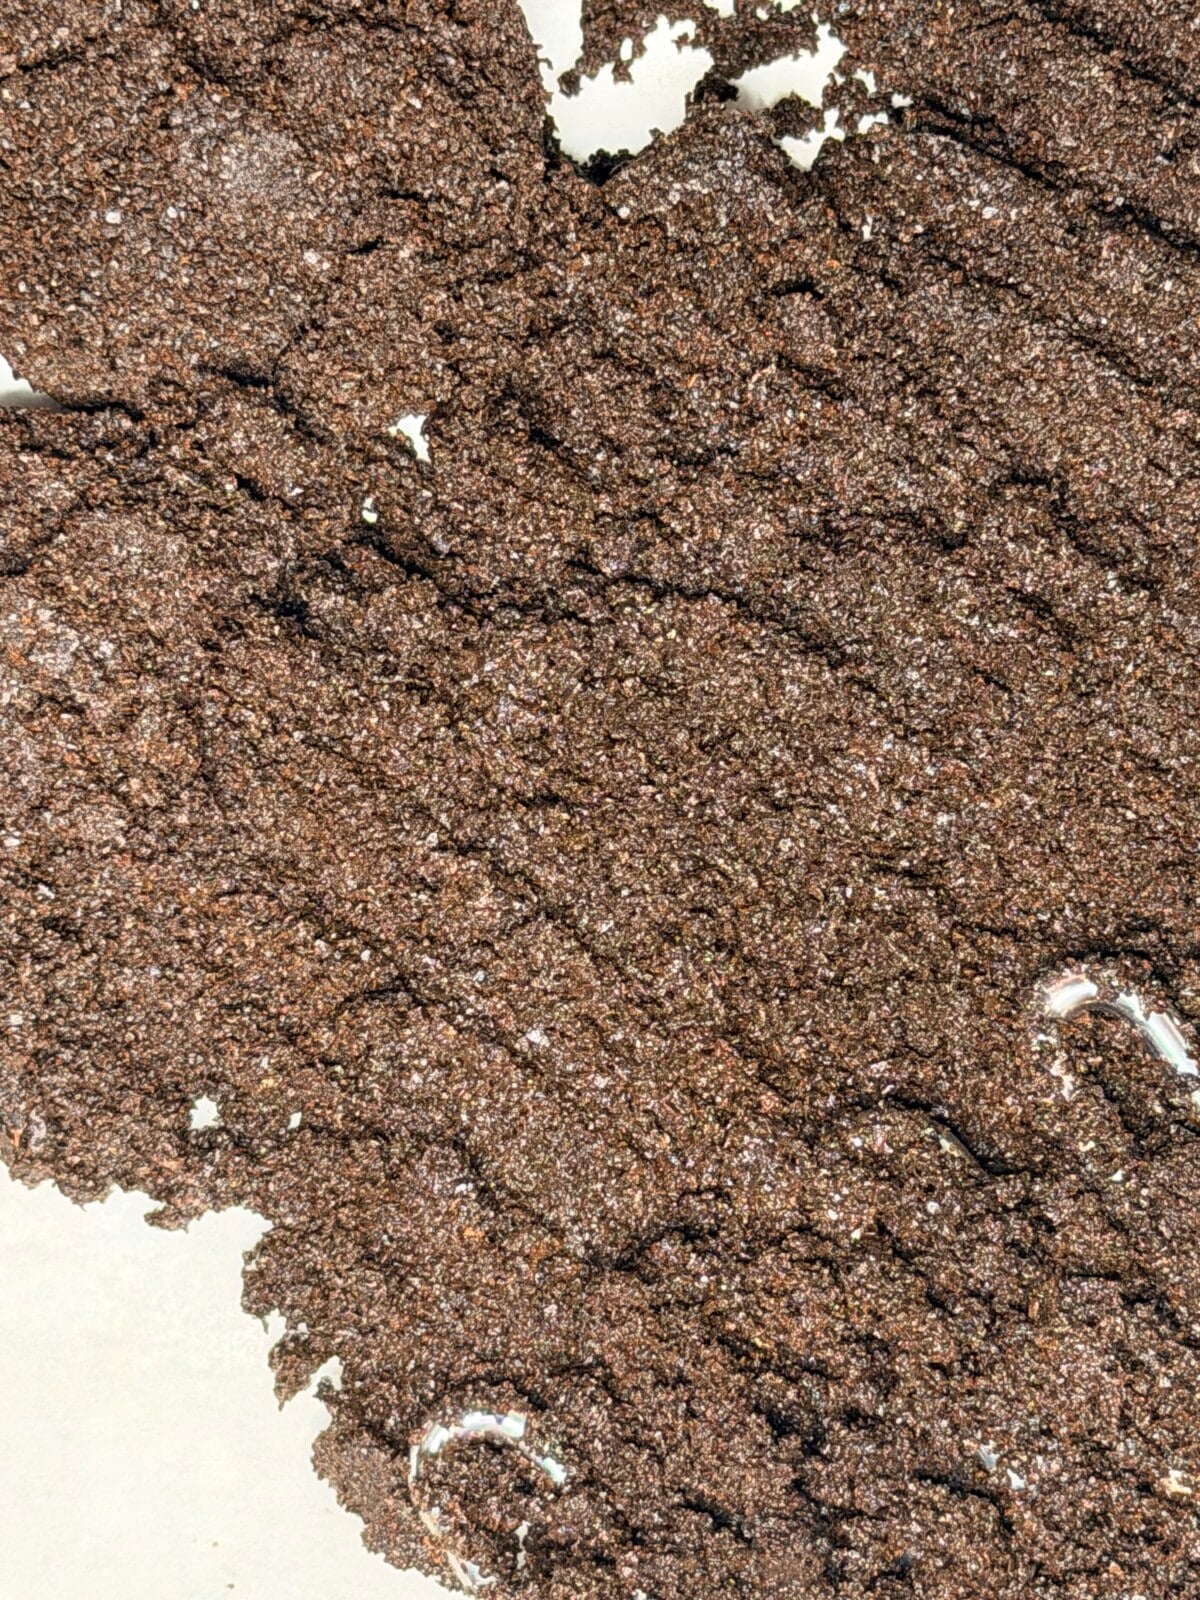
- Grind the dried espresso grounds in a spice grinder.

- Transfer to an airtight container to use and store.
- Use in your favorite chocolate recipes.
Pro Tip for Beginners: Stir the grounds frequently during baking to ensure even drying. Grind in short bursts and check consistency often. If some coarser bits remain, sift them out or re-grind for the smoothest results.
Why this Method?
Brewing first extracts and concentrates flavors before drying, often producing a more potent powder than toasting dry beans.
Helpful Tips for Success
- First-time bakers: Start with a small batch (1–2 cups brewed espresso) to get comfortable with the drying process. The fine grind is crucial for seamless blending into batters and frostings.
- Experienced bakers: Scale up for larger batches. Experiment with different espresso strengths or roasts for subtle flavor nuances. This makes thoughtful homemade gifts.
- Drying variations: Oven temperatures and humidity can affect timing—focus on dryness and slight crunch rather than exact minutes. Stirring every 30 minutes prevents clumping.
- Moisture check: Grounds are ready when they feel completely dry and slightly crunchy. In humid climates, they may need the full 3 hours or more.
- No coffee flavor? When used sparingly (1–2 tsp per standard cake or batch of brownies), it purely amplifies chocolate. Overdoing it is the main cause of any off-notes.
- Substitutions: Omit entirely if preferred—no impact on texture or rise. Use decaf espresso for caffeine-sensitive households.
- Storage & freshness: Airtight is key. Label with the date for best results.
Favorite Ways to Use It
- The Best Chocolate Cake
- Perfect Chocolate Buttercream Frosting
- Fudge Brownies or Brownie Cookies
- Chocolate Cupcakes or Chocolate Banana Bread
Search the site for “espresso powder” for even more inspiration.
This homemade espresso powder is a game-changer for chocolate lovers. Once you try it, you’ll keep a jar on hand at all times. It’s simple, effective, and brings bakery-quality results to your home kitchen.
Saving and Using Spent Espresso Grinds for Espresso Powder
You can also save your spent espresso grinds from when you make espresso. Here’s how:
Refrigerator: (Short term: within a week of first grinds saved) Drain and press your spent grinds to remove as much excess moisture as possible. Store the grinds in an airtight container in the refrigerator. When ready to use, remove from the refrigerator and proceed with the recipe for making your espresso powder.
Freezer: (Longer term: up to 3 months) This is my preferred method for storing spent grinds to use for making espresso powder. Drain and press the spent grinds to remove as much moisture as possible. Store in an airtight container. When ready to use, remove from the freezer, spread the grinds onto the baking sheet you’ll use to dry them in the oven, but allow them to thaw completely before placing them in the oven. Proceed with the recipe for making the espresso powder.
Frequently Asked Questions
This recipe uses spent espresso grounds (after brewing very strong espresso), which is a popular and effective method. It repurposes the grounds and produces a fine powder perfect for baking. Some recipes toast whole beans, but using brewed grounds is often preferred for a more concentrated, true espresso flavor.
Brew it as strong as possible—use the recommended amount of grounds for your machine or a heavy ratio (e.g., double or triple strength). The stronger the brew, the more potent your final espresso powder will be.
You can, but espresso grounds are recommended for the deepest chocolate-enhancing flavor. Regular coffee will work but may give a milder result and sometimes gives an aftertaste.
Baking time varies from 1 to 3 hours at 175°F depending on how much you’re making and the moisture in the grounds. Stir every 30 minutes and continue until the grounds are completely dry and slightly crunchy.
No – when used in small amounts (typically 1–2 teaspoons per standard recipe), it enhances and deepens chocolate flavor without a noticeable coffee taste or bitterness.
Yes! The recipe scales easily. Brew as much strong espresso as you want — the process remains the same.
A regular coffee or spice grinder works great. Grind in small batches to achieve the finest powder possible. A high-powered blender is a good alternative.
It’s very similar in function and often fresher. Commercial versions are usually made from brewed then spray-dried espresso, while this is a simple home version that performs excellently in cakes, brownies, and frostings.
Absolutely. Decaf is a great option for caffeine-sensitive bakers or households with children.
Continue baking in 30-minute increments, stirring each time, until they feel dry and crunchy. Oven variations and humidity affect drying time.
Yes! This is how I made my espresso powder for years. That method toasts 1 cup of beans at 200°F for ~1 hour, then grinds. The brewed-grounds method often yields stronger results, but both work well.
Here’s my Homemade Espresso Powder recipe. I hope you enjoy it and the delicious recipes you create with it!
Get This Recipe In Your Inbox
Share your email, and we'll send it straight to your inbox. Plus, enjoy daily recipe inspiration!
Espresso Powder Recipe
Ingredients
- 1 cup espresso beans, medium roast preferred; organic if possible; decaf optional
Instructions
- Grind espresso beans very finely.
- Brew very strong espresso (double or triple strength) using the ground beans. Drain the grounds thoroughly.
- Preheat oven to 175ºF.
- Spread drained grounds in a thin, even layer on a parchment-lined baking sheet.
- Bake for 1–3 hours, stirring every 30 minutes, until completely dry and slightly crunchy.
- Cool grounds completely at room temperature.
- Grind cooled grounds in batches to a very fine powder.
- Store in an airtight container in a cool, dry place for up to 6 months.
Notes
- Prep time is 15 minutes active (plus brewing and cooling)
- Baking time varies with quantity and moisture—start checking after 1 hour.
- Stir every 30 minutes for even drying and to prevent clumping.
- Grind as finely as possible (both before brewing and after drying) for best results in baked goods.
- Decaf espresso beans work well for caffeine-sensitive households.
- Make a small test batch first if you’re new to this method.
- Label jar with date for best freshness tracking.
Nutrition
Nutrition information is automatically calculated, so should only be used as an approximation.
Enjoy!
Robyn xo
Originally published in 2015. Updated June 2026 to provide information and instructions for the updated method.


QUESTION:
I make espresso everyday and tend to throw out the grinds. Is it possible for me to save a week’s worth of grinds and dry them out in one sitting by the end of the week? I wonder if saving them in a jar in the fridge would work or if they’d go moldy before I could even attempt this. Thoughts?
Hi Marg! Yes! You can save your spent espresso grinds after brewing your espresso. Drain and press out as much water as possible from the grinds, place into an airtight container, and store in the fridge. I generally like to use them within a few days. I recommend checking the grinds to make sure they smell and appear good to use. Then proceed with the recipe for making the powder.
If you plan to wait more than a week or two to make your espresso powder, I recommend draining and pressing out as much water as possible and then storing in an airtight container in the freezer. You’ll then need to remove from the freezer and thaw them before proceeding with the recipe.
I’ve updated the recipe to include this as well.
Your pictures and recipies look delicious and eye appealing. However, I can’t help but lose trust in them once I read the “How to make expresso powder”. That is not the way expresso powder is made. Espresso powder is not just finely ground roasted espresso coffee beans. While some might mistake it for very fine grinds, espresso powder is actually brewed, concentrated espresso that has been dried and ground into a fine, dust-like powder. Unlike ground coffee, espresso powder dissolves completely into liquids, making it ideal for baking and frostings without leaving a gritty texture.
Super easy to make . Absolutely delicious in the cake and frosting. Thank you very much for the recipe. I didn’t change a thing.
Can this be done with decaf coffee beans for those of us that are caffeine sensitive?
Ciera, you can just omit the espresso powder with no other changes to the recipe. The cake is still delicious.
Hi there, Robyn!
I’ve been getting ingredients ready to bake this chocolate cake and wanted to reach out regarding the espresso powder. From what I have researched there seems to be a fundamental difference between store bought and home made, in that they claim that store bought espresso powder is pre brewed and formulated to dissolve when mixed as an ingredient. And apparently home made espresso powder doesn’t? I see from your previous responses that you have had repeated success with the home made type dissolving in the recipe per your specs and not resulting in a gritty texture in the final cake. I’m double checking cause I’m making this for my mother in law’s birthday tomorrow and want to make sure all is in order!😂 Thank you so much for sharing your recipe and expertise!
Doug
Doug, make sure your beans are ground to a fine powder. I use espresso beans that have already been roasted. I prefer to use medium roast espresso beans and then roasting them until they are lightly toasted and dried. This helps to dry the beans even further so they can be ground to a finer powder. Many people say they grind theirs in their Vitamix to a fine powder. I also always recommend before you make something for a special occasion that you do a trial run to make sure the cake turns out the way you want. I would recommnend you do this with the espresso powder since you have not made it before. I hope your mother-in-law has a very happy birthday and enjoys her cake.