Red Velvet Cake Recipe
This post may contain affiliate links. Please read my disclosure policy.
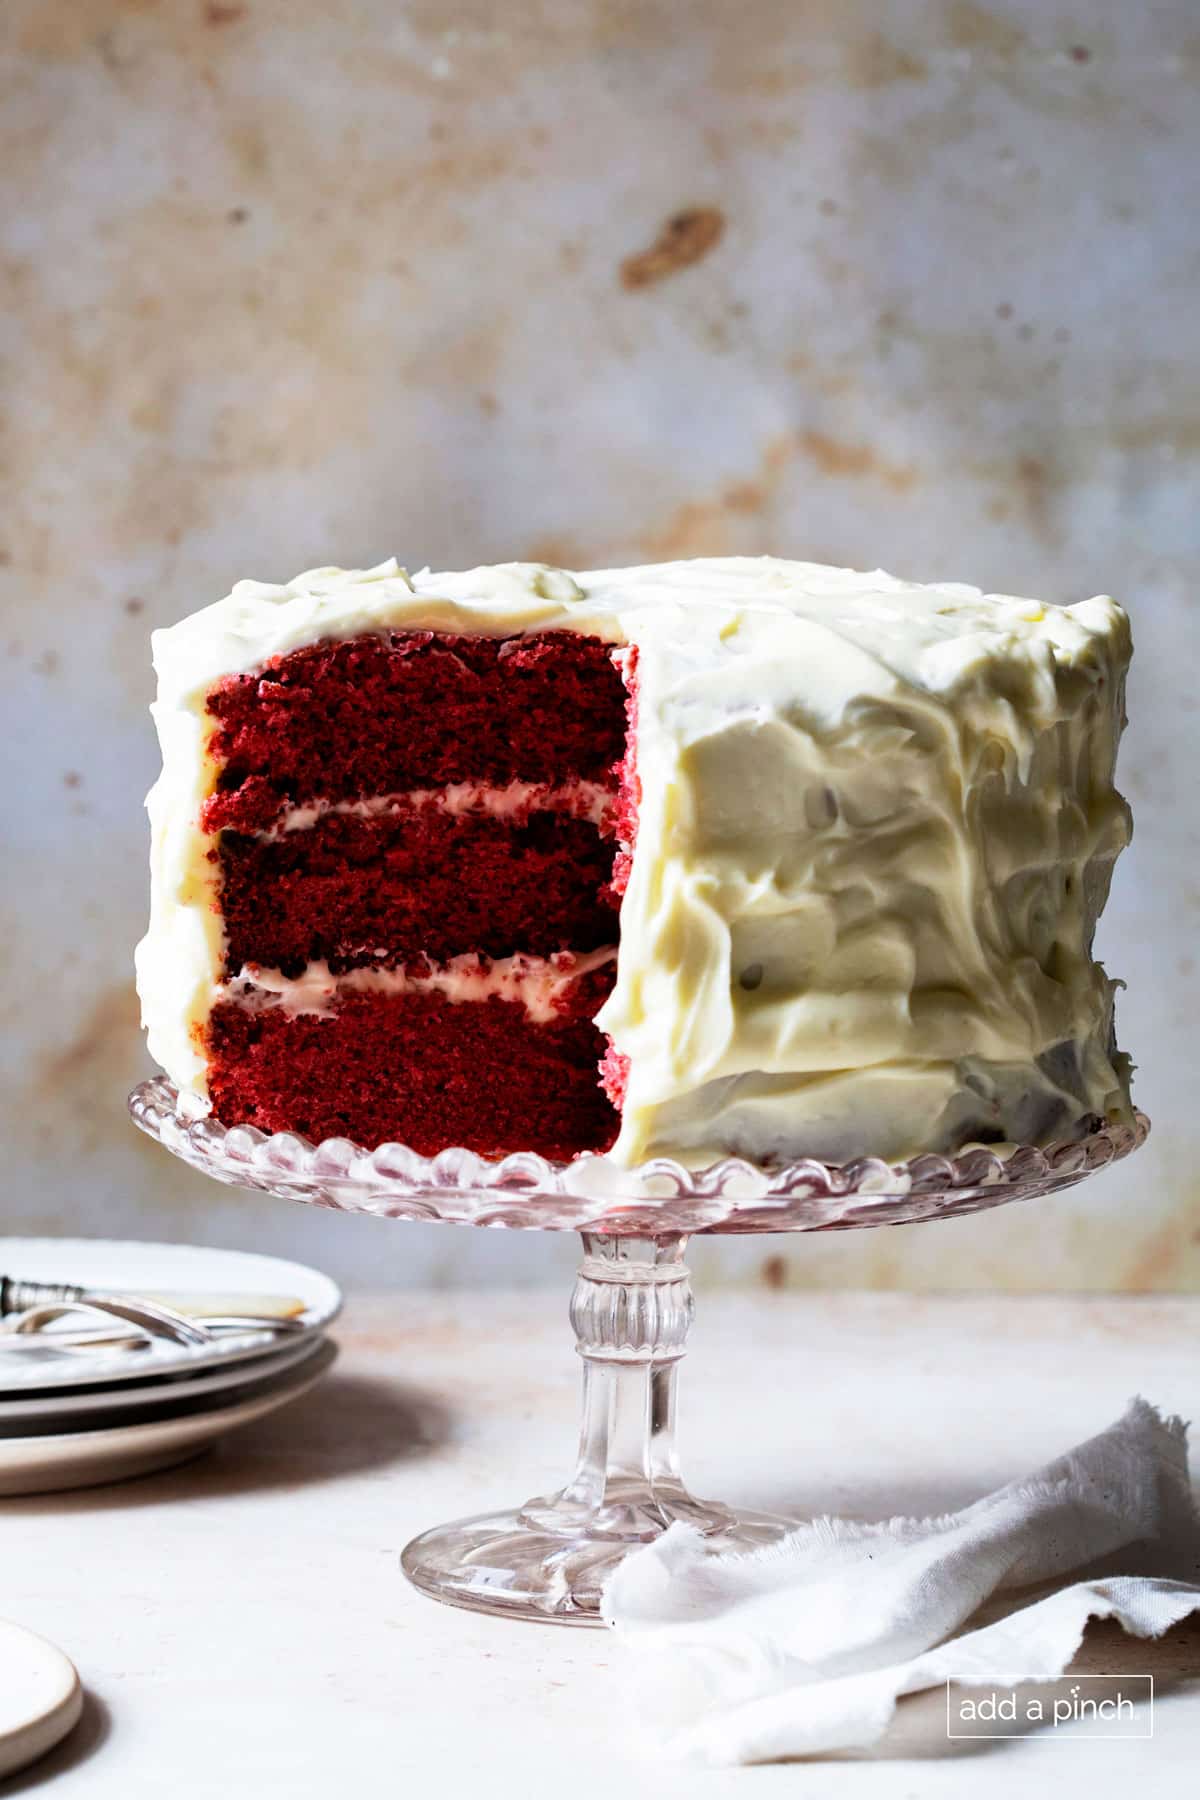
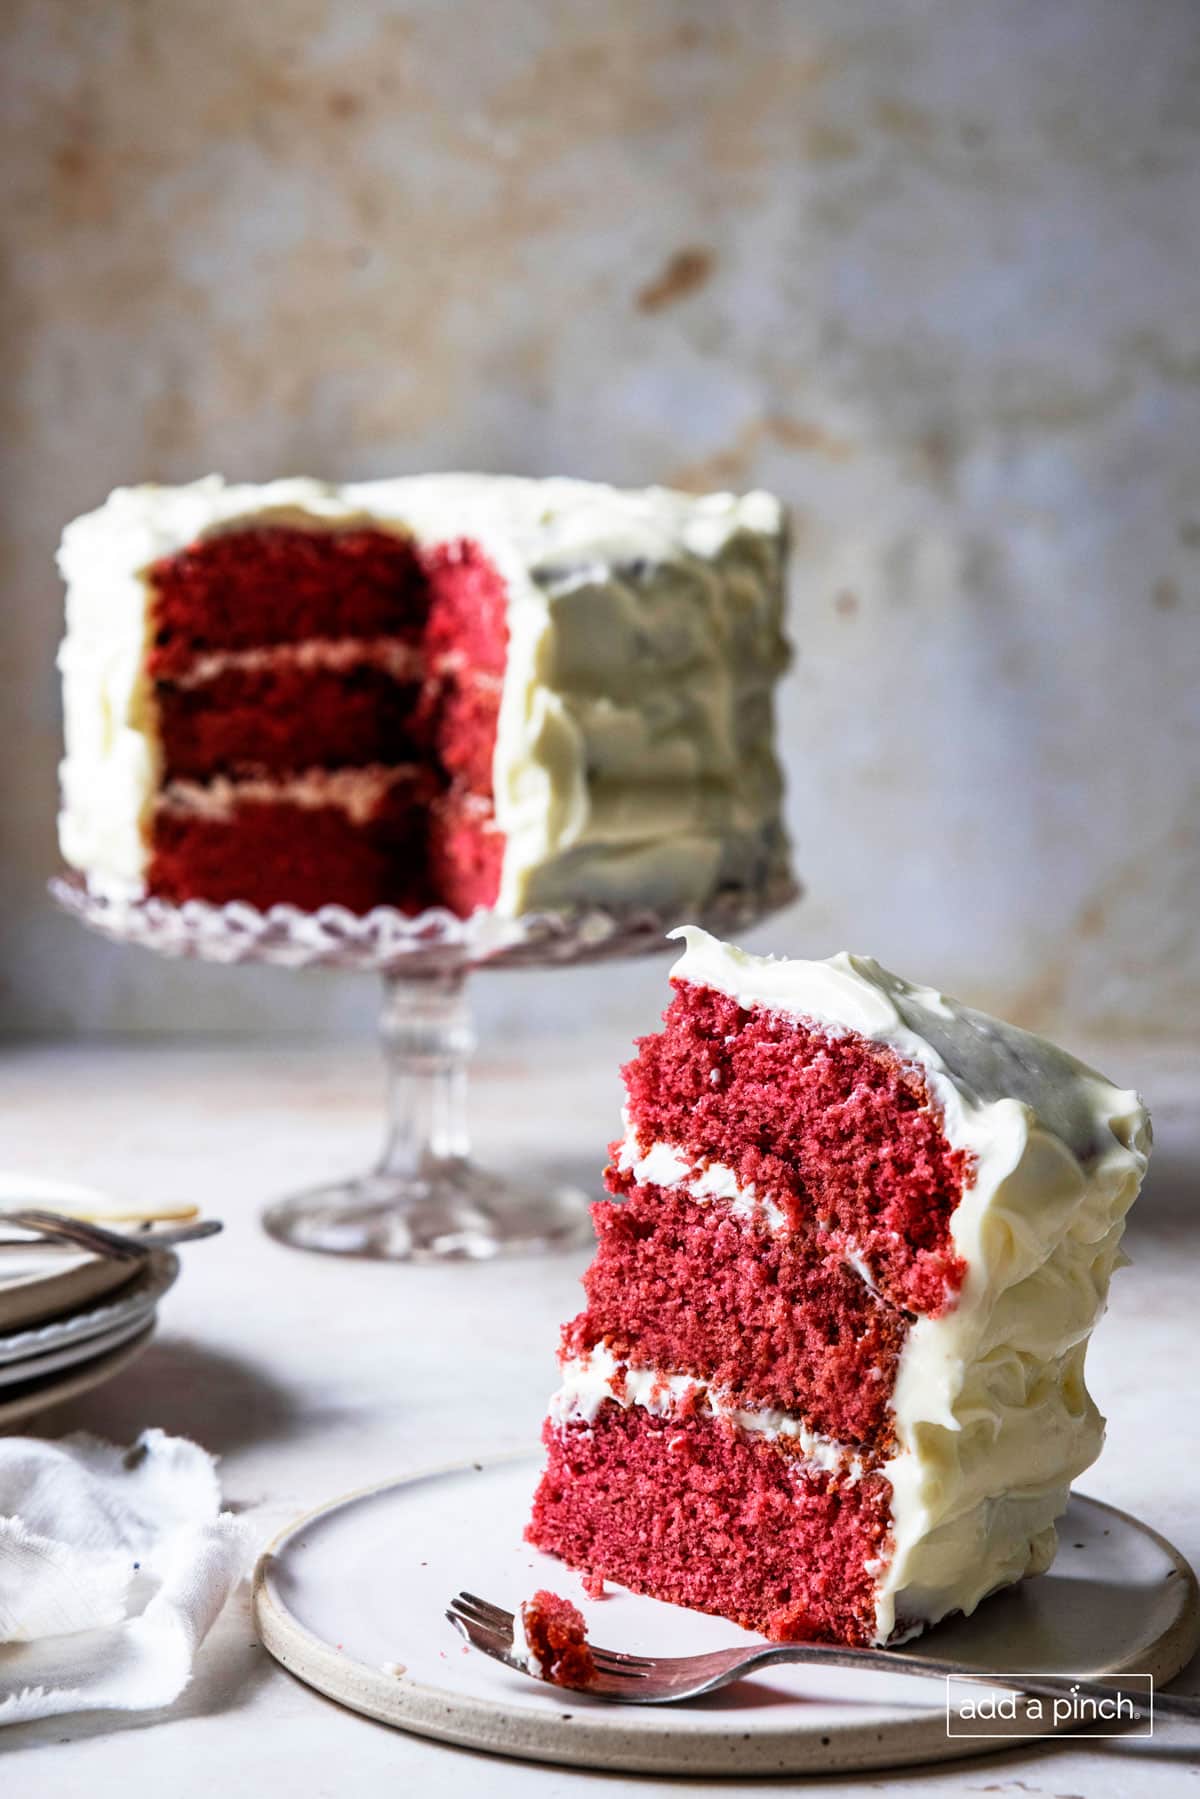
This decadent Red Velvet Cake is a signature deep red layer cake with rich buttery, vanilla, and cocoa flavors, with a hint of a buttermilk tang! Topped with old-fashioned Heritage frosting or thick cream cheese frosting, this classic family recipe makes the best Red Velvet Cake!

Why You’ll Love This Recipe
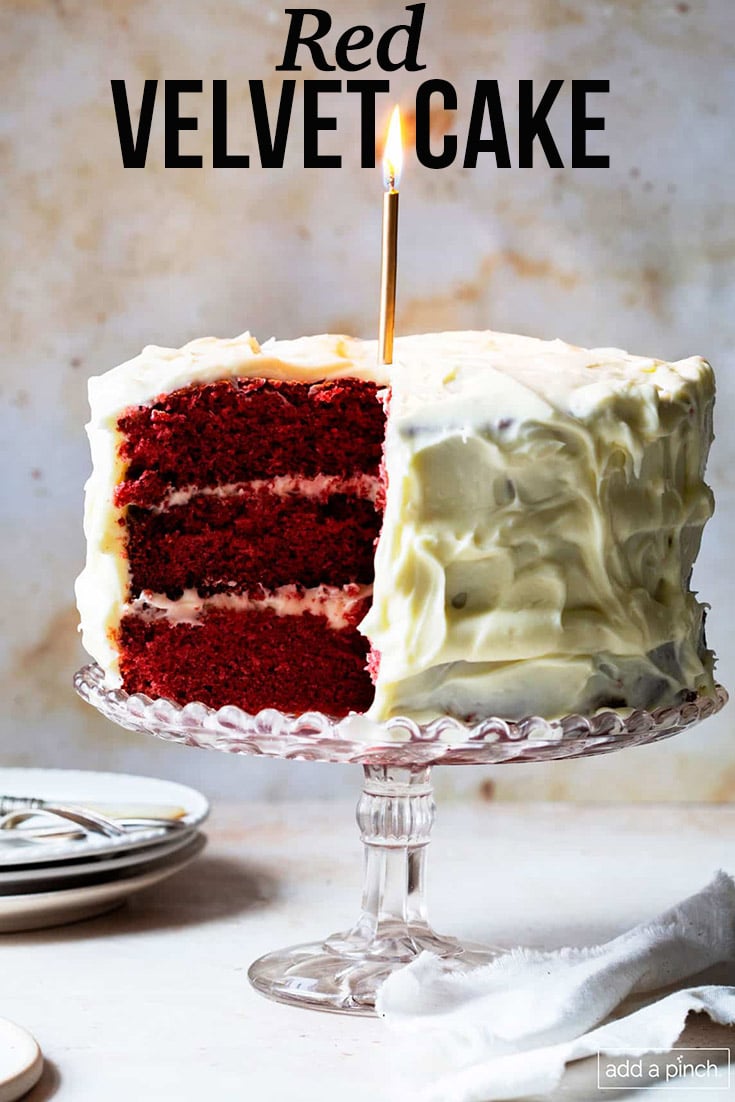
Classic Red Velvet Cake. This recipe makes the iconic cake everyone loves for Christmas, Valentine’s Day, and other special occasions like birthdays! (It was the delicious cake my mama always made for my birthday.)
Easy. It is an easy cake recipe that yields an impressive, gorgeous cake! You’ll love that it is made from scratch, yet easy as can be!
Flavor. Red Velvet Cake combines butter, vanilla, and cocoa with the tangy buttermilk flavor and sweetness from the creamy frosting.
How to Make Red Velvet Cake
Red Velvet Cake is certainly an impressive cake! Standing tall and topped with either Heritage Frosting (cooked frosting) or Cream Cheese Frosting, it’s a favorite for Christmas and other holidays, birthdays, and special occasions. While it’s simple to make from scratch, it’s much more than just a red-colored layer cake. The flavor of this cake is unique and scrumptious, and the texture is velvety delicious!
Ingredients for Red Velvet Cake
Be sure to see the recipe card below for the full listing of ingredients, instructions, notes, and estimated nutritional information.
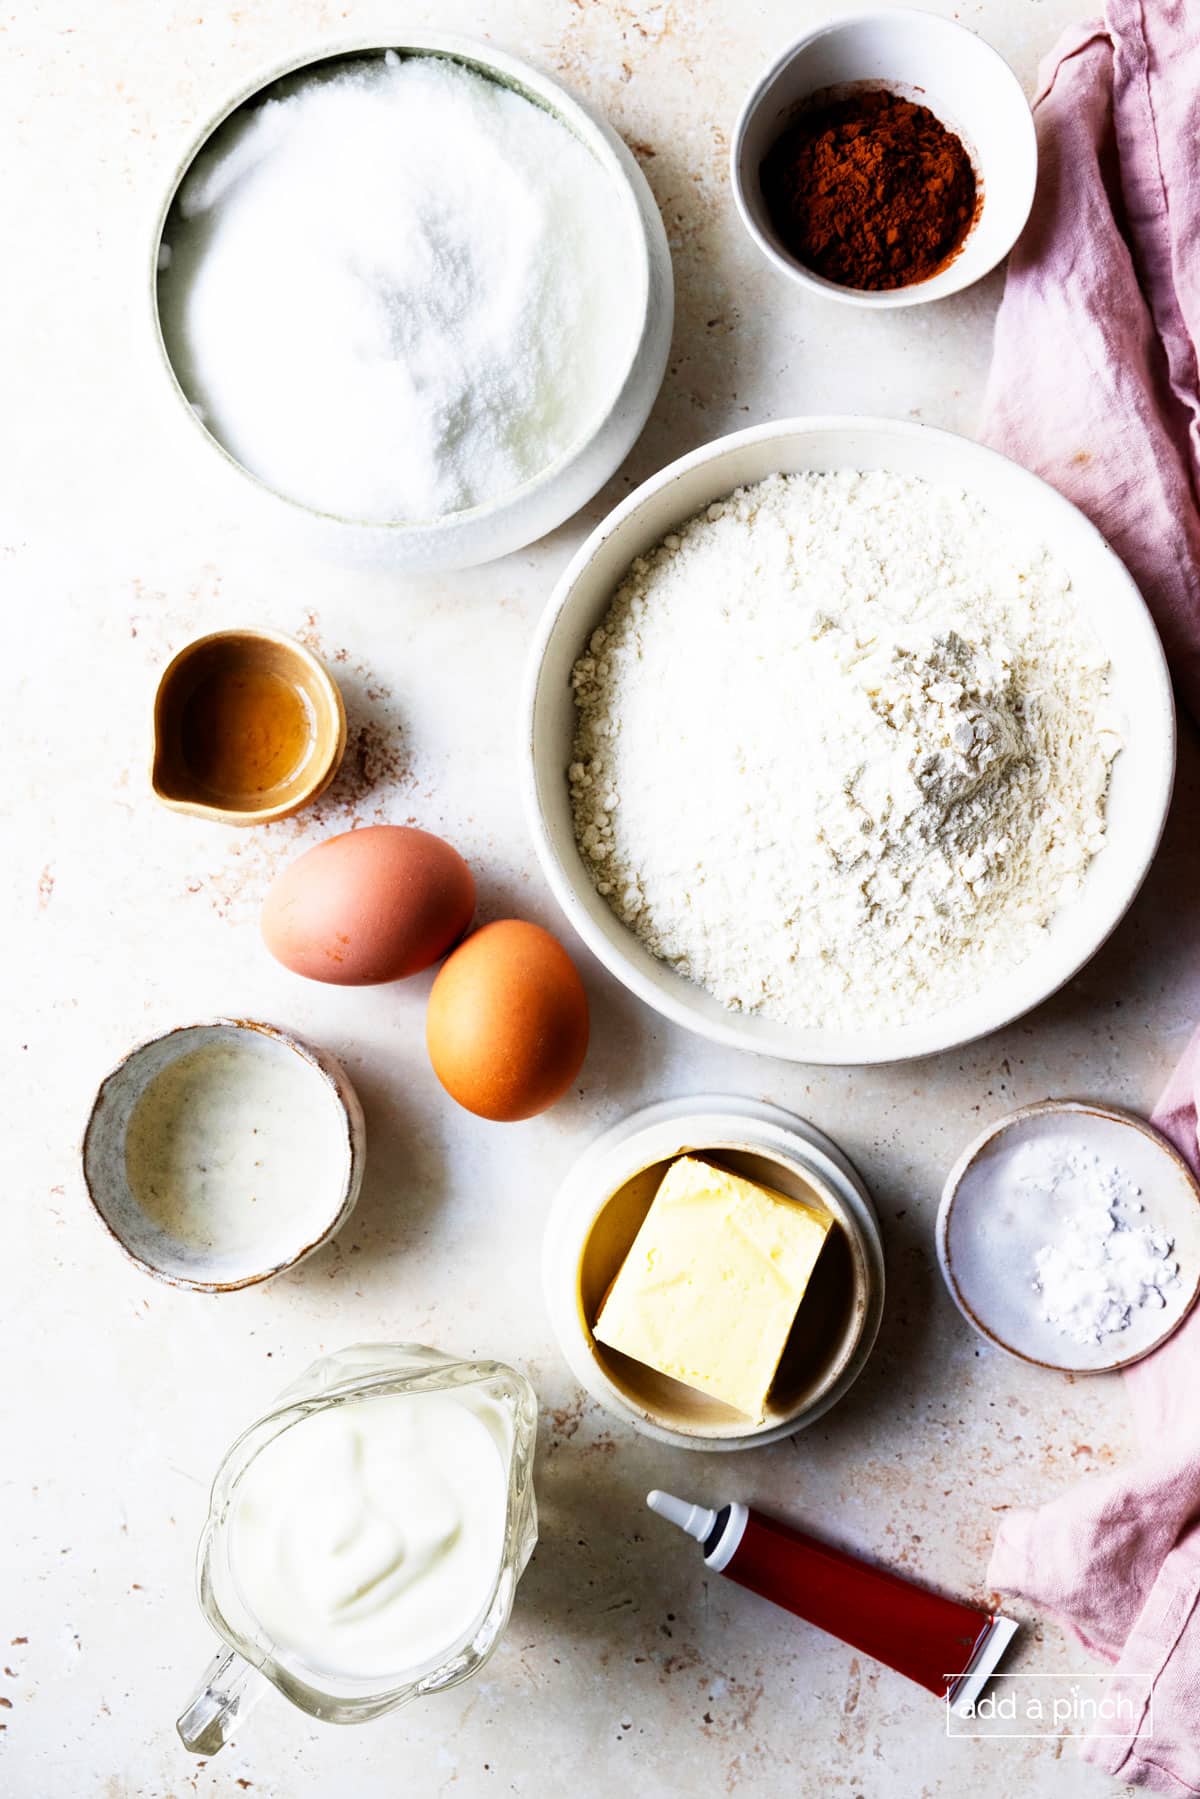
To make this cake, you’ll need the following ingredients:
- shortening – Shortening yields a tender, moist cake. I use an organic shortening, but you can use your favorite brand.
- sugar – Granulated sugar is used in this cake recipe.
- eggs – Use room temperature eggs for better mixing into the cake batter
- red food coloring – Use your favorite red food coloring in this recipe. You can find natural and organic red food coloring options, but red may fade during baking.
- cocoa powder – You’ll use a little cocoa powder in this recipe. Not enough to make the cake a chocolate cake, but enough to lend a bit of flavor.
- flour – You can use all-purpose or cake flour in this recipe. [How to Make Cake Flour]
- salt – Just a little salt helps to flavor the cake and balance the sweetness.
- Vanilla Extract – I love to use my homemade vanilla extract for its incredible flavor, but use your favorite pure vanilla extract. I don’t recommend using imitation vanilla flavoring.
- baking soda – The baking soda reacts with the acid in the buttermilk and white vinegar in this cake recipe.
- buttermilk – Not only does the buttermilk work with baking soda to help the cake rise, but it also adds flavor and tenderness to this cake.
- distilled white vinegar – This vinegar works with the buttermilk and baking soda to help the cake rise. It also adds to the tenderness of the cake.
Step-by-Step Instructions
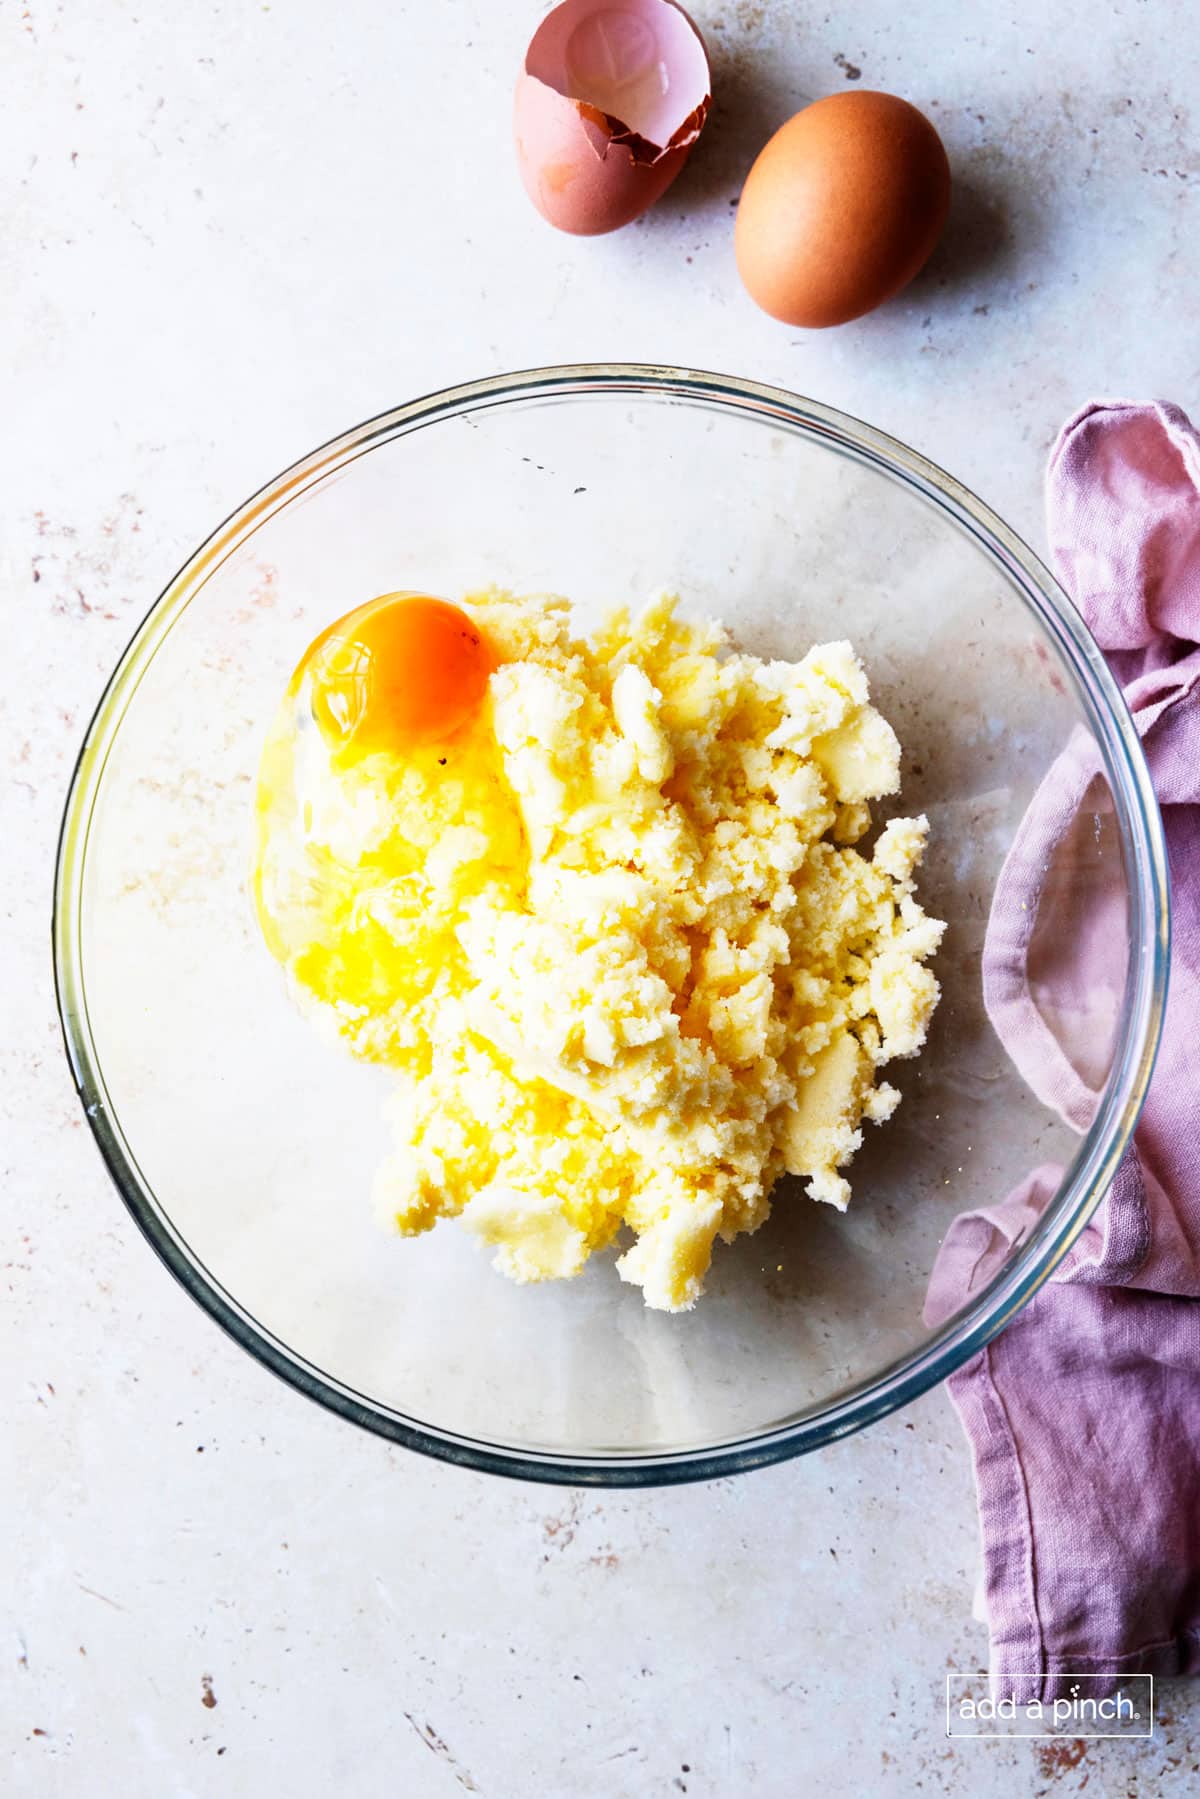
Cream together the shortening and sugar. Then, add the eggs one at a time.
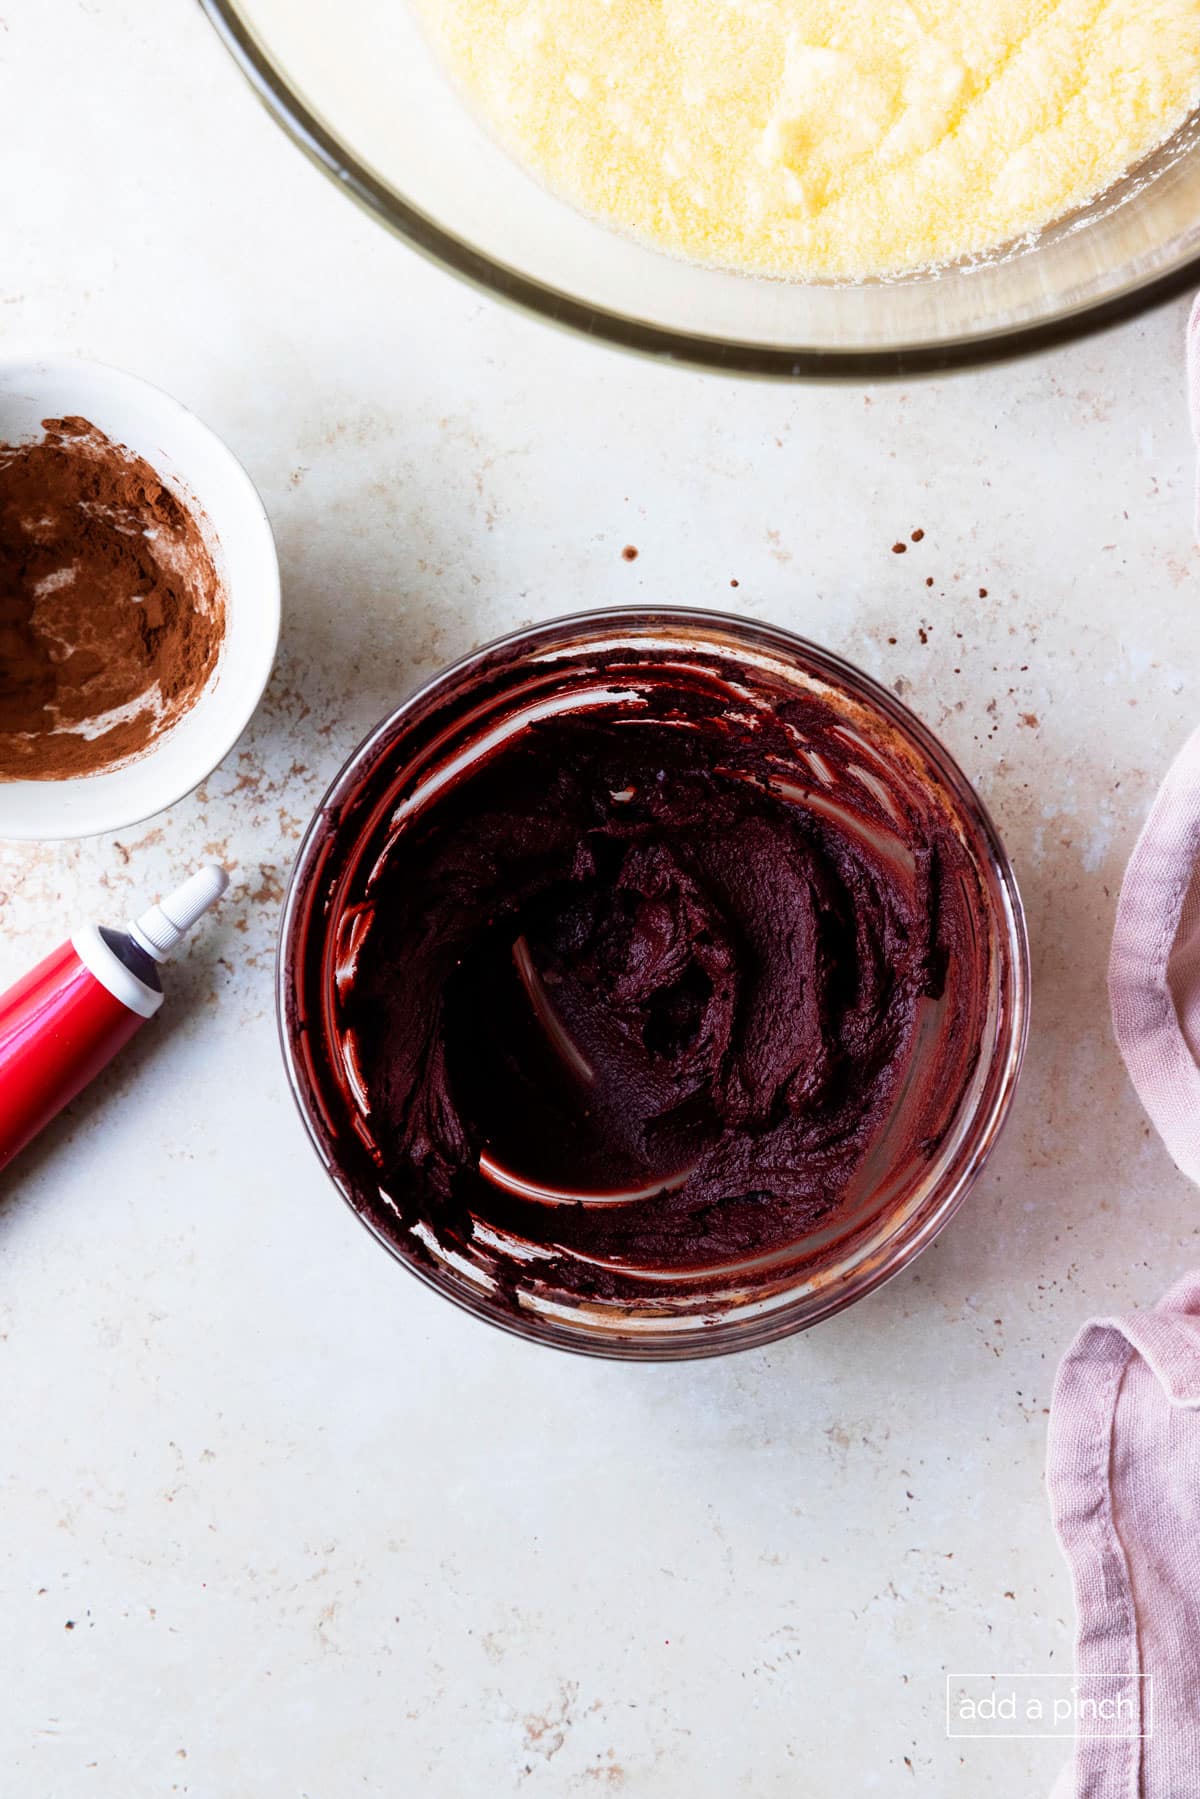
Mix the cocoa powder and red food coloring in a small bowl.
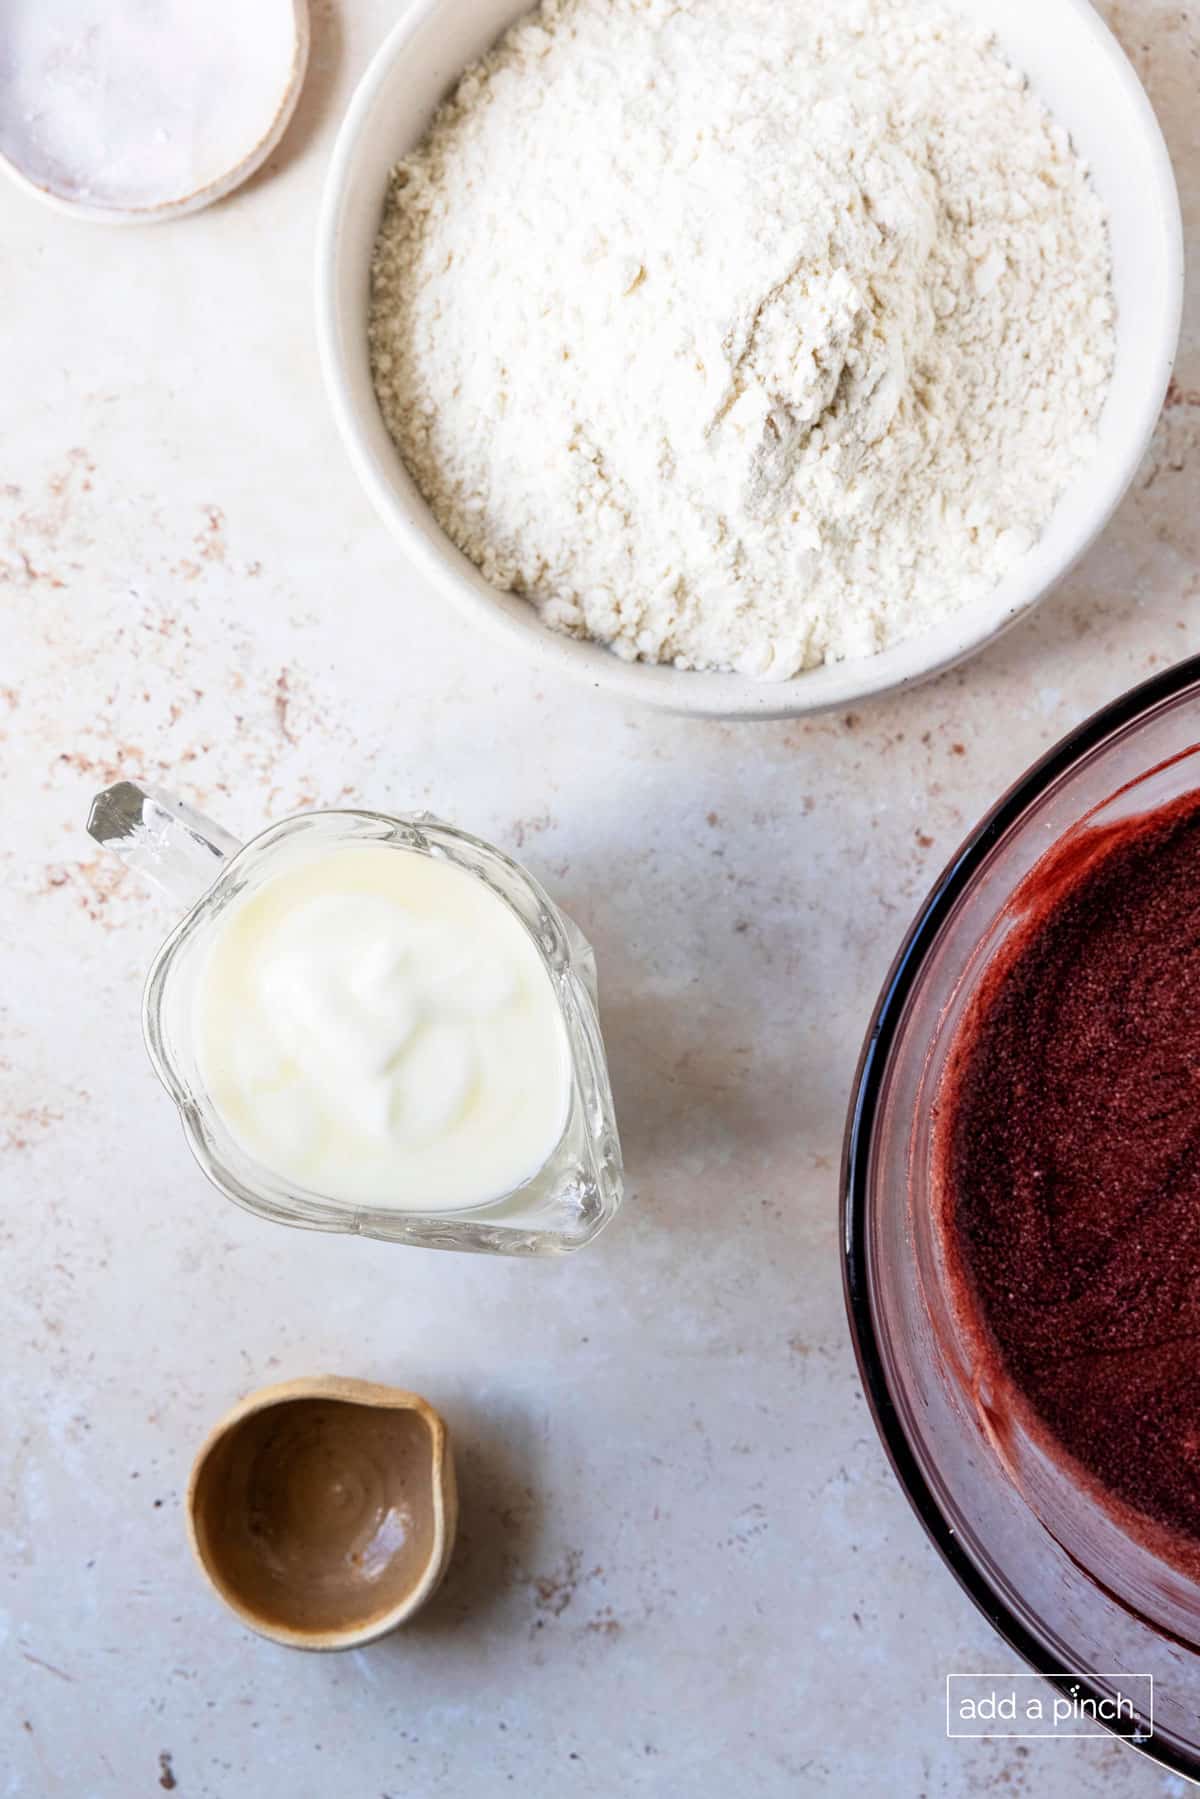
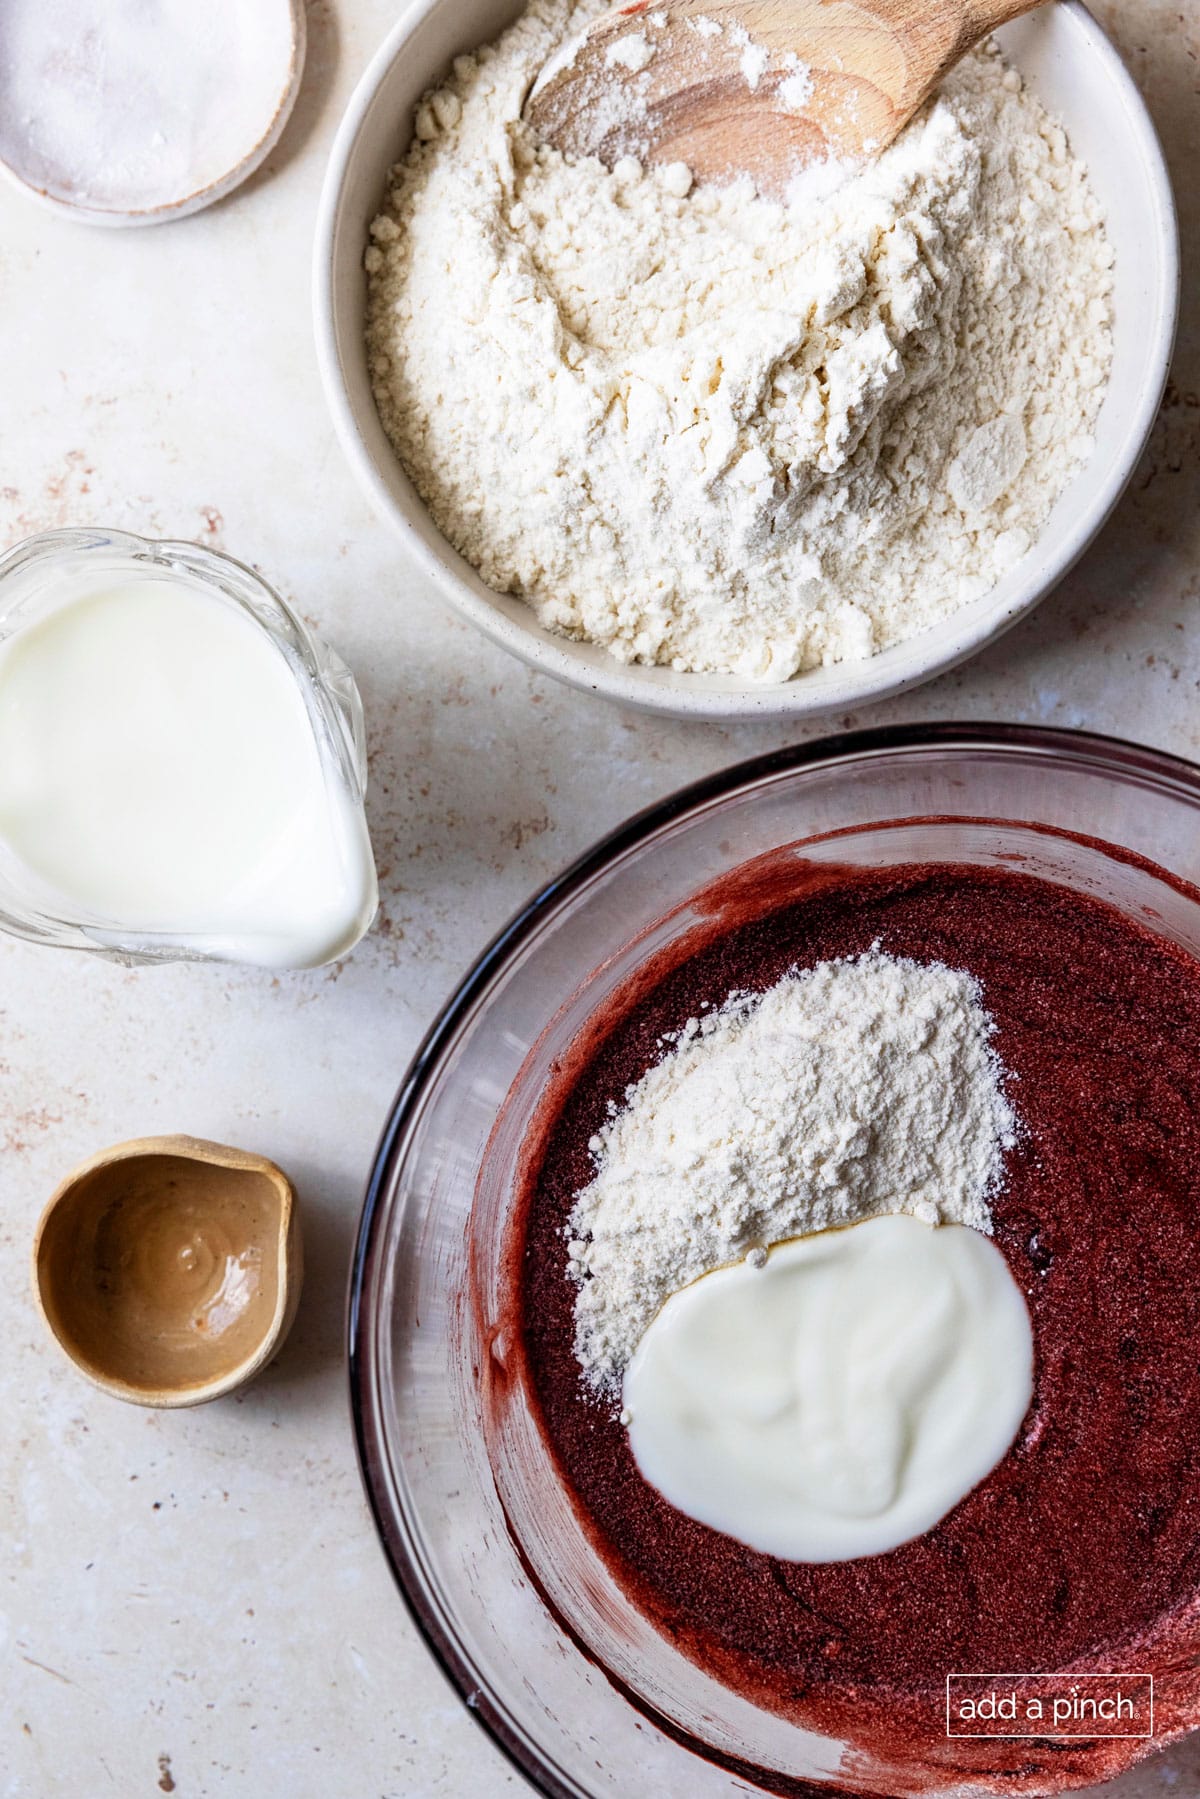
Combine. Add the cocoa powder mixture to the shortening and sugar mixture and mix well. Sift together the flour and salt in a mixing bowl. Stir together the vanilla extract and buttermilk in a measuring cup.
Alternately, mix flour mixture and buttermilk mixture into shortening/sugar mixture, beginning and ending with flour.
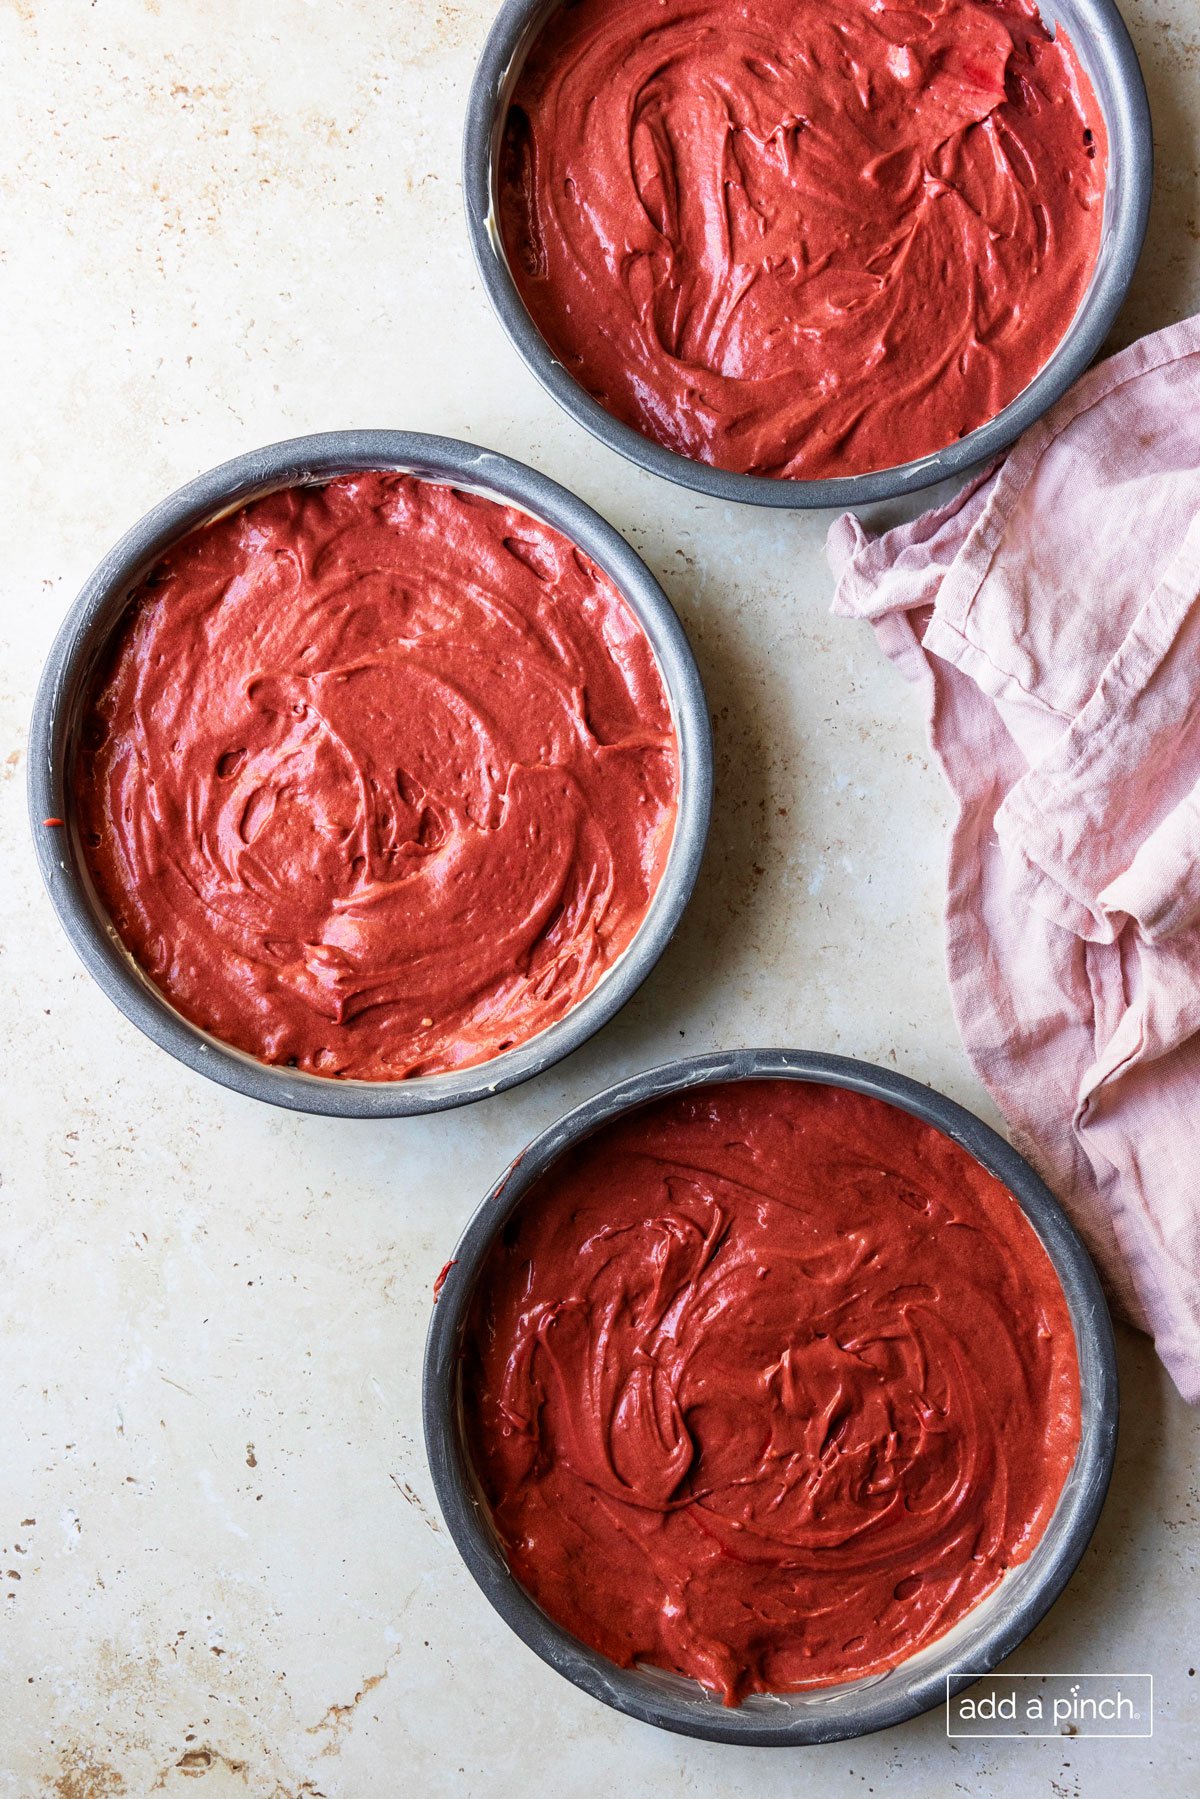
Distribute the cake batter between the three prepared cake pans. Bake the cake layers for 25-30 minutes until the cake layers are baked throughout. You can follow my tips for how to tell when your cake is done.
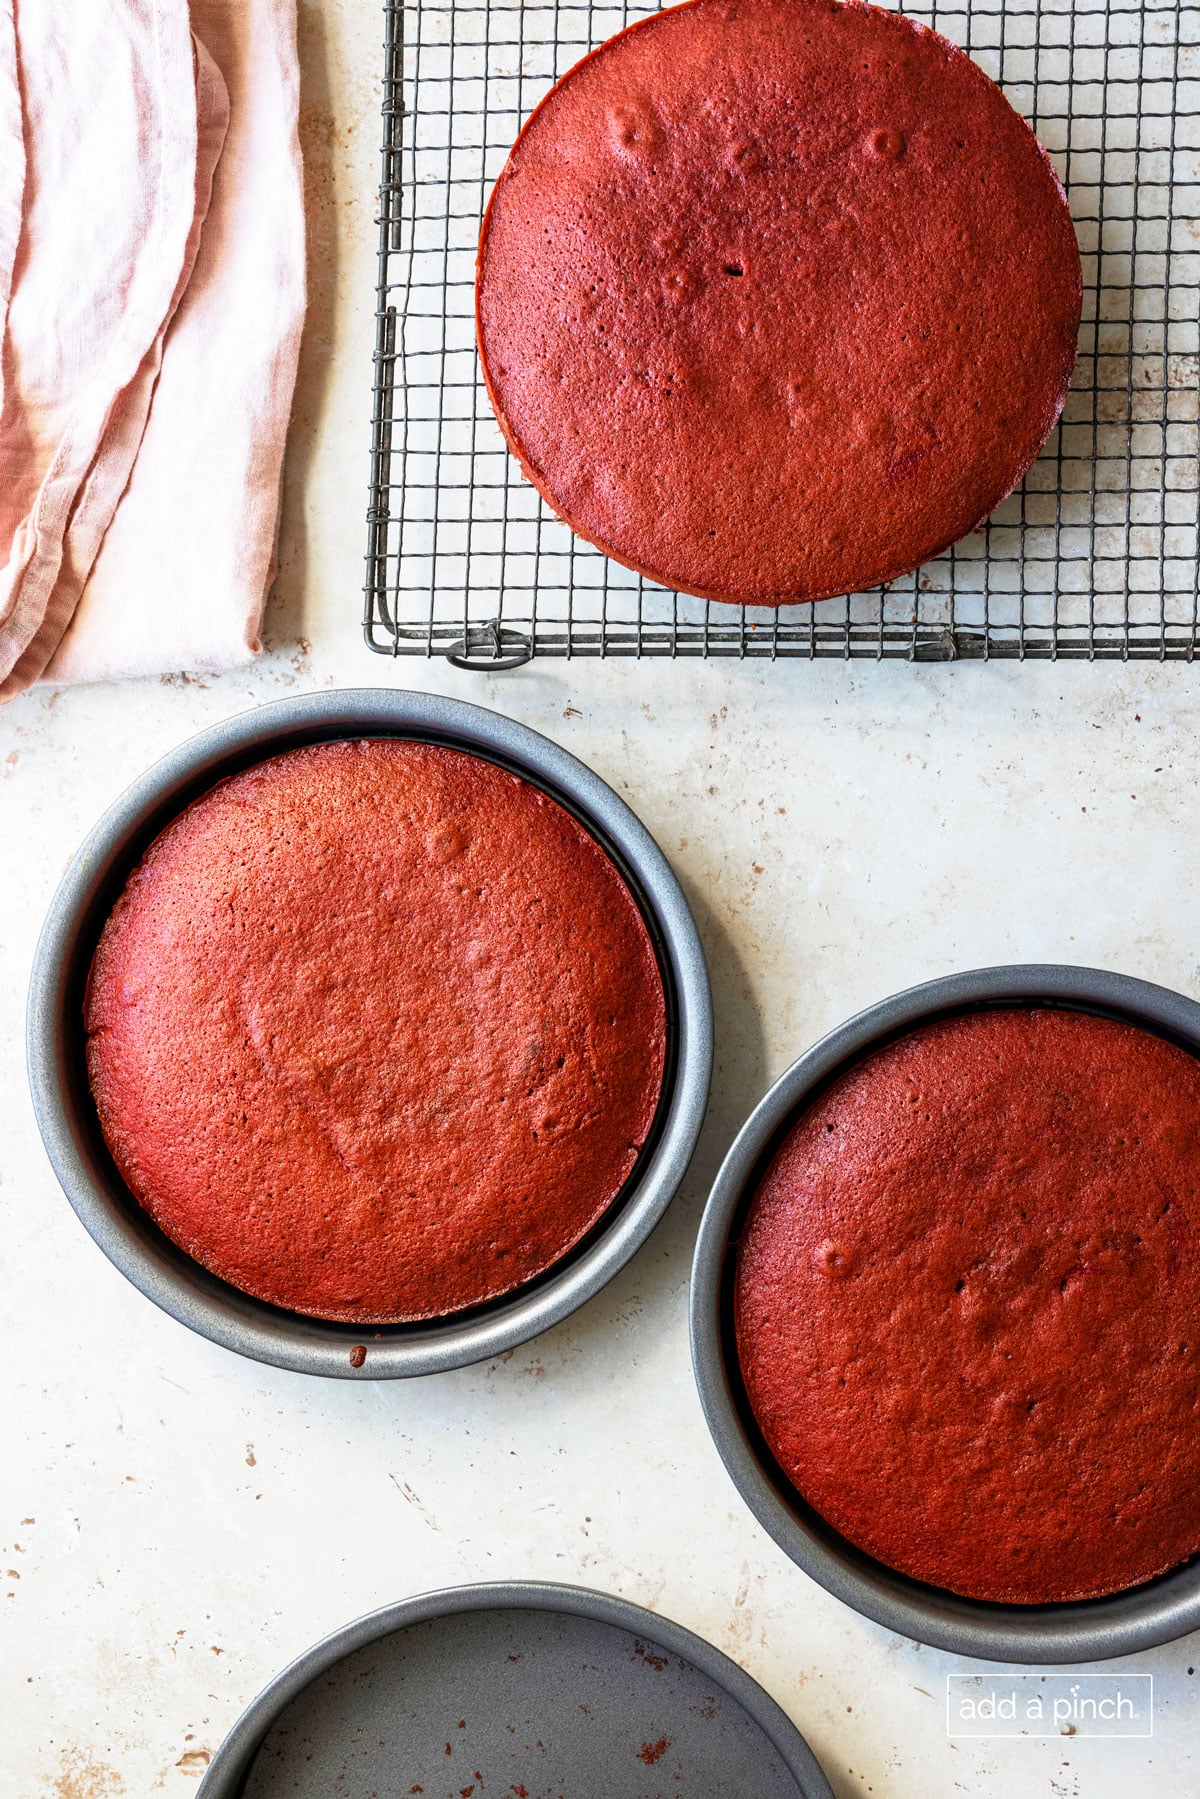
Remove the cake pans from the oven and allow to cool completely on a wire rack.
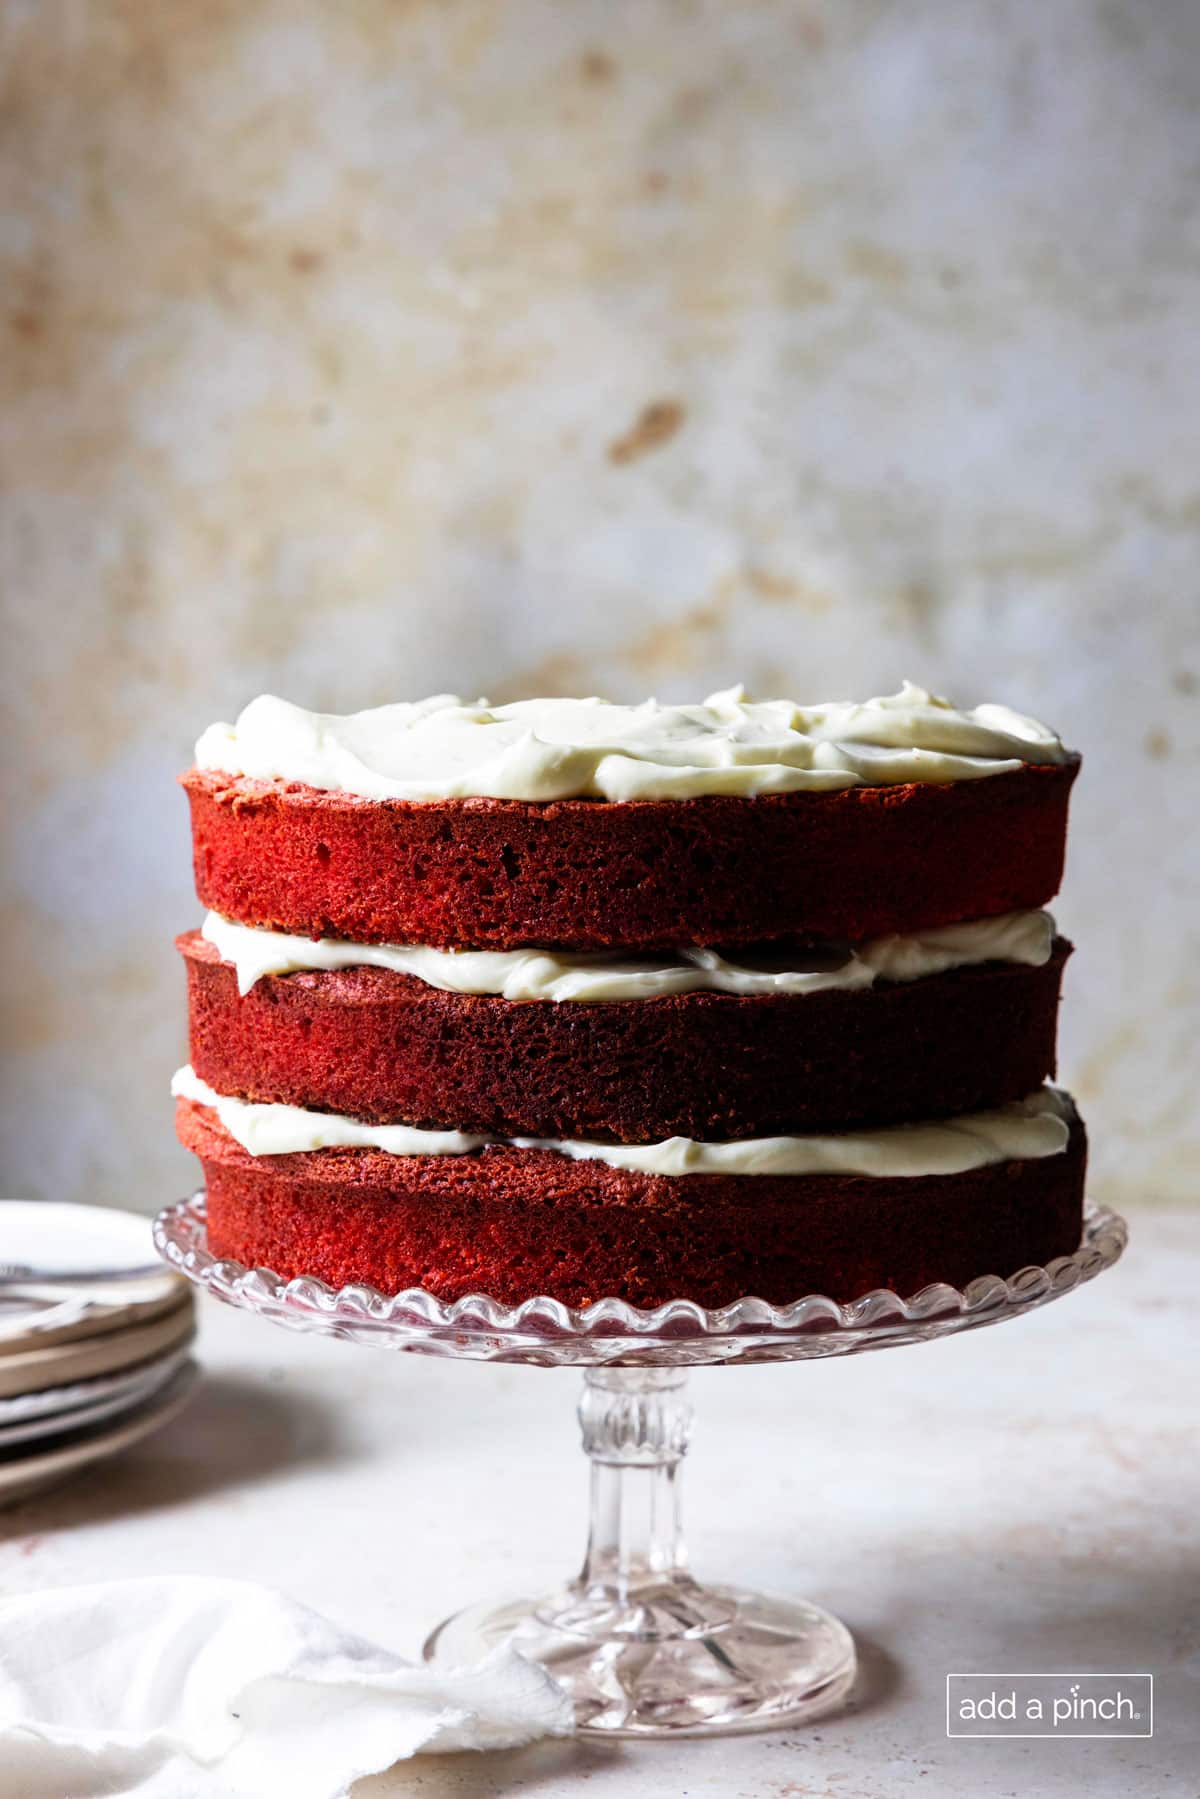
Make frosting. While cooling, prepare the frosting you’ll be using – either heritage frosting or my easy cream cheese frosting recipe. Once the cake layers have cooled, spread the frosting on top of each layer as you assemble the cake. Then, spread the outside of the cake with frosting.
How to Store Red Velvet Cake
To store. Due to the frosting used, you’ll need to keep this cake in the refrigerator. The cake will store well for up to 5 days.
To freeze. Wrap each cooled cake layer with plastic wrap and store in the freezer for up to 3 months. To serve, thaw and frost the cake and serve as normal.
Much More than a Holiday Cake
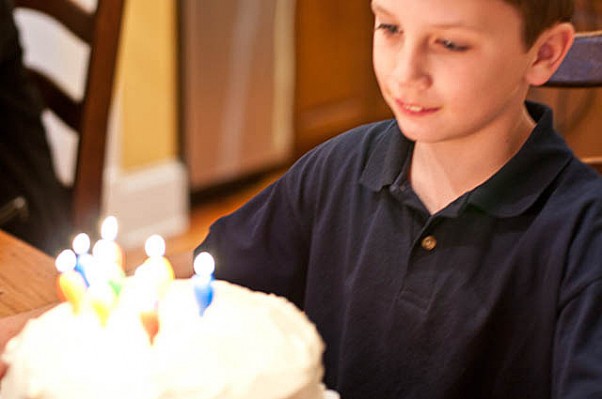
Don’t save this special cake for once a year at Christmas! It’s delicious and makes a memorable cake for someone’s special day. My Mama made this cake for the Christmas holidays, but seeing this velvety red cake piled high with fluffy white frosting for my birthday was always a special treat. When Sam was little, he loved it for his birthdays, too!
More Favorite Cake Recipes
Looking for more cake recipes?
I think you’ll love my chocolate cake recipe, white cake recipe, and Mother’s cream cheese pound cake. Southern Caramel Cake is another special one everyone enjoys! They are all delicious and easy!
If you are a Red Velvet cake fan, try my Red Velvet Cookies or Chocolate Velvet Cake.
Here’s my Mama’s Red Velvet Cake recipe. I know you’ll love it!
Get This Recipe In Your Inbox
Share your email, and we'll send it straight to your inbox. Plus, enjoy daily recipe inspiration!

Red Velvet Cake Recipe
Equipment
Ingredients
- ½ cup (92 g) shortening
- 1 ½ cups (297 g) sugar
- 2 large (100 g) eggs, room temperature
- 2 ounces (56.7 g) red food coloring
- 2 tablespoons (10.5 g) unsweetened cocoa powder
- 2 ¼ cups (270 g) all-purpose flour, all-purpose or cake flour, (spoon + level)
- 1 scant teaspoon (2.8 g) kosher salt
- 1 teaspoon (4.7 g) vanilla extract
- 1 teaspoon (6 g) baking soda
- 1 cup (227 g) buttermilk
- 1 tablespoon (14.37 g) distilled white vinegar
Instructions
- Preheat oven to 350º F. Prepare three (8-inch) cake pans by brushing with homemade cake pan release (cake goop), spraying with nonstick baking spray, or by thoroughly greasing and flouring. Set aside.
- Cream vegetable shortening and sugar together until light and fluffy, about three minutes. Add eggs one at a time, completely incorporating after each addition.
- Make a paste of food coloring and cocoa powder and add to the mixture.
- Sift together flour and salt in a separate medium bowl, set aside. Pour buttermilk and vanilla into a measuring cup, set aside.
- Alternately, mix flour mixture and buttermilk mixture into shortening/sugar mixture, beginning and ending with flour. Scrape down sides of mixing bowl to ensure all ingredients are well incorporated.
- Reduce speed of mixer and stir in baking soda, making sure incorporated into batter. Then, stir in the vinegar, taking care not to beat hard or over mix.
- Evenly distribute into cake pans and bake 25-30 minutes, until toothpick inserted in the center comes out clean.
- Cool cake thoroughly before frosting.
Notes
Nutrition
Nutrition information is automatically calculated, so should only be used as an approximation.
This cake will be a favorite on your holiday dessert buffet, next birthday celebration, or family dinner.
Enjoy!
Robyn xo
This recipe was originally published on November 7, 2010.


Do you use 9″ or 8″ cake pans?
The equipment on recipe said 9″, but in the directions it said 8″.
THanks ,
Terri
Terri, it should be 8-inch pans in the equipment section. However, I have made this cake in 9-inch pans.
Hi Robyn, I was wondering if self-rising flour can used in your cake recipes instead of all purpose flour? I am going to make the red velvet cake using self raising flour which is my standard method. Thanks
Kathe, the cakes don’t work as well for me with self-rising flour as they do with the all-purpose flour and ingredients as written in the recipe.
Hi, how would you convert the recipe and cooking time and temperature for cupcakes? Thank you, Paul
Paul, I would bake the cupcakes about 20 minutes at 325ºF. You can use the tips in my post How to Tell When Your Cake is Done to determine when the cupcakes are done.
Love this (and all your cake recipes) and I was wondering about making this as cupcakes?
Lauren, I’m so glad you love this cake. This recipe would make 24 cupcakes. Hope you enjoy!
I don’t like chocolate cake but my friends do, so I made it for a gathering. I saved a little to eat next morning with coffee, that night I was still thinking about the cake.
Anyway, I saw your red velvet (Mom and sister in law loved), and thought I will give it a try too. Is it possible to use oil instead of shortening?
Helen, I’m glad you Mom and sister loved this Red Velvet Cake recipe. I have not made this with oil so I can’t tell you how it will turn out. Maybe someone else on her has and can tell you how it did for them.
love the cake so delicious and moist can i make this in a 1/2 sheet pan do i have to double the recipe
Gerry, I’m thrilled you love this cake. You can make the Red Velvet Cake in a half sheet pan. Use the full cake recipe and do not double. I would bake at 350ºF for 25-30 minutes. I hope you enjoy!
Hi, I’m confused with recipe red velvet cake. When it changes the ingredients to x3 the amount of tins stay the same? Sm J missing something please?
Susan, when you choose 2x or 3x the recipe, only the amount of the ingredients change. It does not affect the number of pans or any numbers in the instructions. For one time the recipe, you would use 3 9-inch round cake pans and for 3x the recipe, you would use 9 pans.
Do you use gel food coloring or the liquid? It just seems like a lot of food coloring. Thanks!
Hollie, I use liquid food coloring in this recipe.