How to Make Sunny Side Up Eggs Recipe
This post may contain affiliate links. Please read my disclosure policy.

Sunny-Side Up Eggs make a beautiful, classic addition to any breakfast. Get this easy recipe for the perfect sunny-side up egg every time.
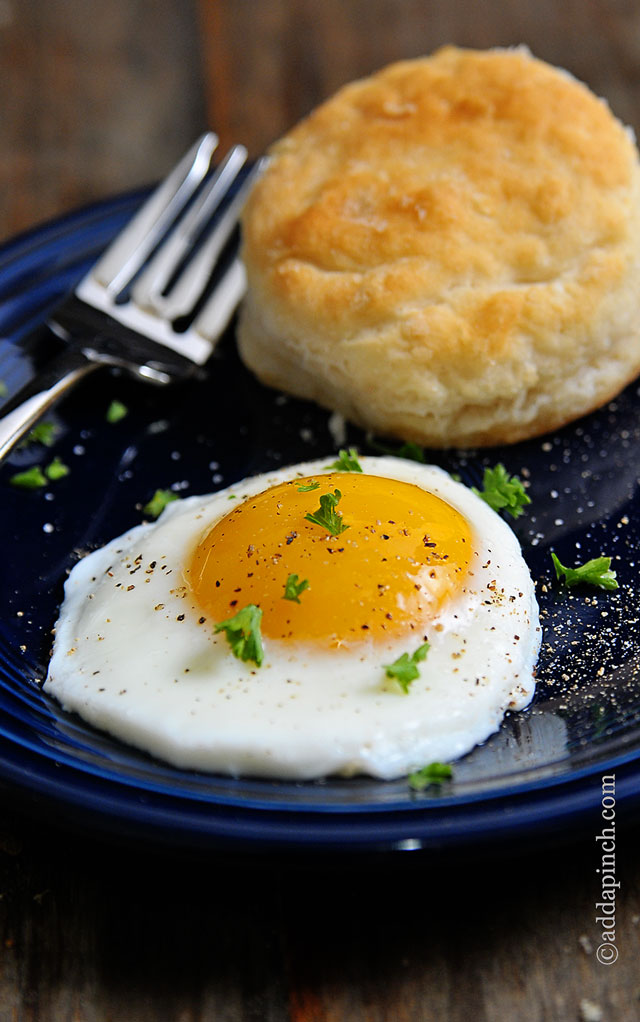
Learning how to make sunny side eggs is one of those essential cooking tips that once you learn it, you are golden! Ya know, Sunny Side Up Eggs are like little smiley faces on a plate in the mornings, I think. Their bright yellow faces just perk up the morning.
Sunny Side Up Eggs
For many years, my sunny side up eggs weren’t as pretty and bright as I liked until I started cooking them with a bit of water in my skillet. I know a lot of people use this same technique for their sunny side up egg, but use vegetable oil. While that works perfectly, I thought you all might be interested in knowing about how I prepare mine without using oil.
I use water instead!

How to Make Sunny Side Up Eggs
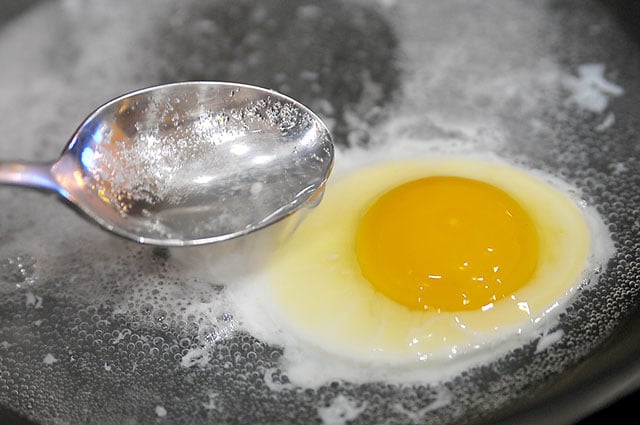
I fill a non-stick skillet with a bit of water over medium heat. You’ll want the water to cover the egg white and reach just to the egg yolk. You don’t want the water to cover the egg yolk at all.
When the water begins to bubble slightly, then carefully break the egg and add to the skillet. Use eggs that are straight from the refrigerator as they work a bit better, in my opinion, than a room temperature egg.
Using a large spoon, ladle water atop the egg white if the water begins to reduce while cooking.
Cook until the egg white is perfectly opaque and the egg is firm as you shake the skillet slightly.
Use a slotted spatula and carefully lift the egg from the skillet, allowing any of the water to drain from the egg before plating.
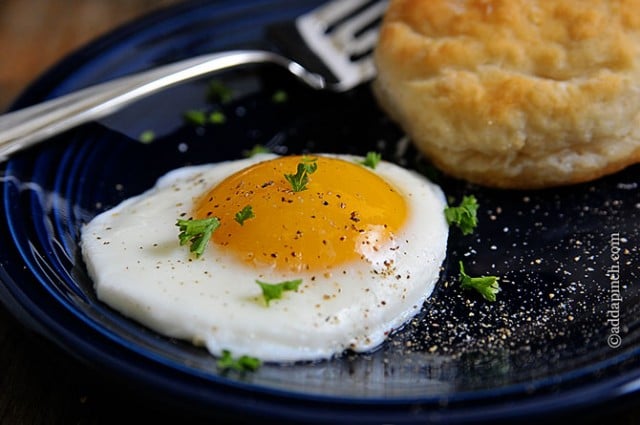
Here’s my recipe for Sunny-Side Up Eggs. Hope the perk up your mornings!

Sunny-Side Up Eggs Recipe
Ingredients
- water
- 4 eggs, cold
Instructions
- Add water to a non-stick skillet until it reaches about 1/4 – inch deep. Heat skillet over medium heat. You’ll want the water to cover the egg white and reach just to the egg yolk. You don’t want the water to cover the egg yolk at all.
- Break the egg and add to the skillet when the water begins to bubble slightly.
- Using a large spoon, ladle water atop the egg white if the water begins to reduce while cooking.
- Cook until the egg white is perfectly opaque and the egg is firm as you shake the skillet slightly.
- Use a slotted spatula and carefully lift the egg from the skillet, allowing any of the water to drain from the egg before plating.
Nutrition
Nutrition information is automatically calculated, so should only be used as an approximation.
Enjoy!
Robyn xo


My mother used to make these for me when I was a child. She called them Poached eggs and would put one on a piece of toast. I am 63 years old now and make them frequently. I had no idea they were considered sunny side up eggs also! They are delicious on a piece of 12 grain toast!
Cool trick. I usually spoon melted butter over the egg but this way might help me live longer. Thanks for the tip!
So glad you like the recipe, Anthony! Here’s to long and happy lives! Thanks!
That’s impressive! I’ve never made sunny side eggs with water but mostly oil or nothing. I’m really curious how it will be with the water, cannot wait to try it for my next breakfast!
– Natalie Ellis