Chili Stuffed Peppers Recipe
This post may contain affiliate links. Please read my disclosure policy.
This delicious Chili Stuffed Peppers recipe with cheesy black bean chili stuffed in bell peppers makes an easy meal! Includes make-ahead and freezer-friendly tips!
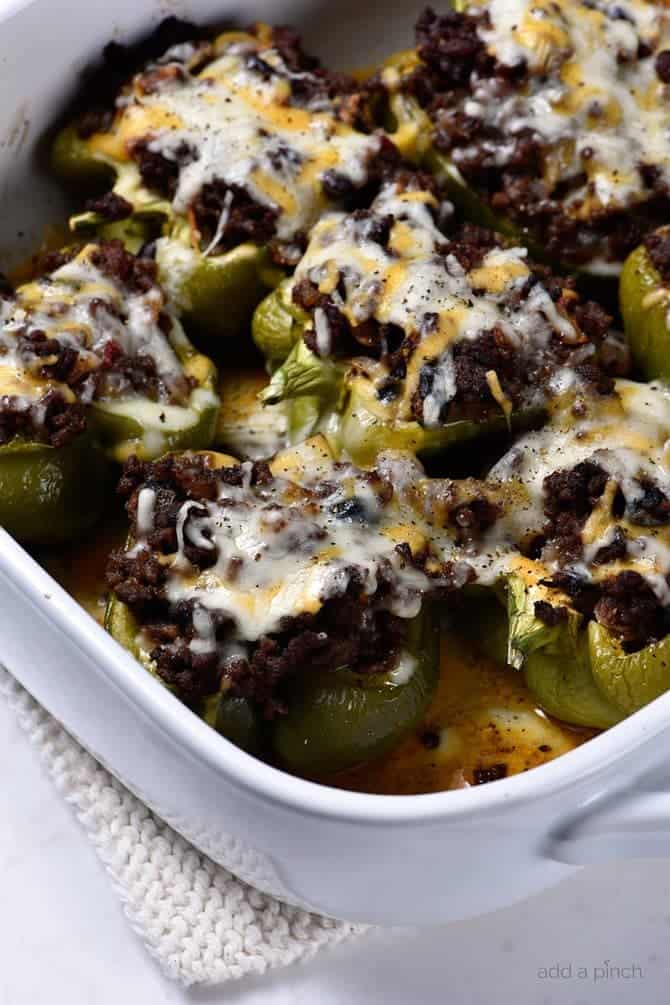
These Chili Stuffed Peppers take delicious bell peppers, stuff them with my hearty black bean chili, and top them with melty cheese. So scrumptious!
If you are looking for a meaty stuffed pepper, try my Simple Stuffed Peppers. They are delicious, too!
Table of Contents
Ingredients
Be sure to see the recipe card below for the full listing of ingredients, instructions, notes, and estimated nutritional information.
Bell Peppers – Use 8 fresh green bell peppers or other colored bell peppers if you choose.
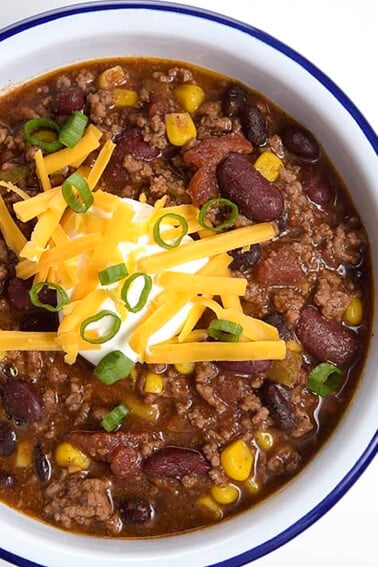
Black Bean Chili – Use my easy Easy Black Bean Chili
Cheeses – Grated Monterey Jack and Cheddar
How to Make Chili Stuffed Peppers
Prep the Peppers – To make them, I halved each of my fresh peppers and removed the seeds and membranes from the peppers. Then, I placed them into a baking dish with the open cavity facing up.
Stuff the Peppers with Chili – Meanwhile, I prepared my chili for stuffing the peppers. For the chili, I used my Black Bean Chili recipe and filled each of the peppers with it.
Bake the Peppers – Then, I popped the peppers into the oven to bake until the peppers were fork tender, about 20 minutes.
Top with and Melt the Cheeses – I then topped the peppers with freshly shredded cheddar and Monterey Jack cheeses and returned the pan to the oven for about 5 minutes for the cheeses to melt.
Serve – Once the cheeses are melted, plate the peppers for serving and enjoy!
Storage Tips
To store: Place the cooled chili stuffed peppers in an airtight container. Refrigerate for up to 3-4 days. Reheat in oven or microwave until heated throughout.
To freeze: Fill the unbaked pepper halves with the cooled chili, then wrap tightly with plastic wrap followed by foil. You can also place it in an airtight freezer-safe storage container. Place it into the freezer for up to 3 months.
To reheat: Thaw in the refrigerator overnight; remove the foil and plastic wrap. Bake as directed. Additional baking time may be needed.
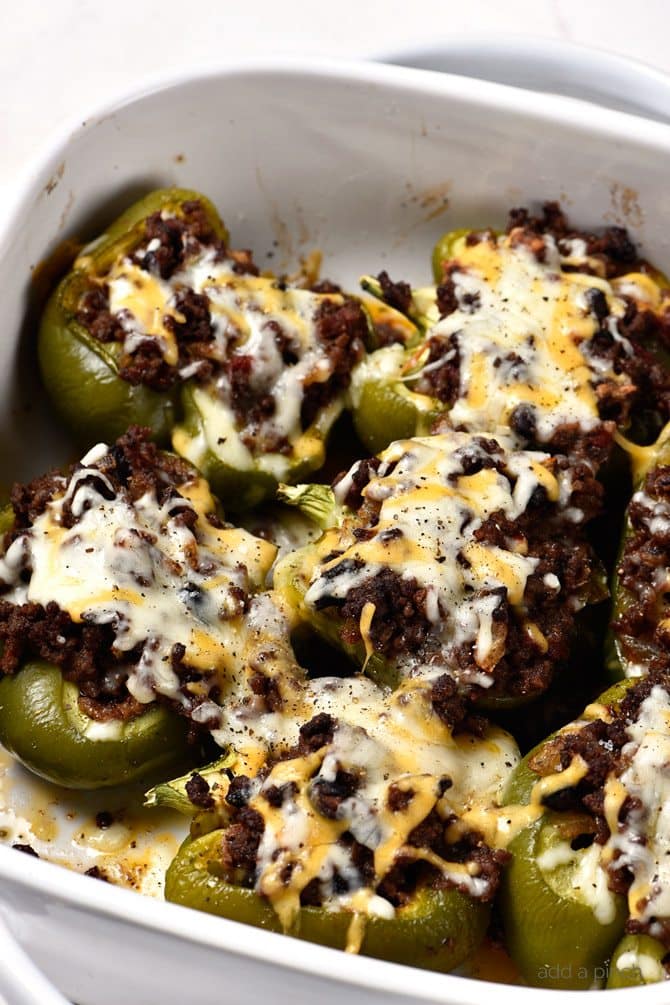
If you tried this Chili Stuffed Peppers recipe or any other recipe on my website, please leave a 🌟 star rating and let me know how it went in the comments below. Thanks for visiting!
Chili Stuffed Peppers Recipe
Ingredients
- 8 bell peppers
- 1 recipe black bean chili
- 1/2 cup grated Cheddar cheese
- 1/2 cup grated Monterey Jack cheese
Instructions
- Preheat oven to 400ºF. Half peppers lengthwise and remove the seeds and membranes. Arrange in a baking dish and set aside.
- Prepare Weeknight Black Bean Chili recipe and fill each pepper half with chili. Bake stuffed peppers until the peppers are just fork tender, about 20 minutes.Remove the pan from the oven and top each pepper with cheeses. Return the pan to the oven and bake until the cheeses melt, about 5 more minutes.
Notes
Assemble stuffed peppers without baking or topping with cheese. Wrap tightly with plastic wrap and store in the refrigerator up to two days. To serve, remove from the refrigerator and bake according to recipe instructions. You may have to increase the baking time since the stuffed peppers will be cold. Freezer Instructions:
Assemble stuffed peppers without baking or cheese topping. Wrap freezer pan tightly with plastic wrap and foil. Label well for contents and date prepared and freezer for up to three months. To serve, allow to thaw in the refrigerator overnight and then bake according to directions.
Nutrition
Nutrition information is automatically calculated, so should only be used as an approximation.
Enjoy!
Robyn xo



I love stuffed peppers and tomatoes this looks like a fabulous recipe, i cannot wait to try it!
During the winter months, I have a lot of chili and stuffed peppers stuffed with ground beef, but I never heard of stuffed chili peppers before. I think I’ll try them sometime!
I hate dealing with plastic wrap. I have found that I can purchase 8″ square baking pans without the plastic lids and bake small casseroles like this in them and, after the casserole cools down a bit, I can slide it right into a Glad 1 gal freezer bag (which bag I label before using) seal it and pop it in the freezer.
That’s a great tip, Clara!