No Churn Chocolate Ice Cream Recipe
This post may contain affiliate links. Please read my disclosure policy.
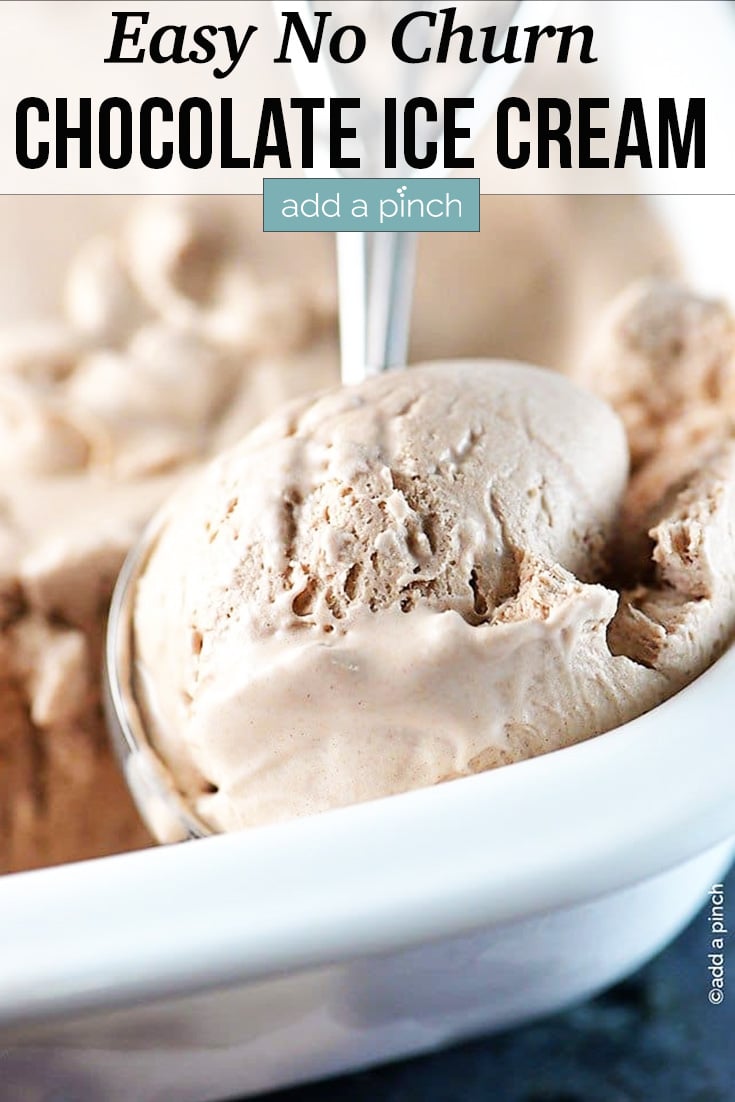
This rich and creamy No-Churn Chocolate Ice Cream recipe makes such a delicious ice cream with only three ingredients and no ice cream maker! Enjoy easy chocolate ice cream anytime!
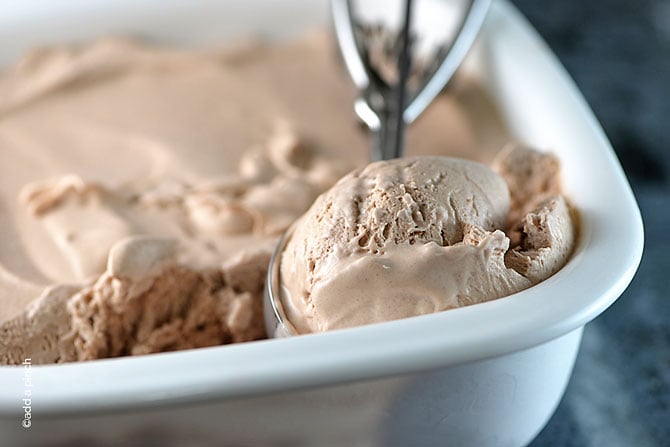
I love everything about ice cream! And while I enjoy using my ice cream maker, there is something I love so much about making no-churn ice cream! It’s simple to make, so I can whip up a favorite ice cream flavor anytime! And this no-churn chocolate ice cream is one I certainly make often – and think you’ll enjoy it too!
For this creamy, delicious chocolate ice cream, I tested and experimented until I got it just right. It has the perfect amount of chocolate and is so good! And my son says it tastes so much like a certain fast-food restaurant’s creamy chocolate ice cream/milkshake. I wasn’t trying for that taste, but it surely does remind me of it now that he mentioned it! Chocolate lovers always enjoy it, and I get requests for it often. It’s the perfect partner to my simple yet scrumptious no-churn vanilla ice cream recipe too!
This chocolate ice cream recipe really has everything going for it! See why I love this recipe so much?
Table of Contents
How to Make No-Churn Chocolate Ice Cream
Here’s what you’ll need to make this ice cream:
Ingredients
Be sure to see the recipe card below for the full listing of ingredients, instructions, notes, and estimated nutritional information.
- heavy whipping cream – Make certain to get this and not a light version or half-and-half. You need the milk fat content in this cream for it to whip properly for the best ice cream results.
- sweetened condensed milk – I like to make my own and keep it in the fridge when I know I’ll be using it for recipes. If you choose to buy it in-store, make sure you get the correct item. It is not the same as evaporated milk or other canned milk and can’t be skipped or substituted.
- chocolate syrup
Recipe Tips
- Chill the mixing bowl and beaters in the refrigerator for 20-30 minutes or longer, and make sure heavy whipping cream is well chilled too. It will help the cream to whip up easier. It will actually help to chill the other two ingredients as well!
- Be gentle when mixing the other ingredients into the whipped cream. You do not want to deflate the whipped texture of the cream.
- Use full-fat products for creamy ice cream! Using low-fat dairy products may make the ice cream seem hard and “icy” instead of creamy. To make your ice cream creamy, the fat is needed.
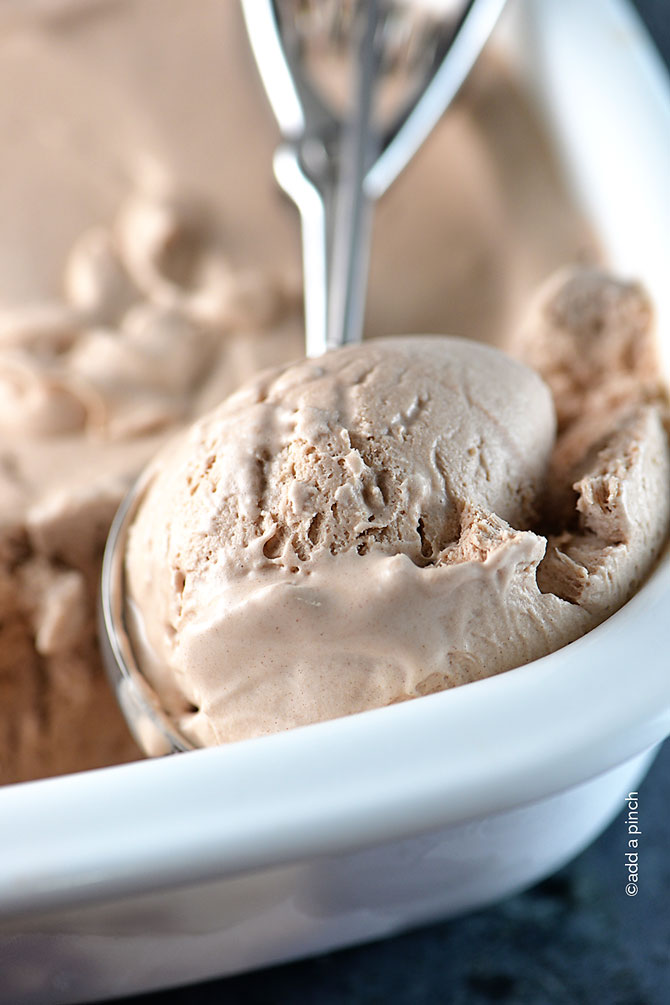
Step-by-Step Instructions
It only takes about five minutes to whip up this ice cream recipe before placing it in the freezer.
Whip the cream. Place heavy cream in a large bowl (preferably a chilled bowl) and whip with an electric mixer or a stand mixer until stiff peaks form (about 3 minutes).
Fold in other ingredients. Add the sweetened condensed milk and chocolate syrup to the whipped cream by gently folding it into it until it’s well combined. Be gentle to preserve the whipped cream.
Freeze. Place the mixture in a freezer-safe container, like a freezer-safe ice cream container, with a lid or cover well with wrap and freeze until the ice cream mixture is firm (around 6 hours to overnight). It will last in an airtight container in the freezer for up to 2 months.
Optional Ice Cream Toppings and Mix-Ins
If you love to personalize your ice cream, here are some delicious options. Again, carefully combine any mix-ins so you don’t deflate the whipped cream. Here are some ideas:
Caramel Sauce – Make sure it has cooled to room temperature so it won’t completely melt your ice cream when you spoon a drizzle of it on top!
Fudge Ganache – Another tasty topping you’ll want to let cool before adding a swirl to your ice cream serving.
Espresso – Give your chocolate ice cream an enhanced bit of a mocha/coffee flavor with a tablespoon of espresso powder mixed in.
Crushed cookies – crumble some cookies for a tasty topping or mix-in.
Nuts – peanuts, roasted pecans, and slivered almonds can be folded into the ice cream before freezing or added on top when serving
Whipped Cream – Right before you get ready to serve, make some more whipped cream for an ice cream parlor-style topping.
Frequently Asked Questions
No-churn ice cream does not require an ice cream maker. And it generally uses sweetened condensed milk instead of sugar. No-churn ice cream doesn’t usually contain eggs whereas churned ice cream may.
Whipping air into the heavy whipping cream increases the volume, and it becomes lighter. This is basically the same principle as how churning in the ice cream maker adds air and volume.
Here’s my No Churn Chocolate Ice Cream recipe. You are going to love it!
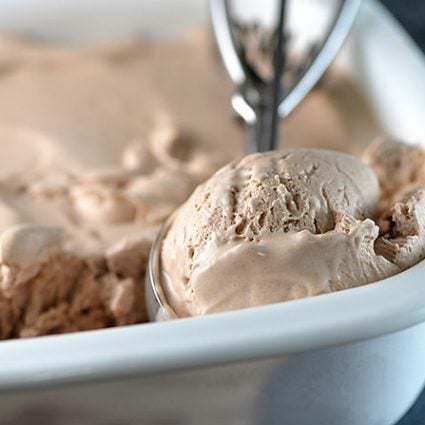
No Churn Chocolate Ice Cream Recipe
Ingredients
- 2 cups (16-ounces) (476 g) heavy whipping cream
- 1 (14-ounce) can (380 g) sweetened condensed milk
- 1 cup (300 g) chocolate syrup
Instructions
- Whip whipping cream until stiff peaks form, about three minutes. Pour in condensed milk and chocolate syrup and gently fold into whipped cream until well combined. Pour into a freezer safe container and store in the freezer until the chocolate ice cream firms.
Notes
Recipe Tips
- Chill the mixing bowl and beaters in the refrigerator for 20-30 minutes or longer, and make sure heavy whipping cream is well chilled too. It will help the cream to whip up easier. It will actually help to chill the other two ingredients as well!
- Be gentle when mixing the other ingredients into the whipped cream. You do not want to deflate the whipped texture of the cream.
- Use full-fat products for creamy ice cream.
Nutrition
Nutrition information is automatically calculated, so should only be used as an approximation.
Enjoy!
Robyn xo
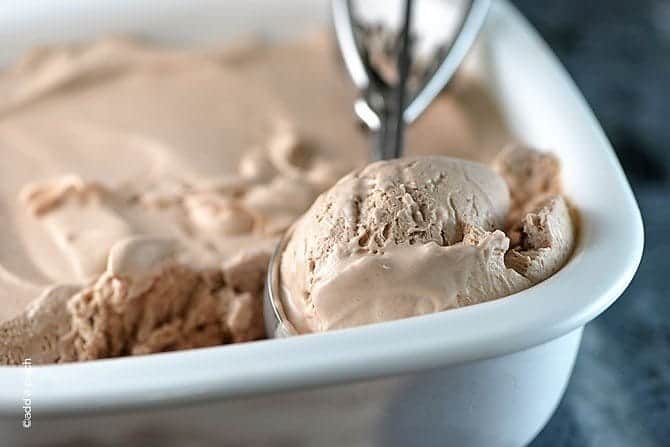






No churn ice creams are the best.. no need to leave that pesky ice cream machine in the freezer two days in advance! I mean, when I want ice cream, I want it twenty minutes ago, not in two entire days!
Made this today, we loved it! Thanks for posting
I love ice-cream but don’t have an ice-cream maker, which has been a sour part of my life for a while–until I saw this recipe and those pictures! I think I speak for all of us without ice-cream makers when I say, thank you! I can’t wait to try it!
I’ve been wanting to make homemade ice cream for some time, but I don’t own an ice cream maker yet. Now I have no excuse! Your recipe looks fabulous. Definitely trying it.
Thanks for sharing! I love that this doesn’t have eggs – sometimes I think homemade ice cream can taste eggy.
That has got to be the easiest ice cream recipe I’ve come across, and that top photo says it all — I’m giving it a try this week!
I am a “dyed in the wool” cooked custard kinda girl…but I’m going to step out of my old school shoes and try this recipe cause it really looks good! Most of all I can trust you and your recipes not to disappoint!!
Dude! You are going to kill me with these!! No ice cream maker has saved me from myself for years…now this! They (vanilla and chocolate) look wonderful and the weird mix ins are all floating around in my head and pantry (and secret stash). Thanks for sharing tho’!
3 ingredients is dangerous girl – that means I could, you know, make it anytime! Heaven!
Oh man, this sounds sooooo good! Love the simplicity!