Pie Crust Recipe
This post may contain affiliate links. Please read my disclosure policy.
Learn how to make a pie crust from scratch that’s flaky, buttery, and delicious with my pie crust recipe, tips, and video! This favorite family recipe turns out perfectly every time and makes the best pie crust for sweet and savory pies!
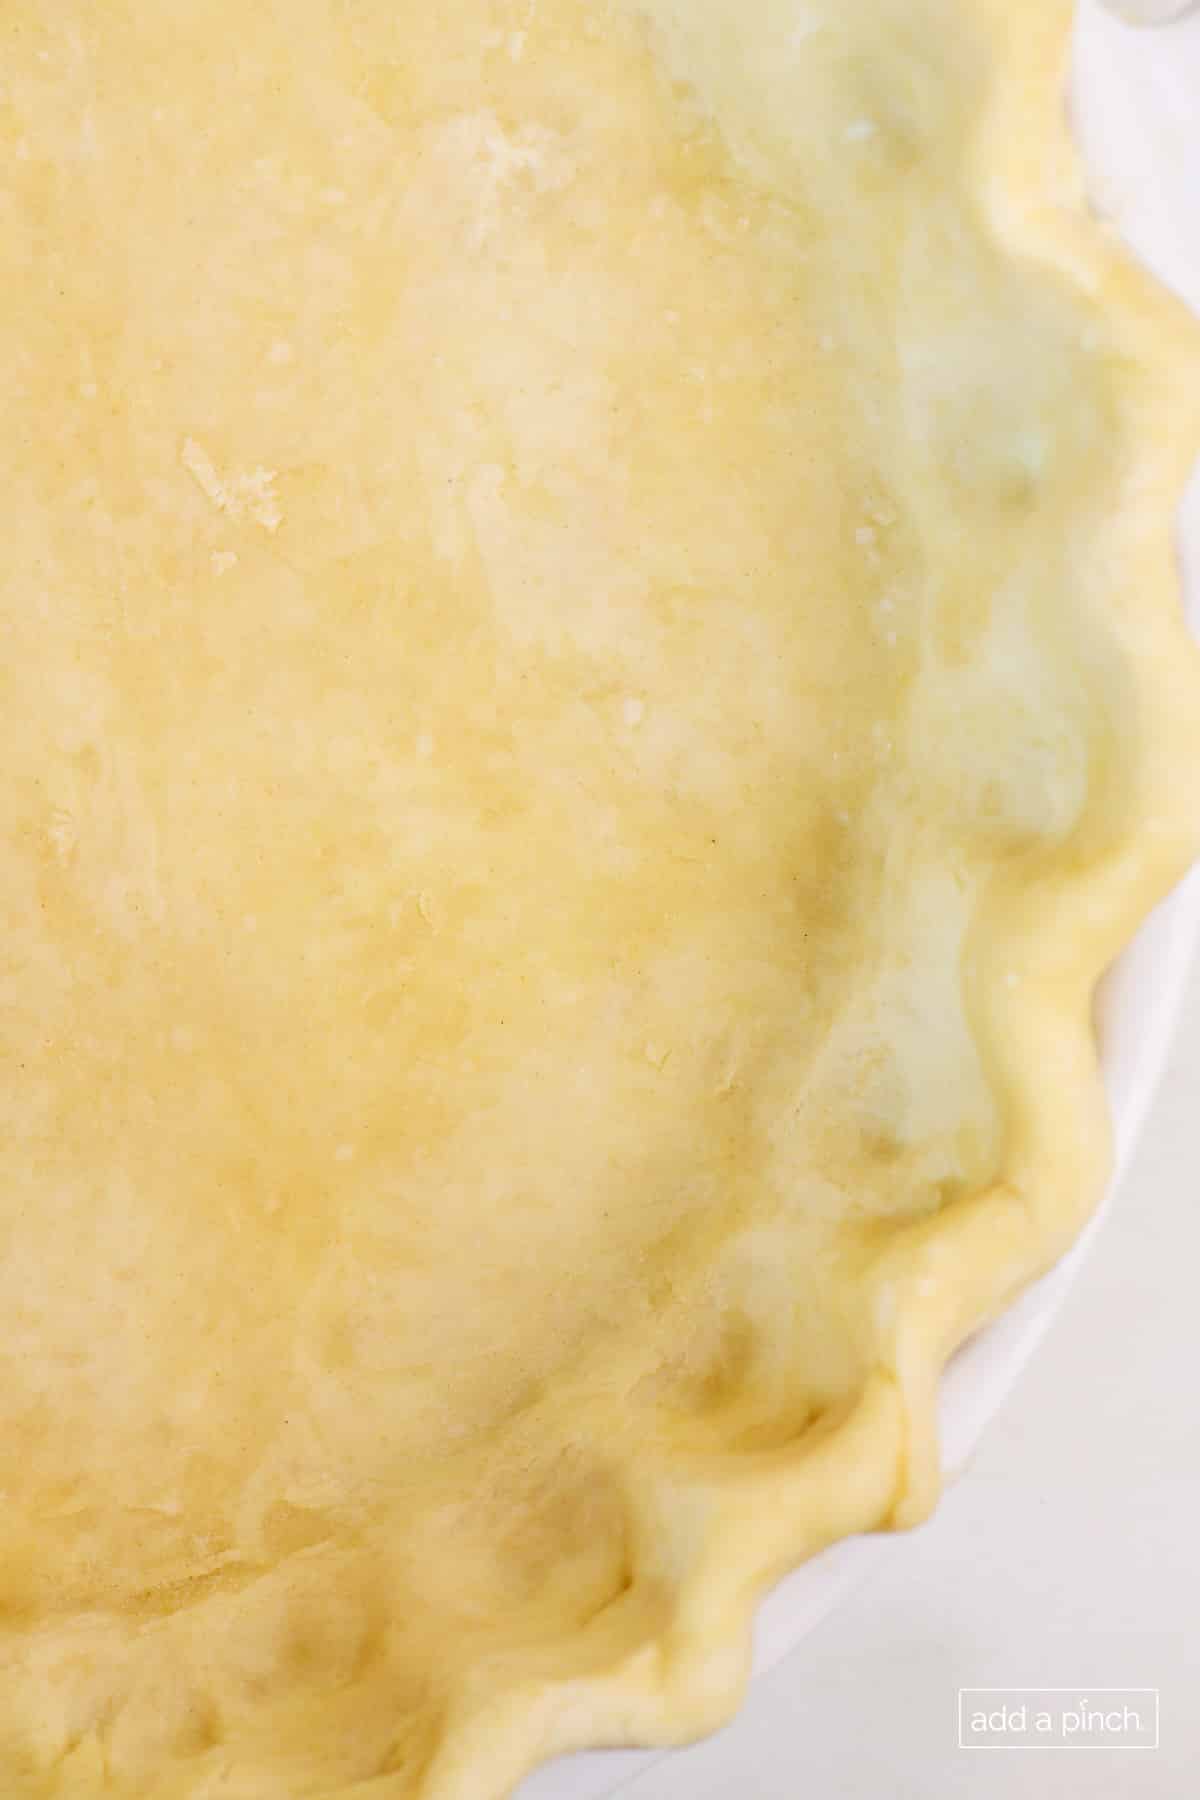
This pie crust works perfectly with savory or sweet pies, is made using butter and shortening for the flakiest crust (with the option of an all-butter pie crust), and is so easy to make! This pie dough rolls out easily and holds up well when baked. Once you try it, you’ll see why this has been a family favorite recipe for generations!
I will tell you exactly how to make it, give you tips to make it super simple and fail-proof, and have a video to see exactly how I make it! You’ll be baking pie crusts in no time!
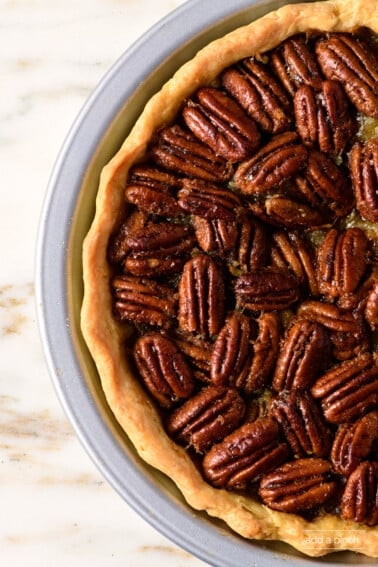
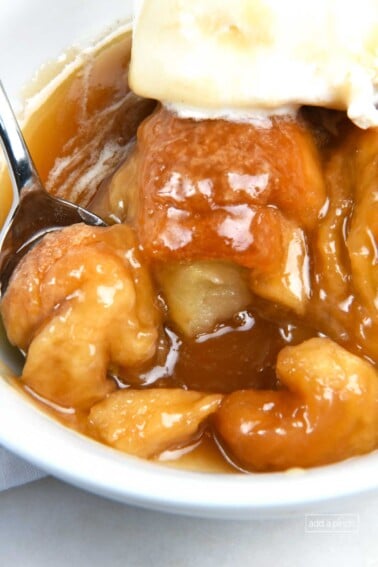
I love making my homemade pie crust – I find it relaxing! I use it in my Pecan Pie, Apple Pie, and my Sweet Potato Pie, to name a few!
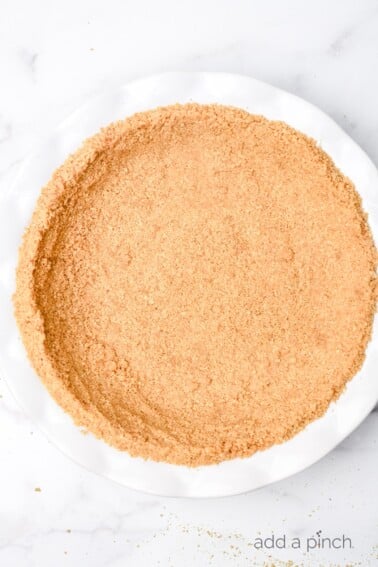
It leads the trio of favorite crust recipes, including my Graham Cracker Crust and Shortbread Crust.
Growing up, I watched my mother and grandmother make pie crusts as if they were the easiest thing in the world. They explained it all to me when I was older and ready to bake my own pies – and it was as easy as they made it look! I’m sharing that simple, fail-proof method with you in this recipe.
This pie dough recipe makes enough for a single-crust pie. You can double the recipe to make enough for a double-crust pie, lattice-crust pie, or a pie with a crust bottom and a crust top.
Here’s how you’ll make it.
Pie Crust Ingredients
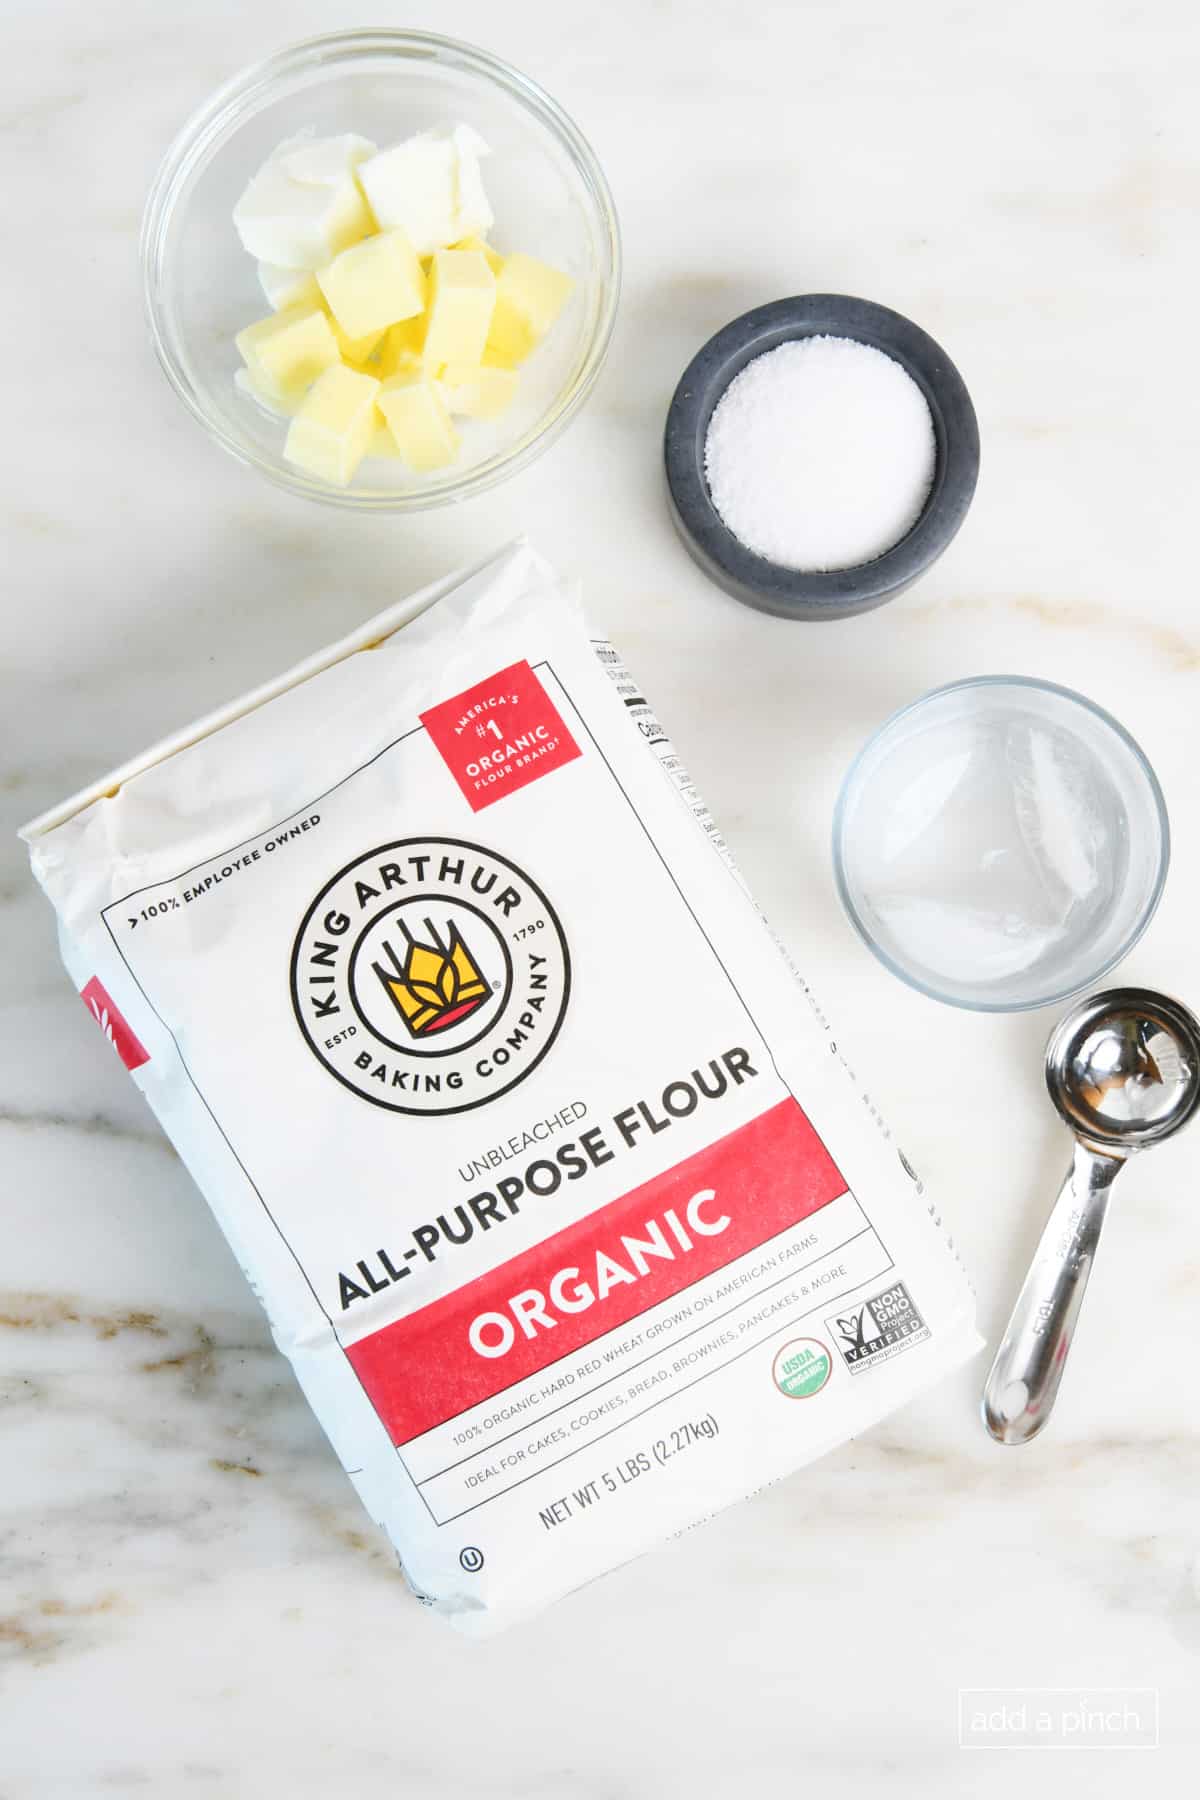
Be sure to see the recipe card below for the full listing of ingredients, instructions, notes, and estimated nutritional information.
- All-purpose flour
- Butter (cold) – cut into cubes
- Shortening (cold) – cut into cubes
- Salt – enhances the flavor of the pie dough
- Ice cold water – helps the ingredients to come together to make the pie dough. I use ice cubes in the water so it’s as cold as possible.
TIP: Make sure the butter and shortening are COLD, and you are using ice-cold water! Cold fats work to make the flakiest pie crust! If the butter or shortening is too warm before the pie dough goes into the hot oven, it can lose its flaky texture and result in a tough, greasy crust instead of a light, tender, and flaky one!
How to Make Homemade Pie Crust Recipe
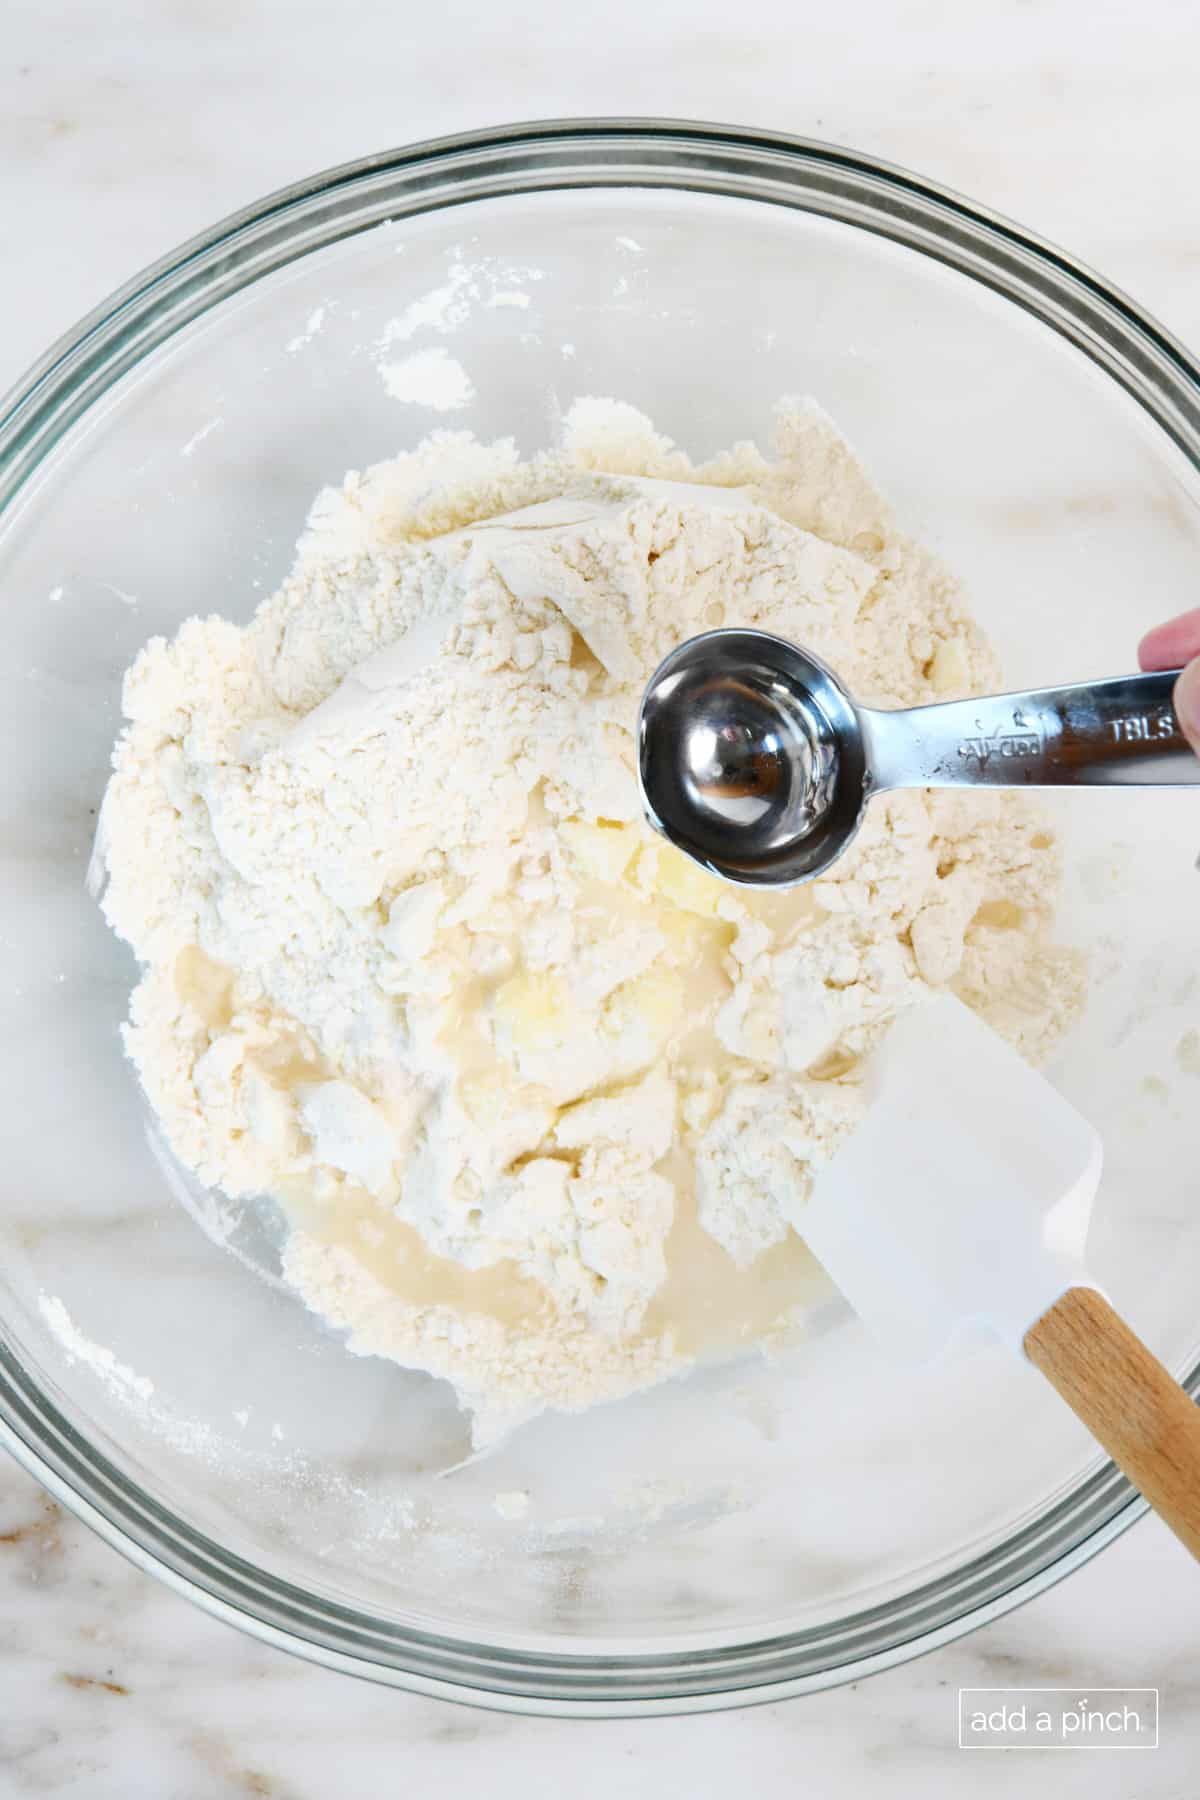
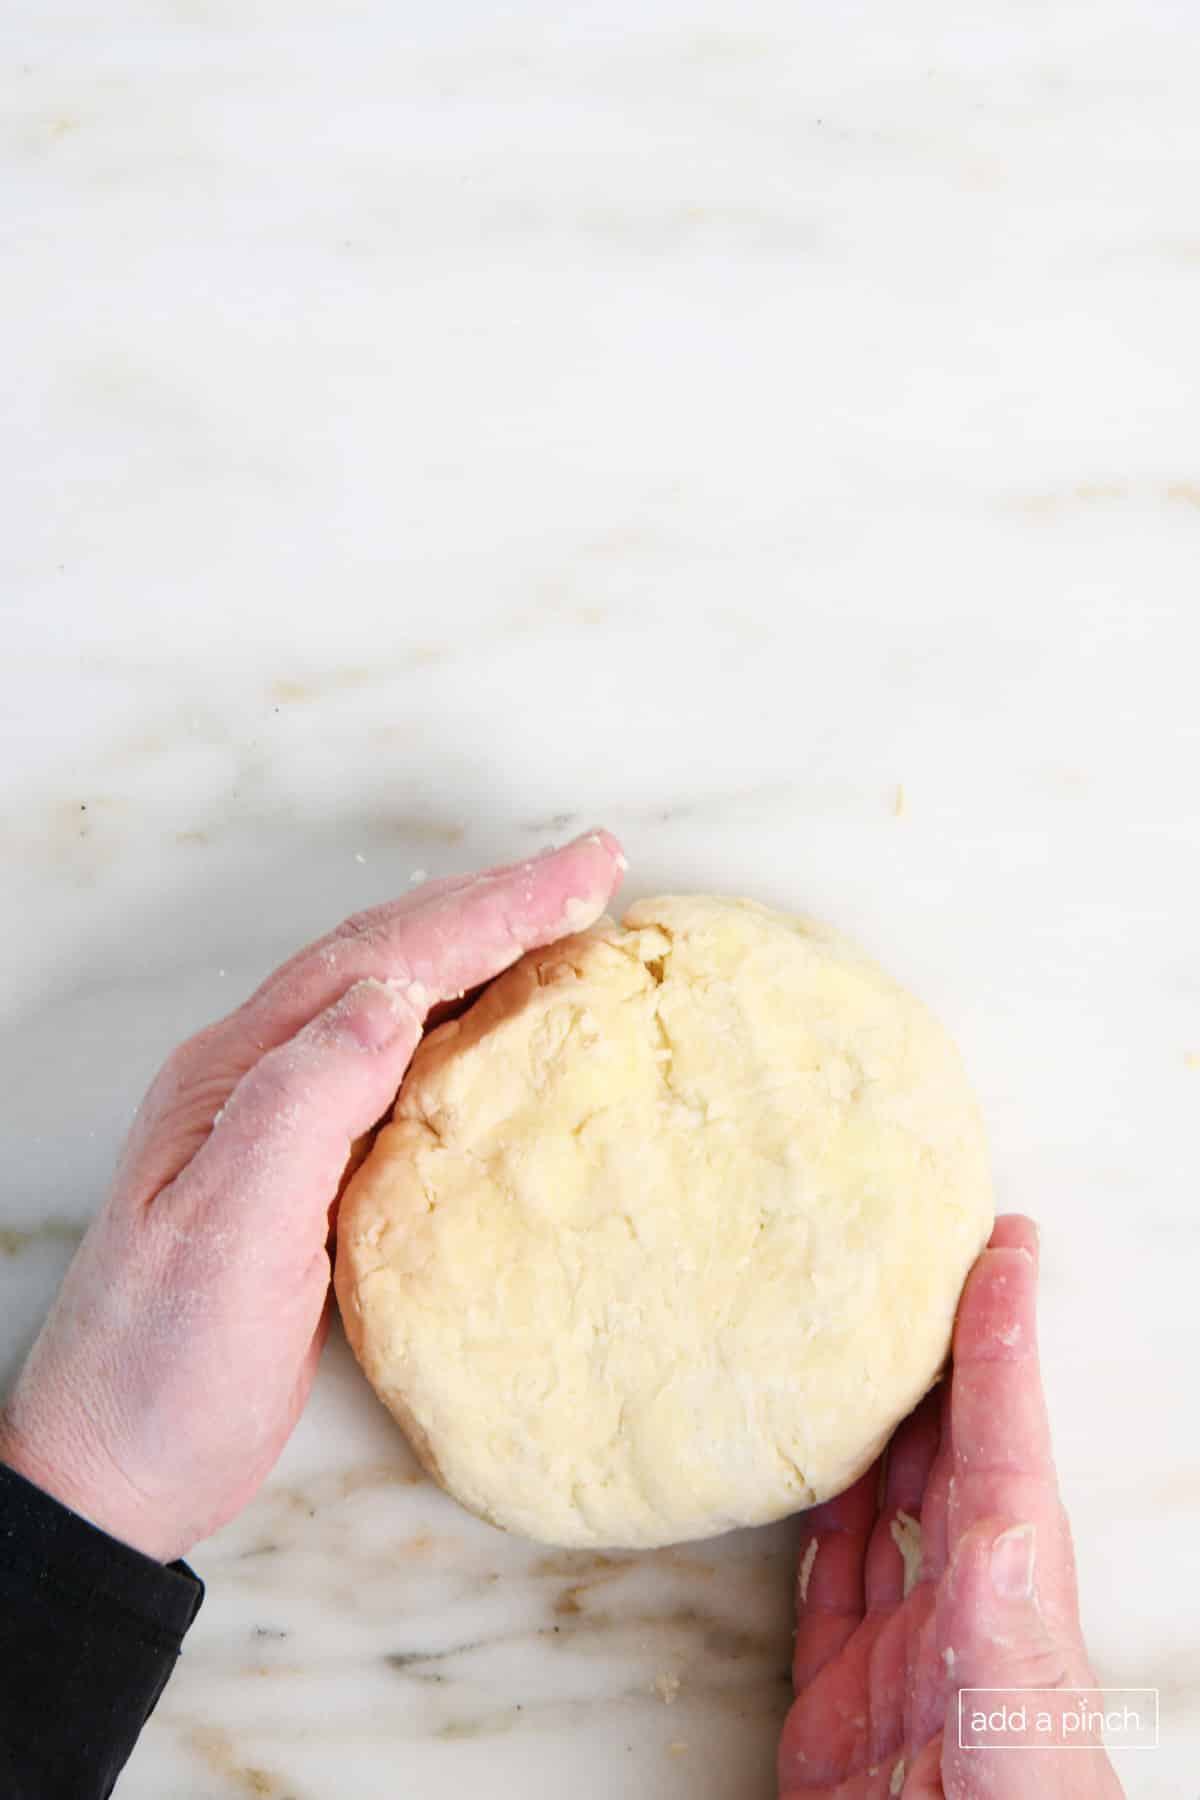
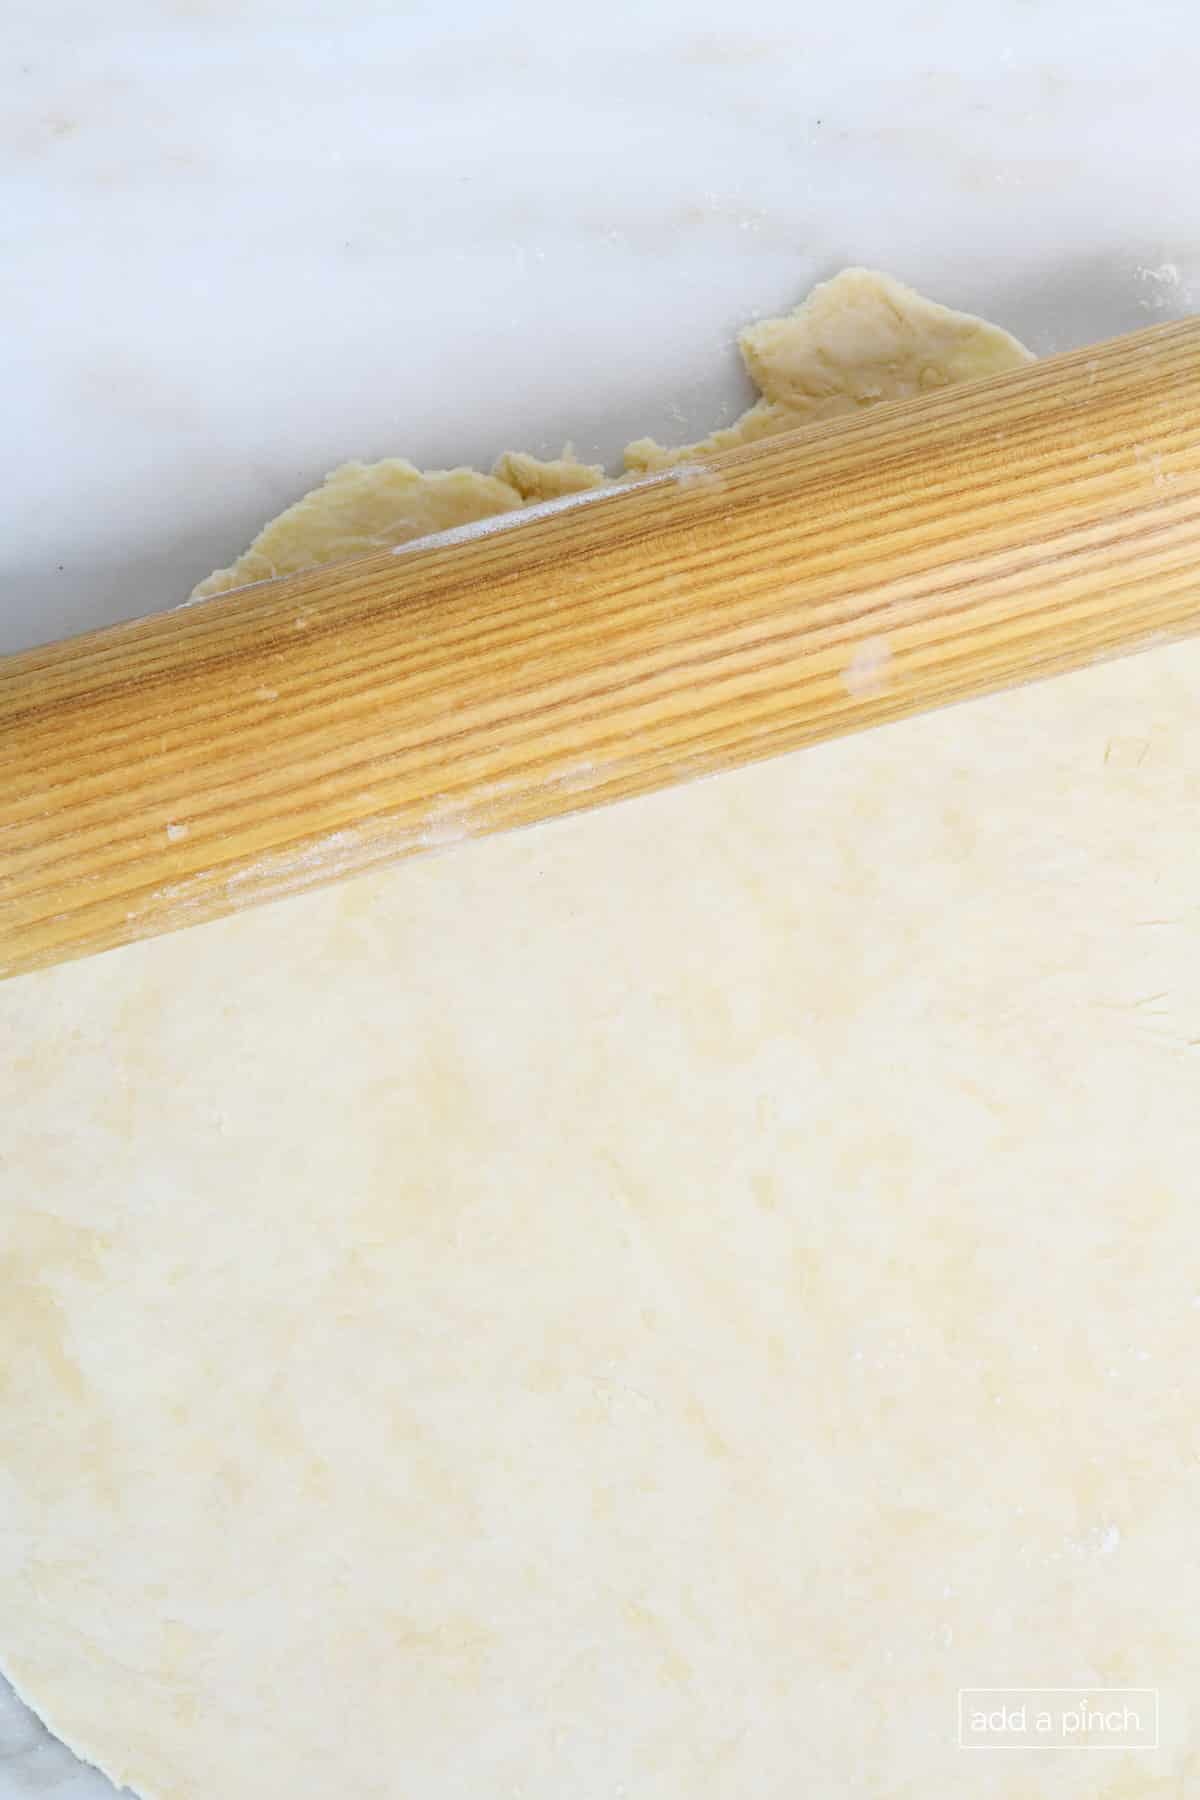
Prep. Butter a 9-inch pie plate and set aside.
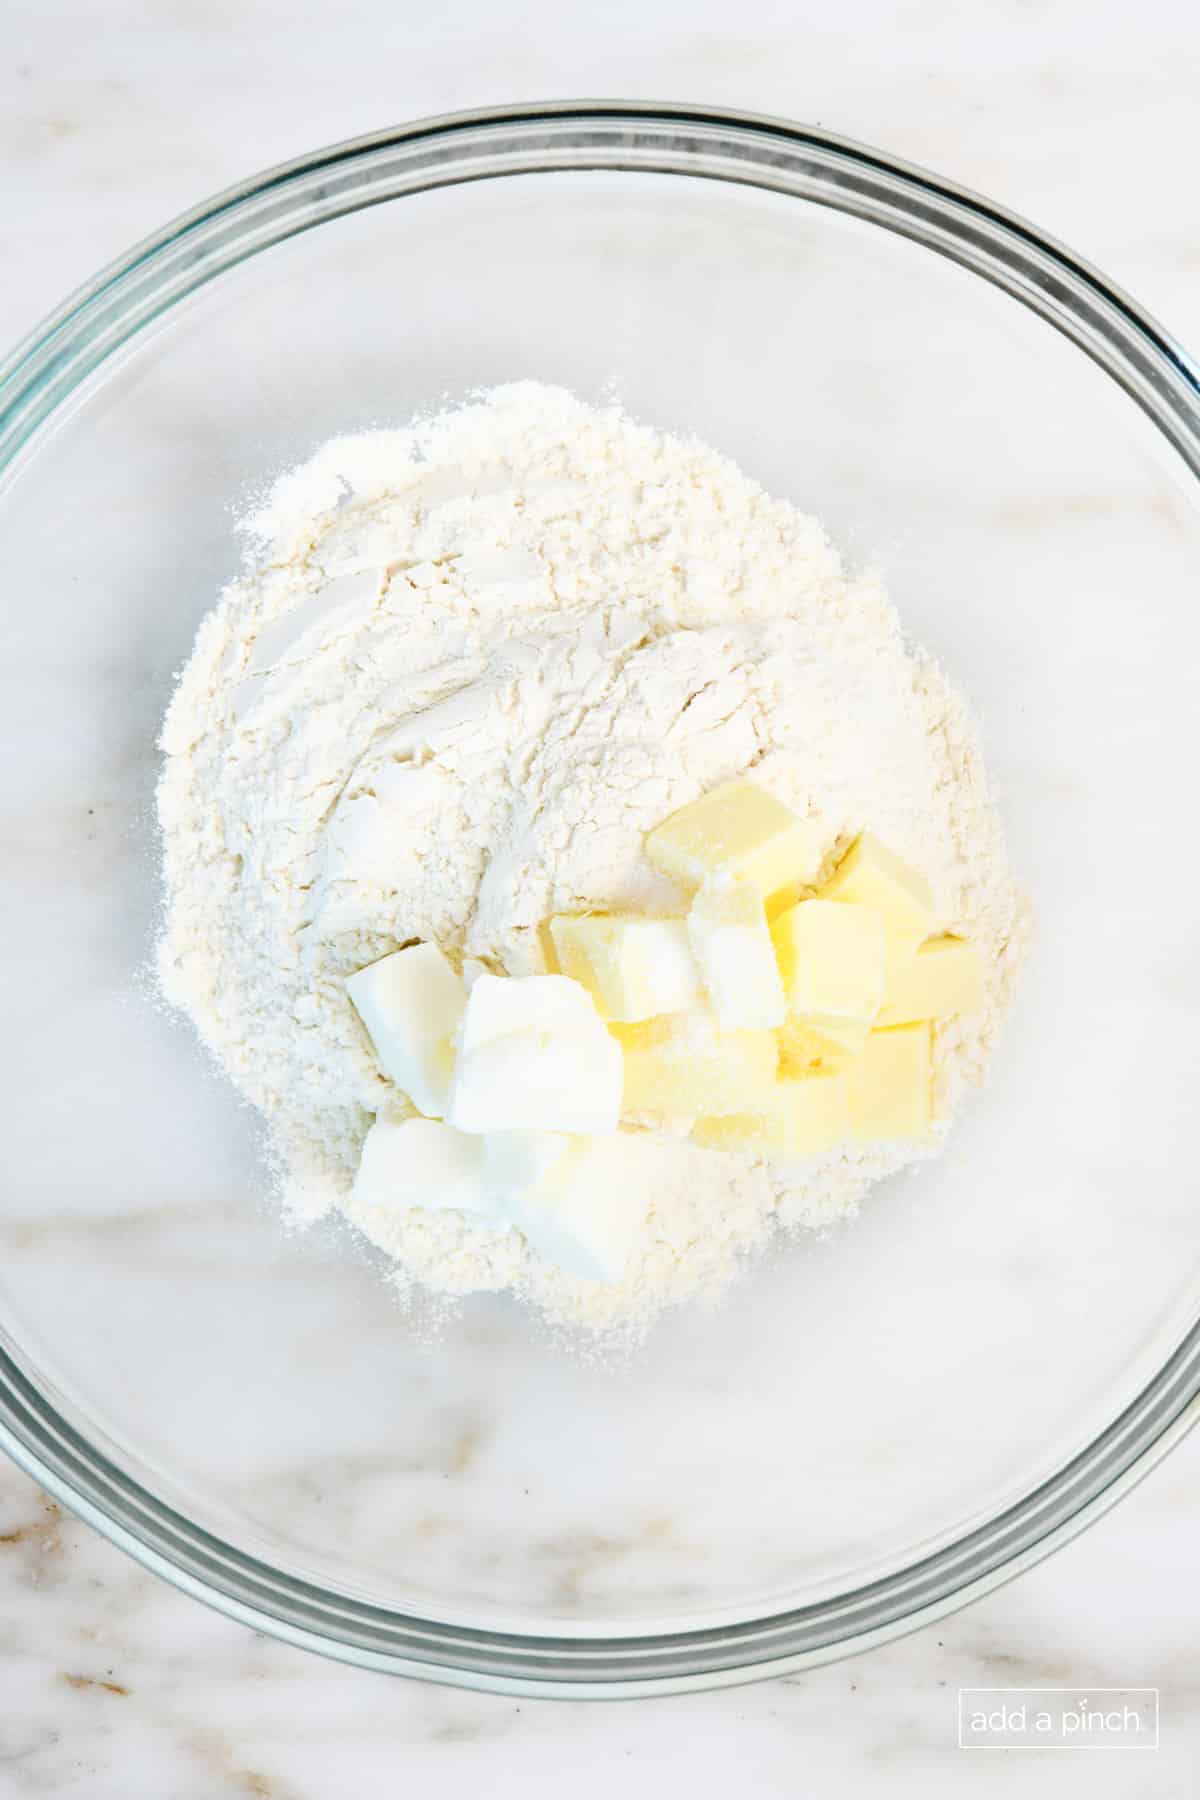
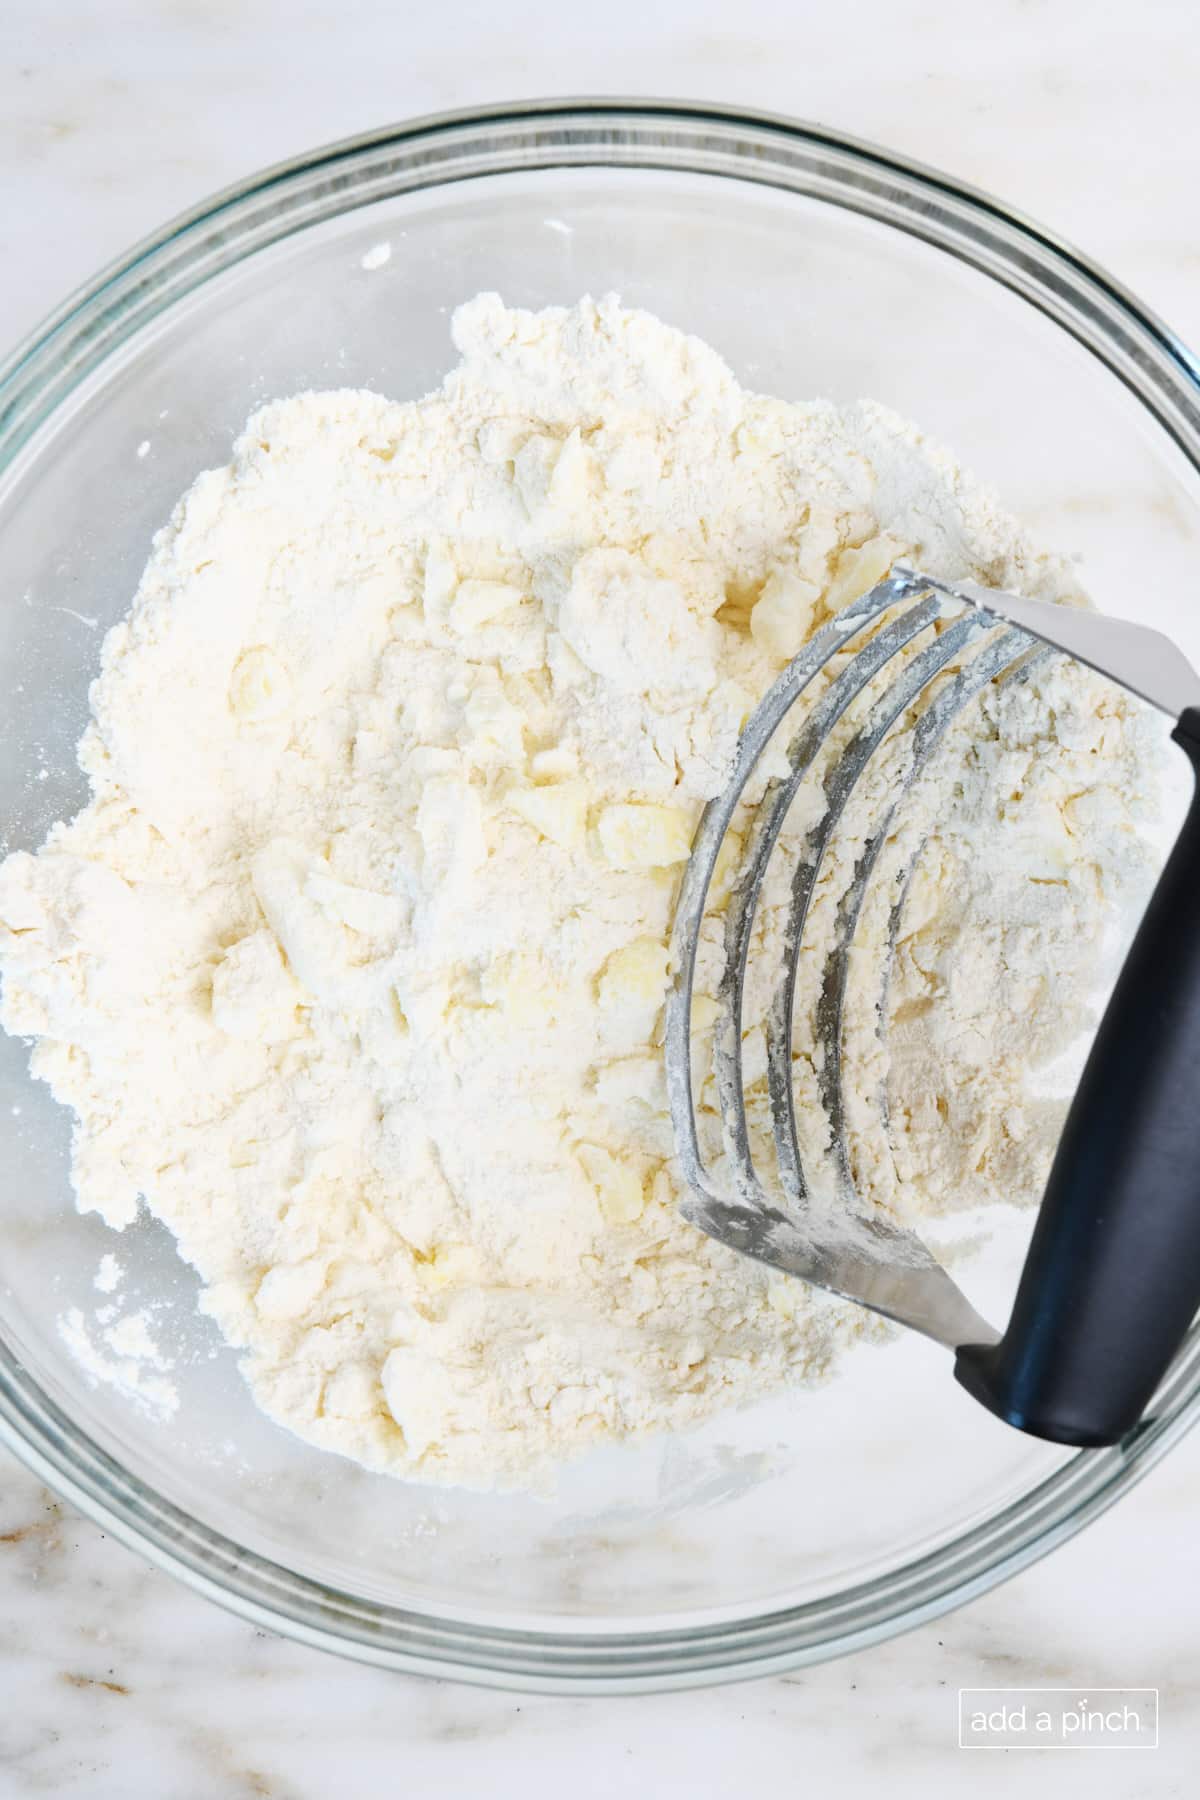
Prepare the pie dough. In a large bowl, combine the all-purpose flour and salt. Cut in butter and shortening with a pastry cutter or two forks until the mixture resembles a coarse meal, coarse crumbs, or has pea-sized pieces of butter and shortening.
Add ice water. Gradually add enough ice-cold water (a tablespoon at a time) while mixing with a wooden spoon until a ball of dough is formed.
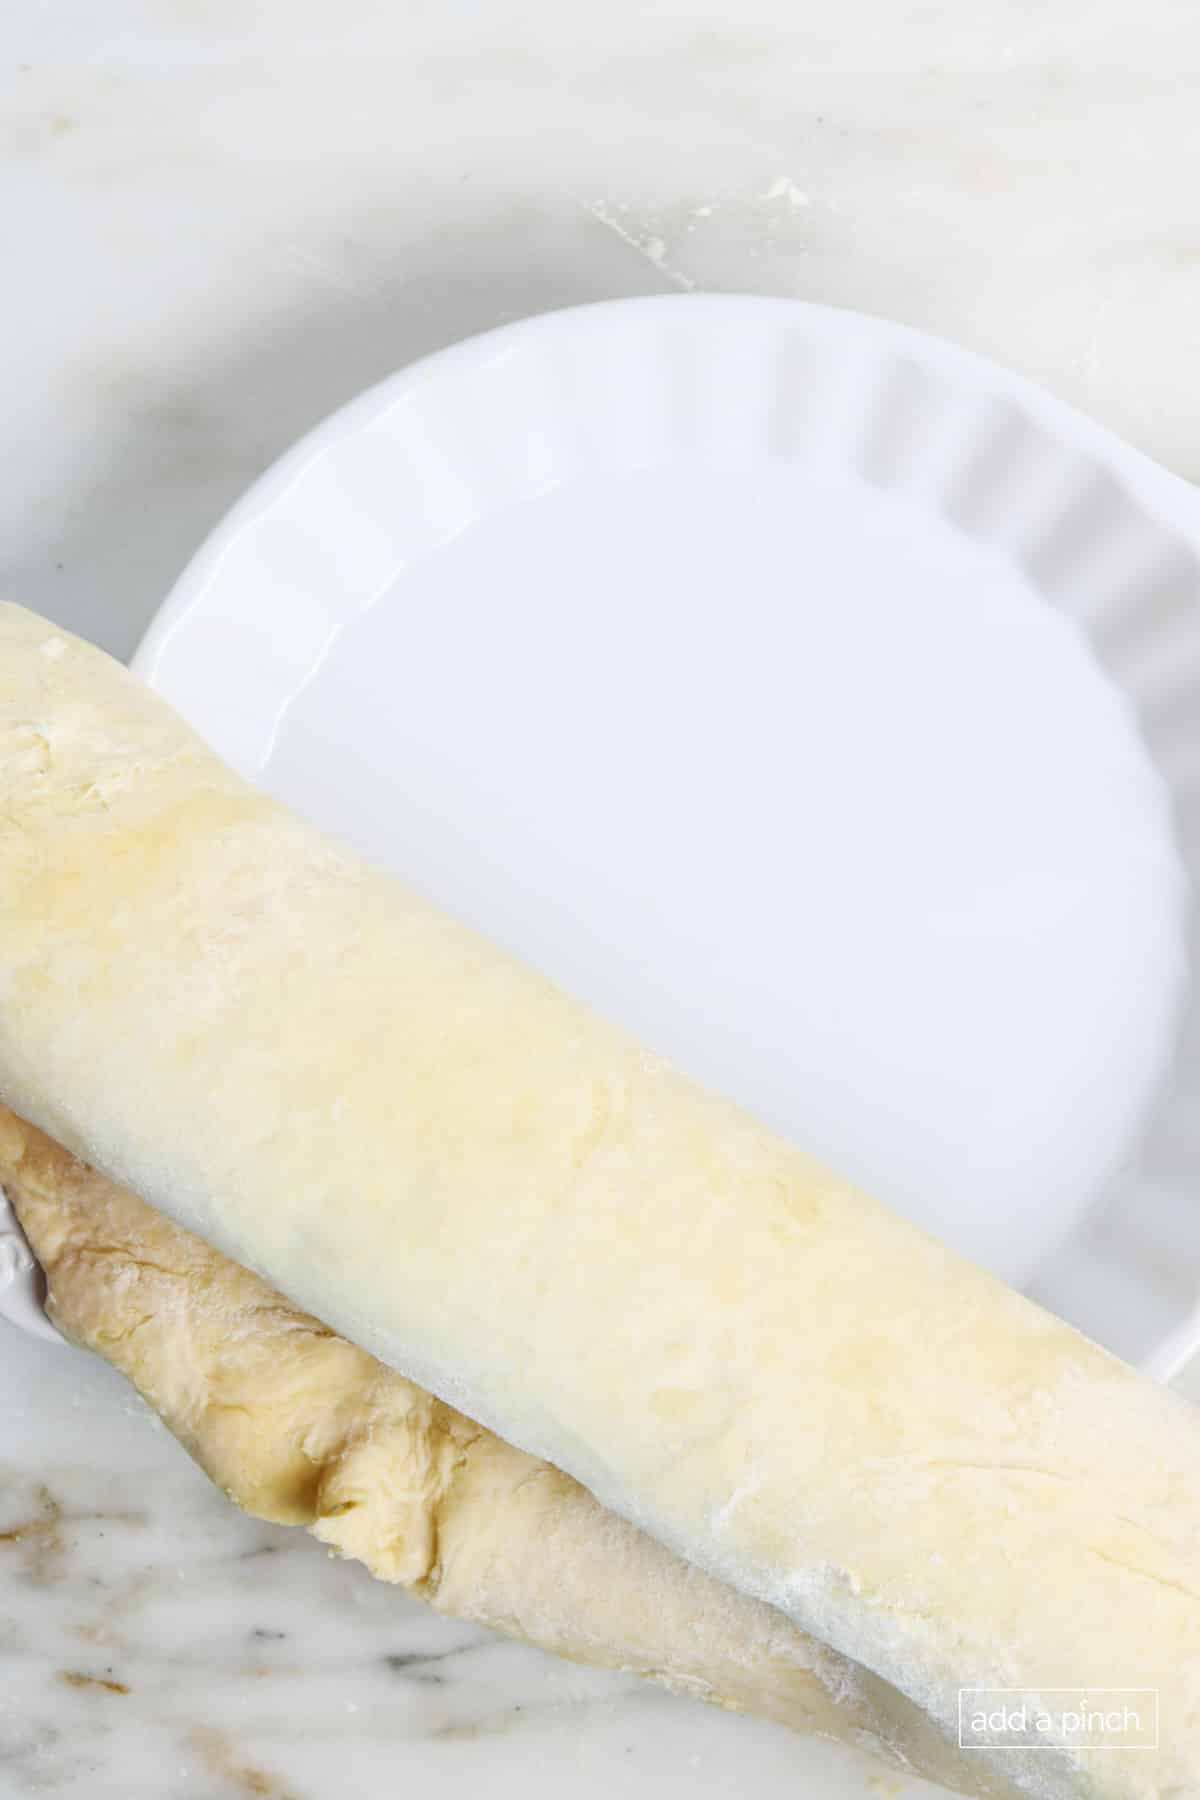
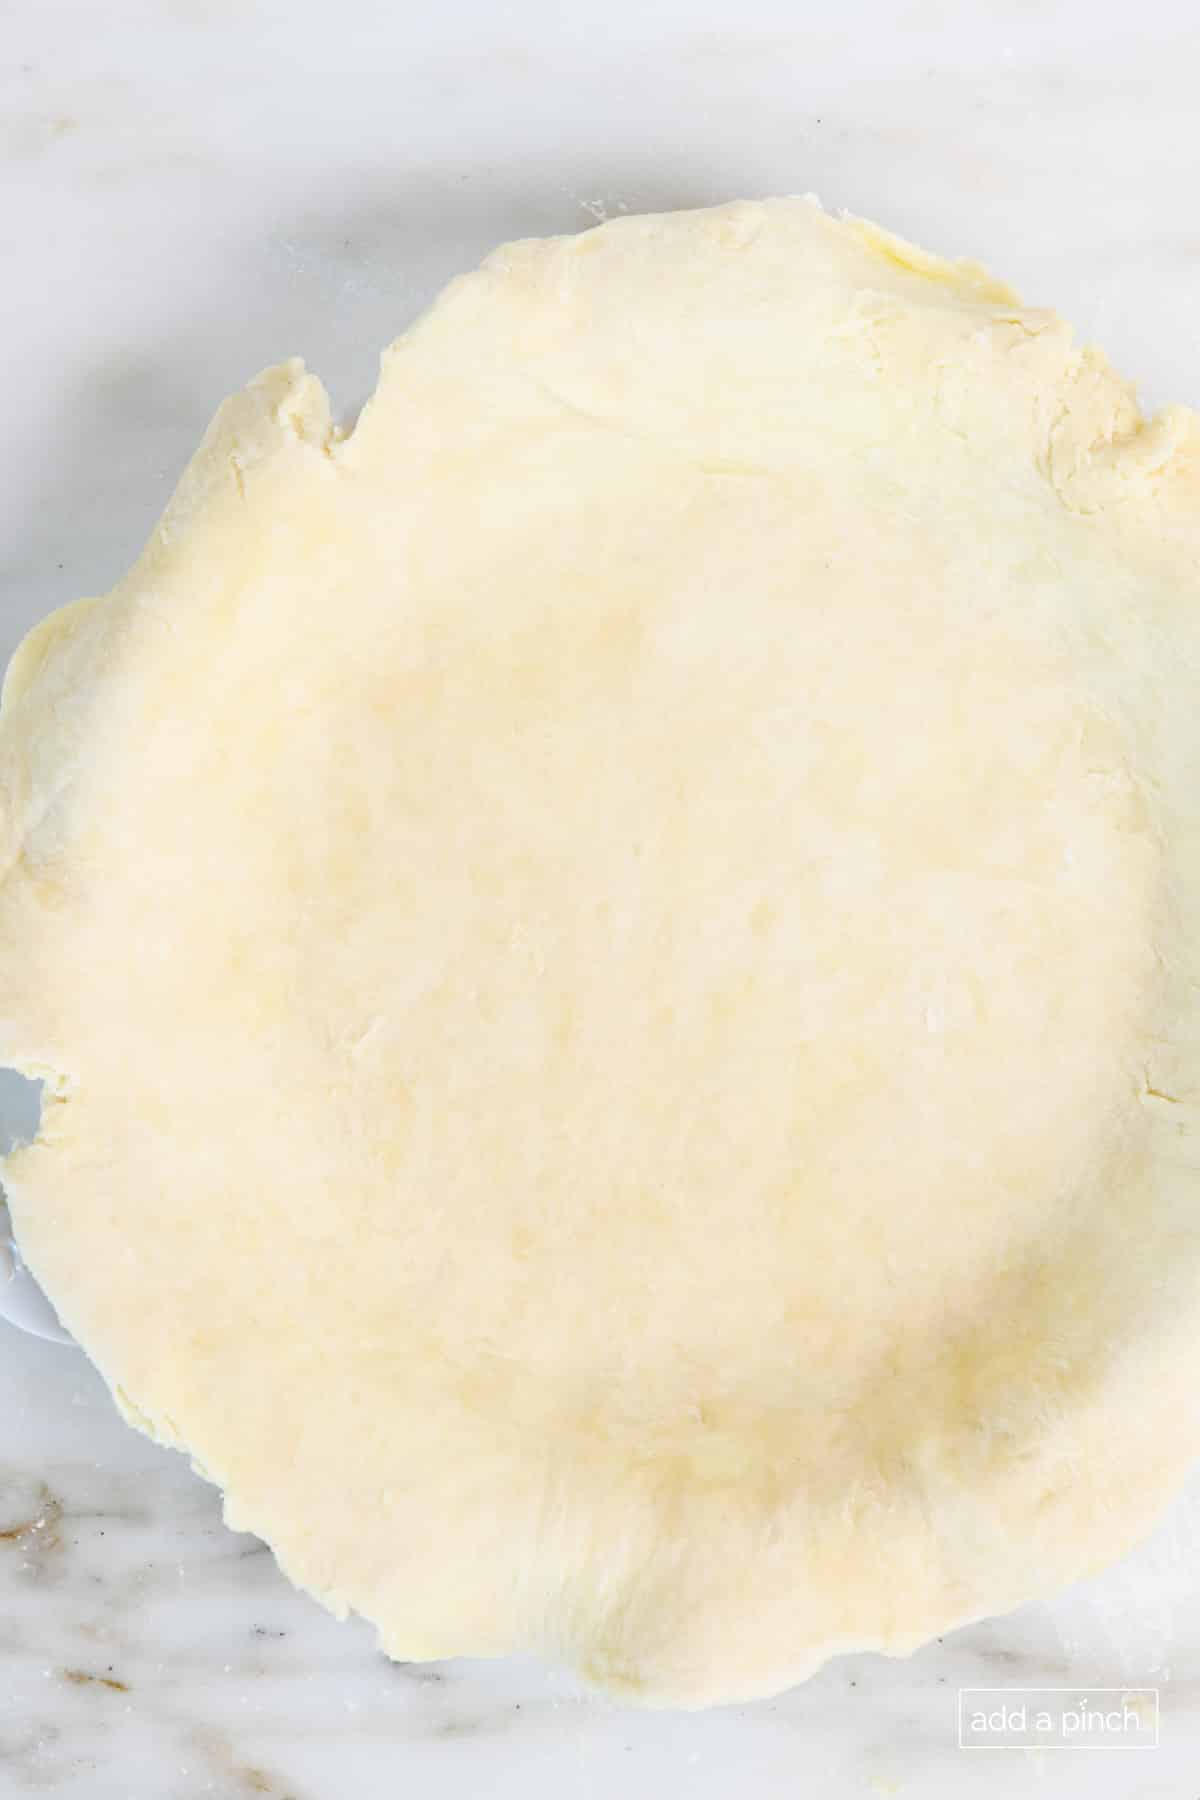
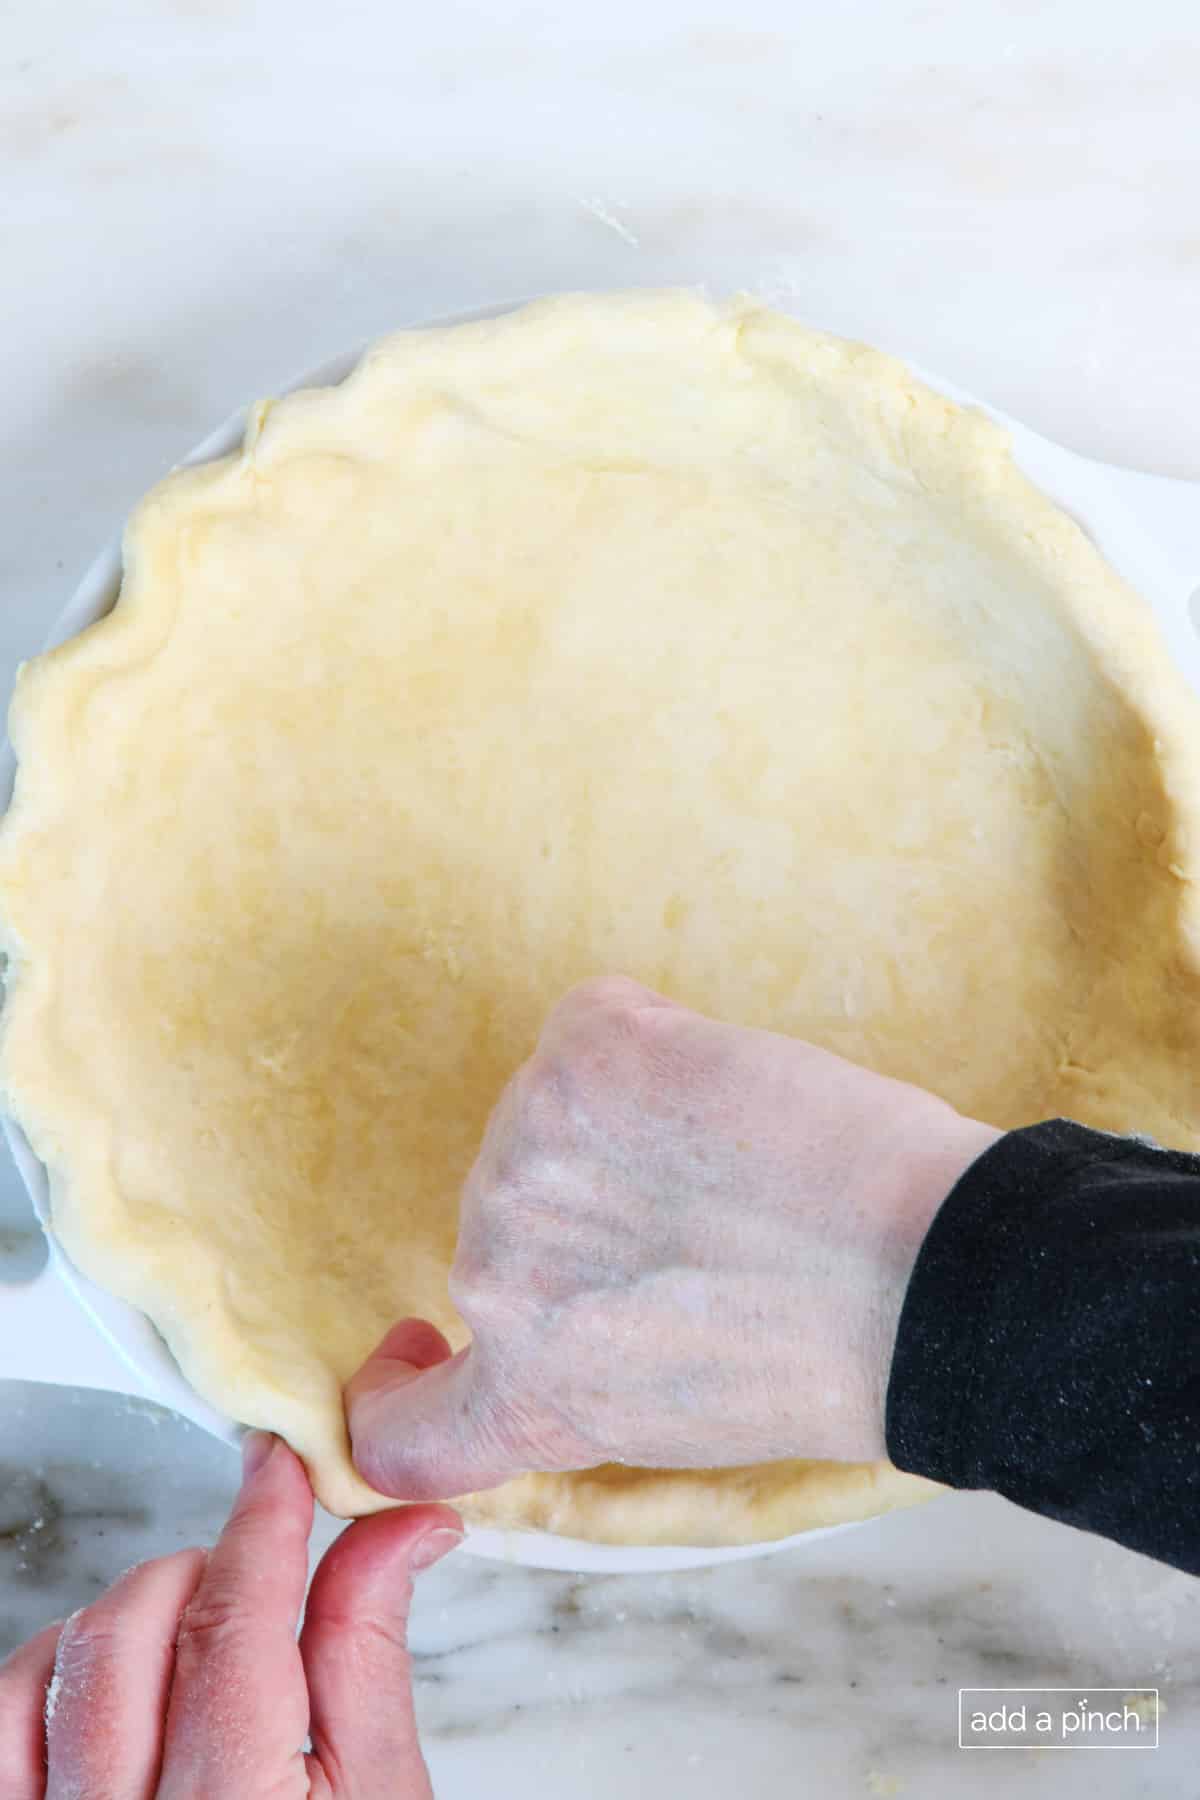
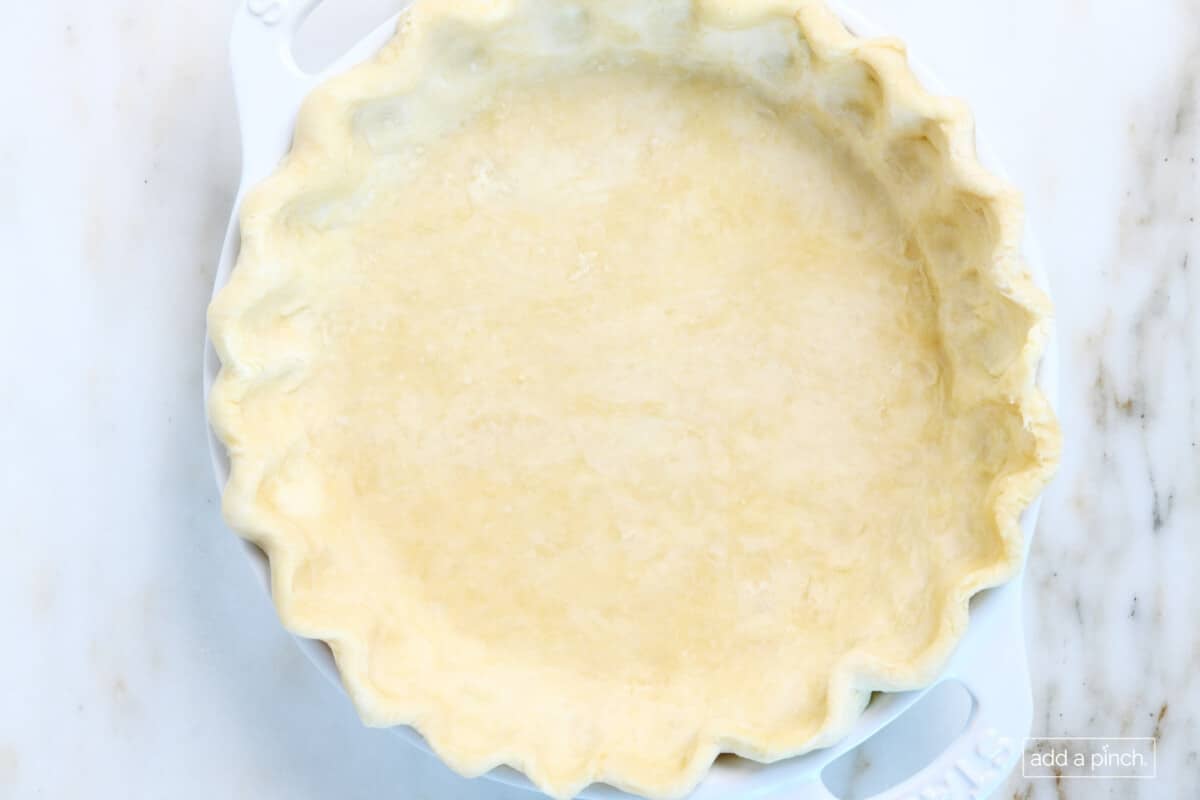
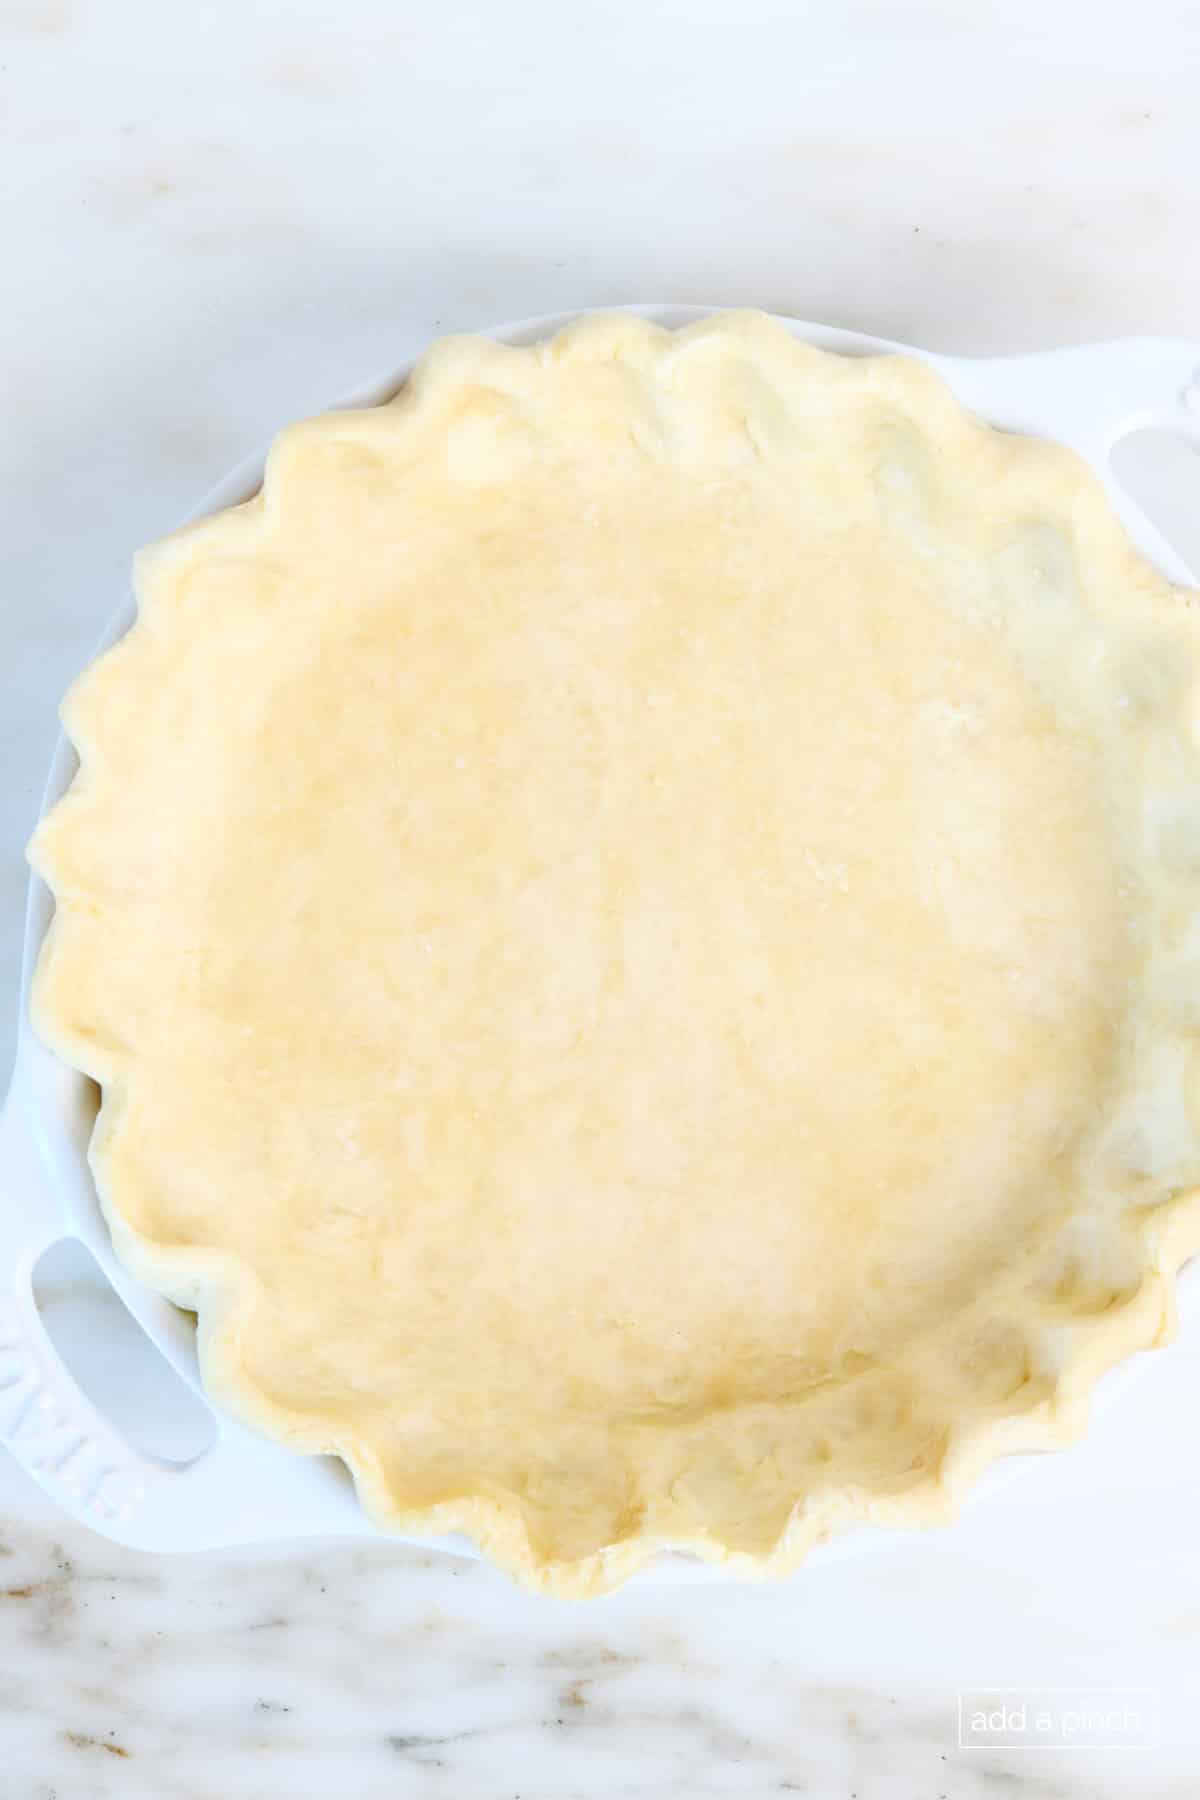
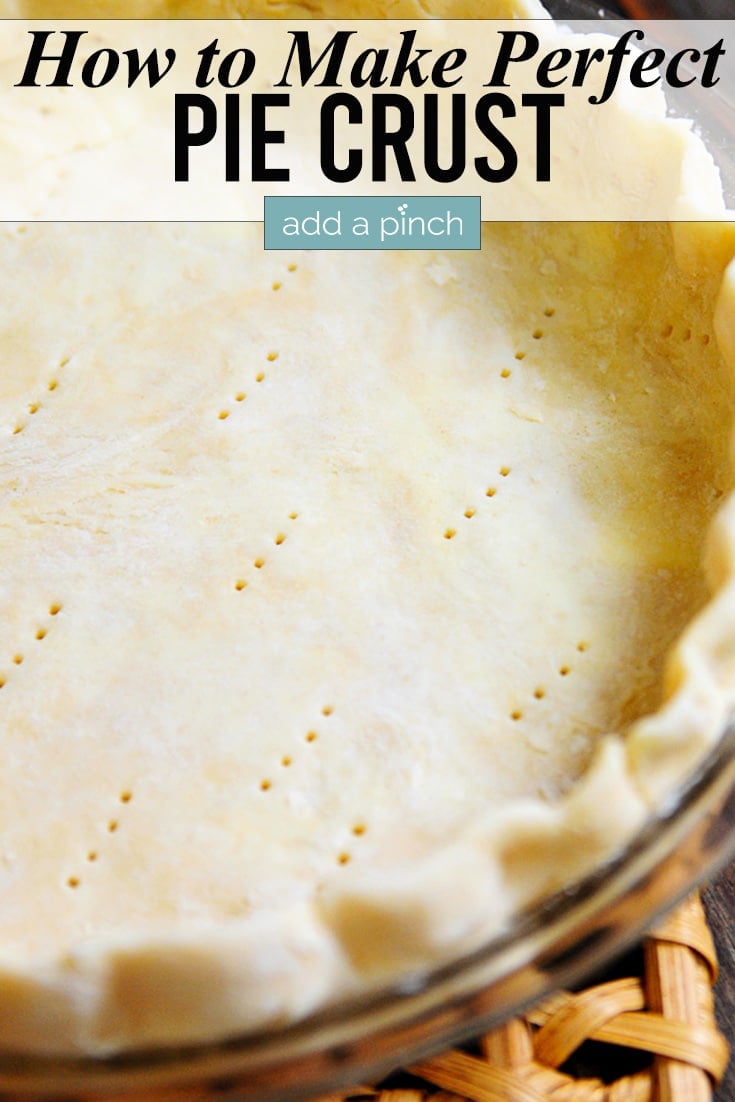
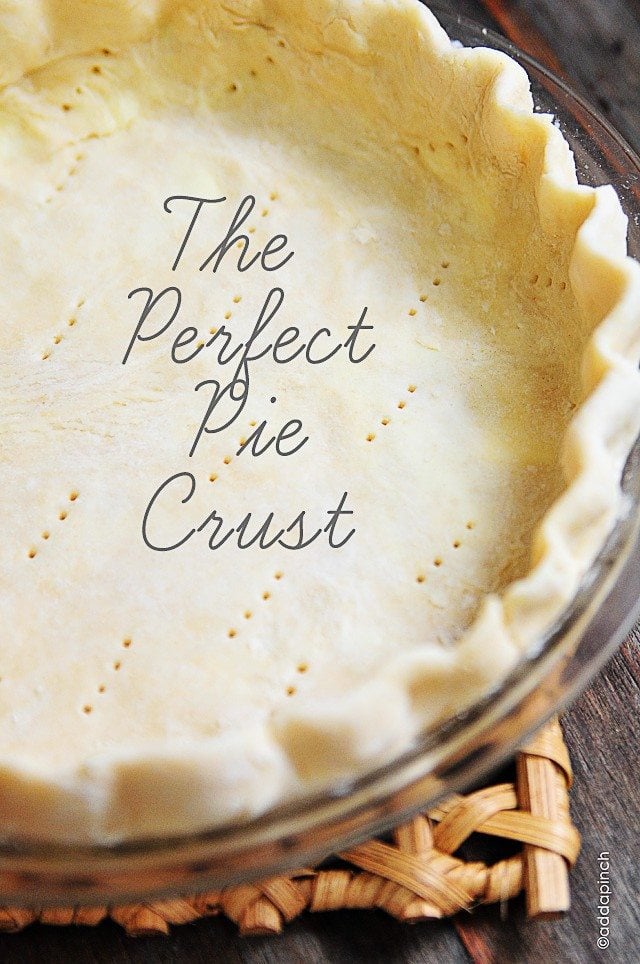
Transfer the dough to the pie plate. Remove the bottom piece of the plastic wrap, fold the dough over and lay it across the pie plate, and remove the top piece of the plastic wrap. Press the pie dough lightly into the bottom and sides of the pie plate. Crimp the top edges.
Chill the pie dough. Cover the pie plate with a piece of plastic wrap and place in the freezer for at least 30 minutes to overnight to chill. By freezing the fat in the pie dough, the crust will be flakier when baked, even more so than if you chill the pie dough in the refrigerator.
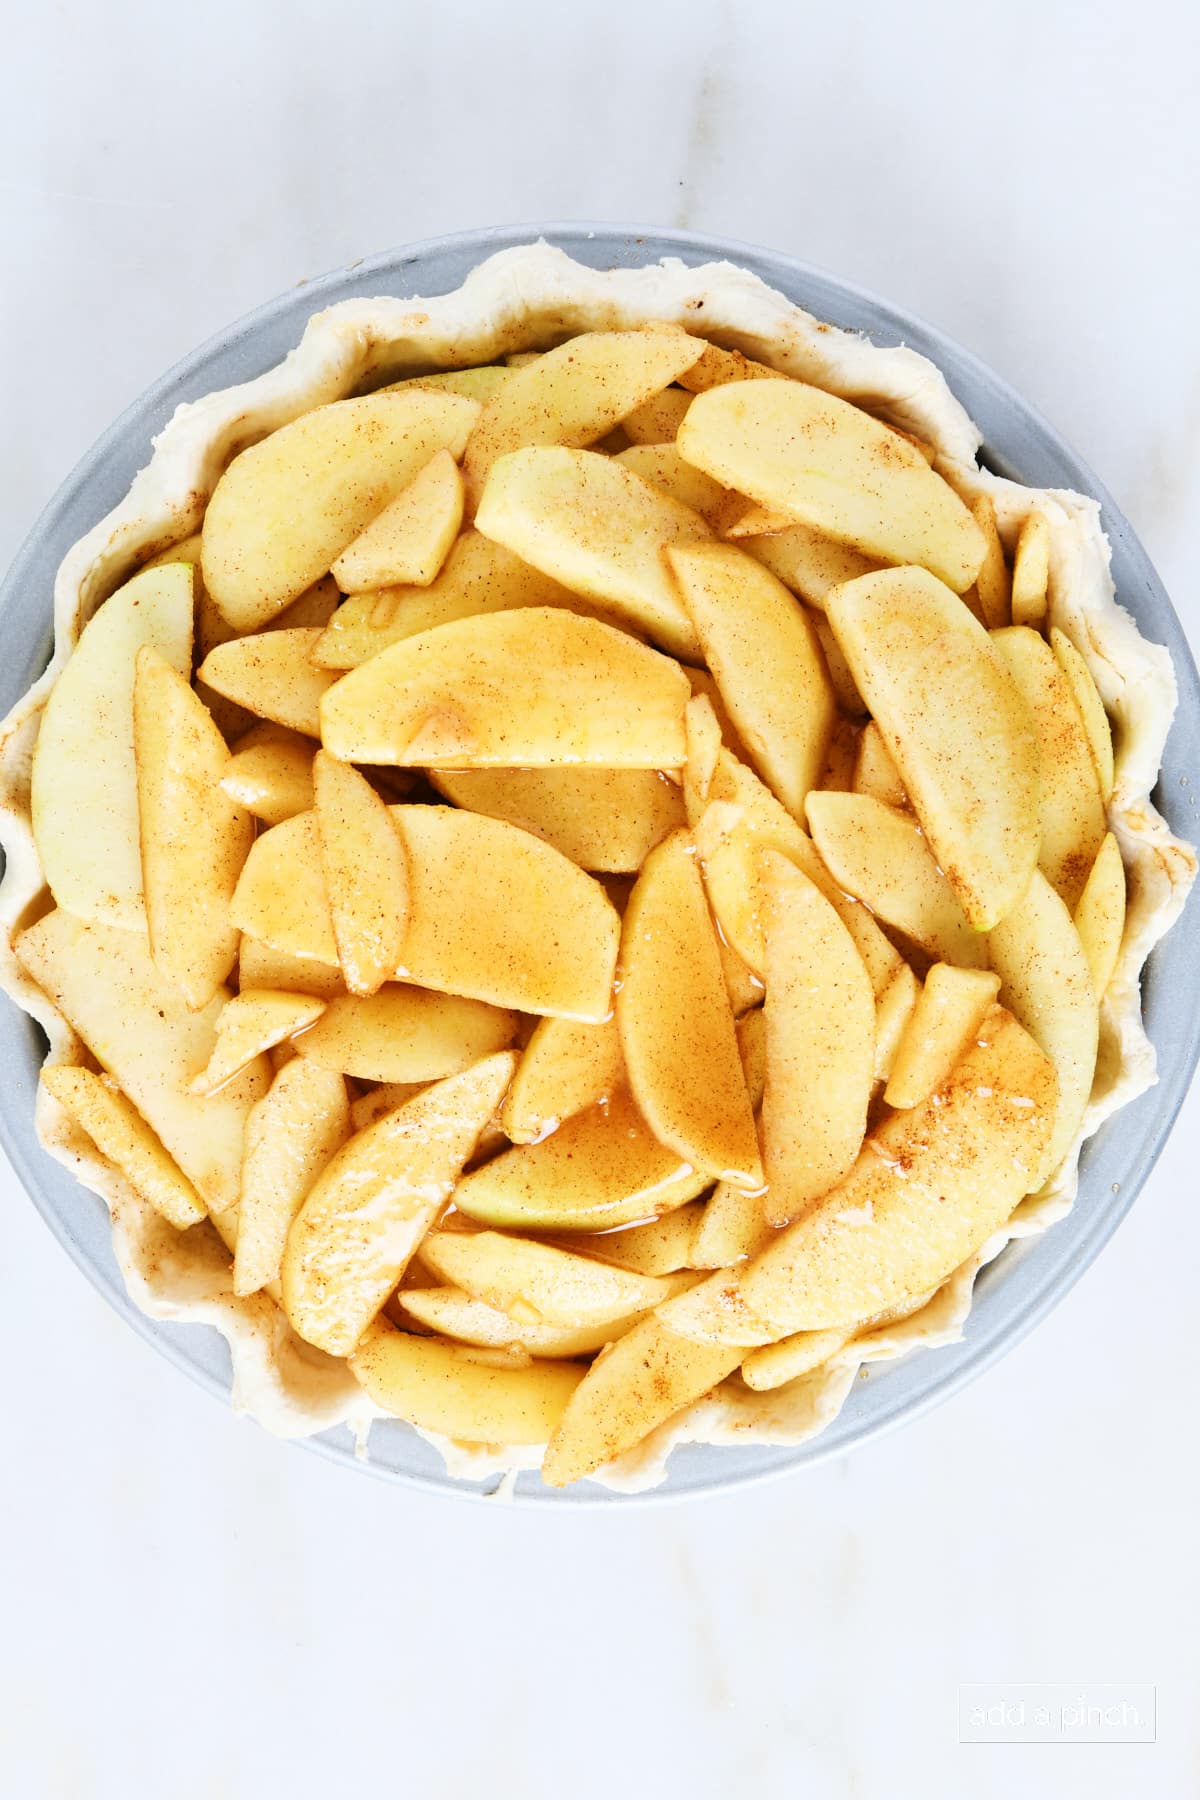
Fill and bake. Then, fill your pie dough with your chosen sweet or savory pie filling and bake it according to the pie recipe.
Bake and Serve. After baking your chosen pie according to that recipe, cool as instructed, then slice and serve. You’ll love how tender, flaky, and buttery it is!
Storage Tips
To make ahead. Prepare the dough as directed and place it into a freezer-safe pie plate. Wrap well with freezer-safe plastic wrap topped with aluminum foil and freeze for 30 minutes to overnight. To use, remove from the freezer and add your pie filling. Bake according to the recipe instructions. If a blind-baked pie crust is needed for the recipe, follow the directions included in the section How to Blind Bake Pie Crust.
To freeze for a longer term. Prepare the dough as directed and place it into a freezer-safe pie plate. Wrap well with freezer-safe plastic wrap topped with aluminum foil and place into the freezer for up to 6 months. To use, remove from the freezer, add your pie filling, and bake according to the recipe instructions. If blind baking, follow the instructions in the section How to Blind Bake Pie Crust.
Why Use Both Butter and Shortening in Pie Crust?
I love to use BOTH, as you’ve seen me describe! Here are some benefits of using both butter and shortening in your pie crust:
- Shortening – The shortening helps it to be super flaky, tender, and sturdy. It also helps the crust be somewhat flexible as you roll and shape the dough and hold its shape as it bakes in high heat.
- Butter – The butter gives it a delicious flavor and flaky texture! While an all-butter crust is delicious, it may not hold its shape as well as a shortening/butter crust.
- Combination of Butter and Shortening – This produces a delicious, flaky, yet perfectly sturdy crust for even heavier pie fillings. It’s how my grandmother made pie crusts for decades, and I love this method for my crusts too!
How to Make All Butter Pie Crust
Use 1/2 cup of butter plus a bit more to butter your pie plate. Omit the shortening from the recipe.
How to Make Gluten-Free Pie Crust
Simply substitute with your favorite gluten-free all-purpose flour. There are so many great options for all-purpose gluten-free baking flour now. I love to use Bob Red Mill’s Gluten-Free 1 to 1 Baking Flour.
Making the Dough by Hand or Food Processor?
Some people swear by a food processor for making pie dough, others use a pastry cutter, while my Grandmother only used two forks. I have used all methods but use my pastry cutter most often. It’s so easy – any of these methods you prefer works!
How to Make Pie Crust with a Food Processor
- Add flour, butter, shortening, and salt to the bowl of a food processor fitted with a steel blade.
- Pulse 8 to 10 times to combine the flour mixture until the butter and shortening are the size of peas.
- Add the ice water, a tablespoon at a time, through the feed tube and pulse to combine. Repeat until the pie dough begins to form a ball.
- Remove the pie dough ball from the food processor and proceed with the recipe as instructed.
How to Blind Bake Pie Crust
If you are making a pie that requires a pre-baked crust, once you have transferred the pie dough to the pie plate, use a fork and lightly prick the bottom and sides of the pie crust.
- Top the pie dough with foil or parchment paper and fill with pie weights or dried beans.
- Preheat oven to 425 degrees F and bake for about 8 minutes.
- Remove from the oven and allow to cool. Remove the pie weights to use again, and discard the foil or parchment paper.
How to Make a Double-Crust Pie
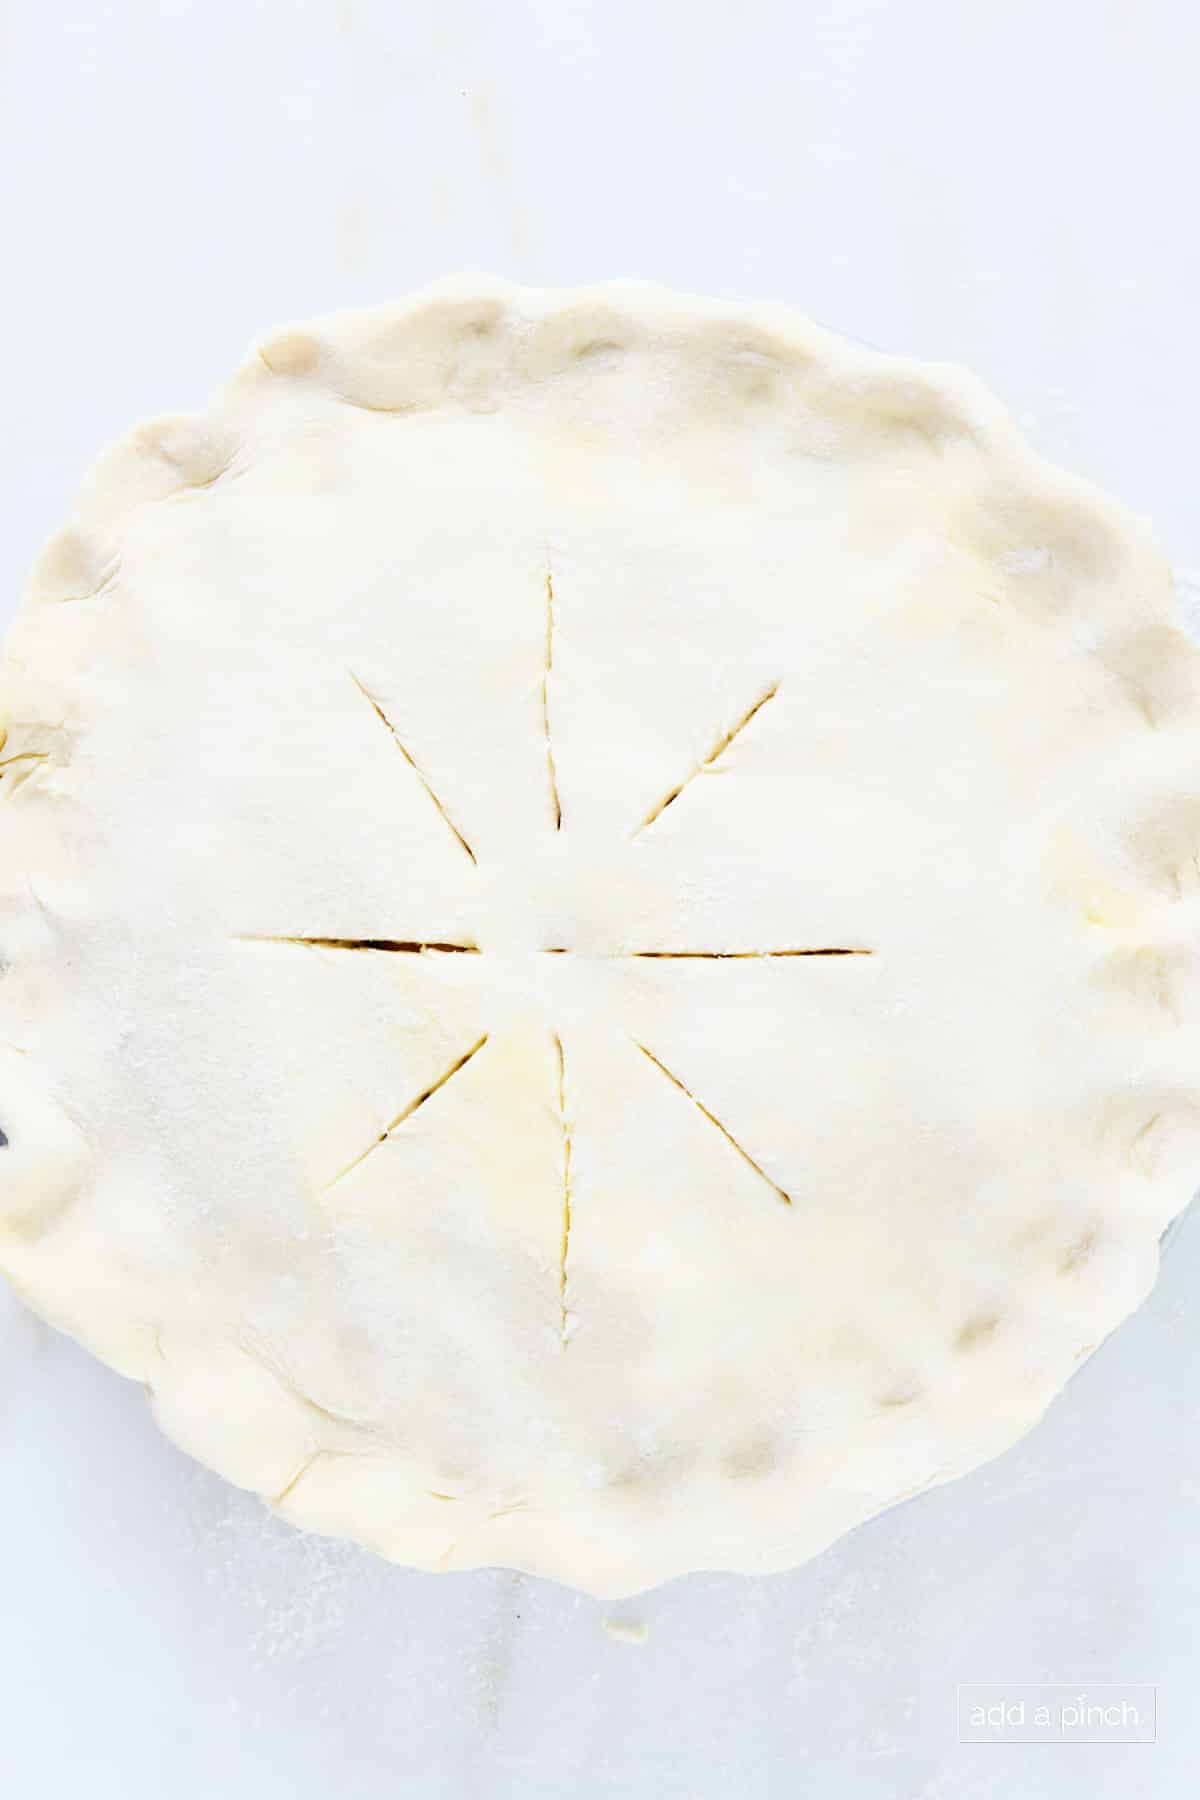
If you are making a pie that needs a double crust, like my apple pie or turkey pot pie, double the recipe for pie crust. As mentioned, place the bottom crust on the pie plate and freeze. Roll out the second or top pie crust dough and put it onto a piece of parchment paper on a baking sheet. Then, place it in the refrigerator to chill for at least 30 minutes up to overnight.
To bake, preheat the oven according to the pie’s recipe directions. Remove the pie plate from the freezer and add the pie filling. Remove the top pie crust from the refrigerator and place on top of the pie filling. Cut slits into the top crust to allow for steam to escape as the pie bakes. Bake according to the recipe instructions.
How to Make a Lattice Pie Crust
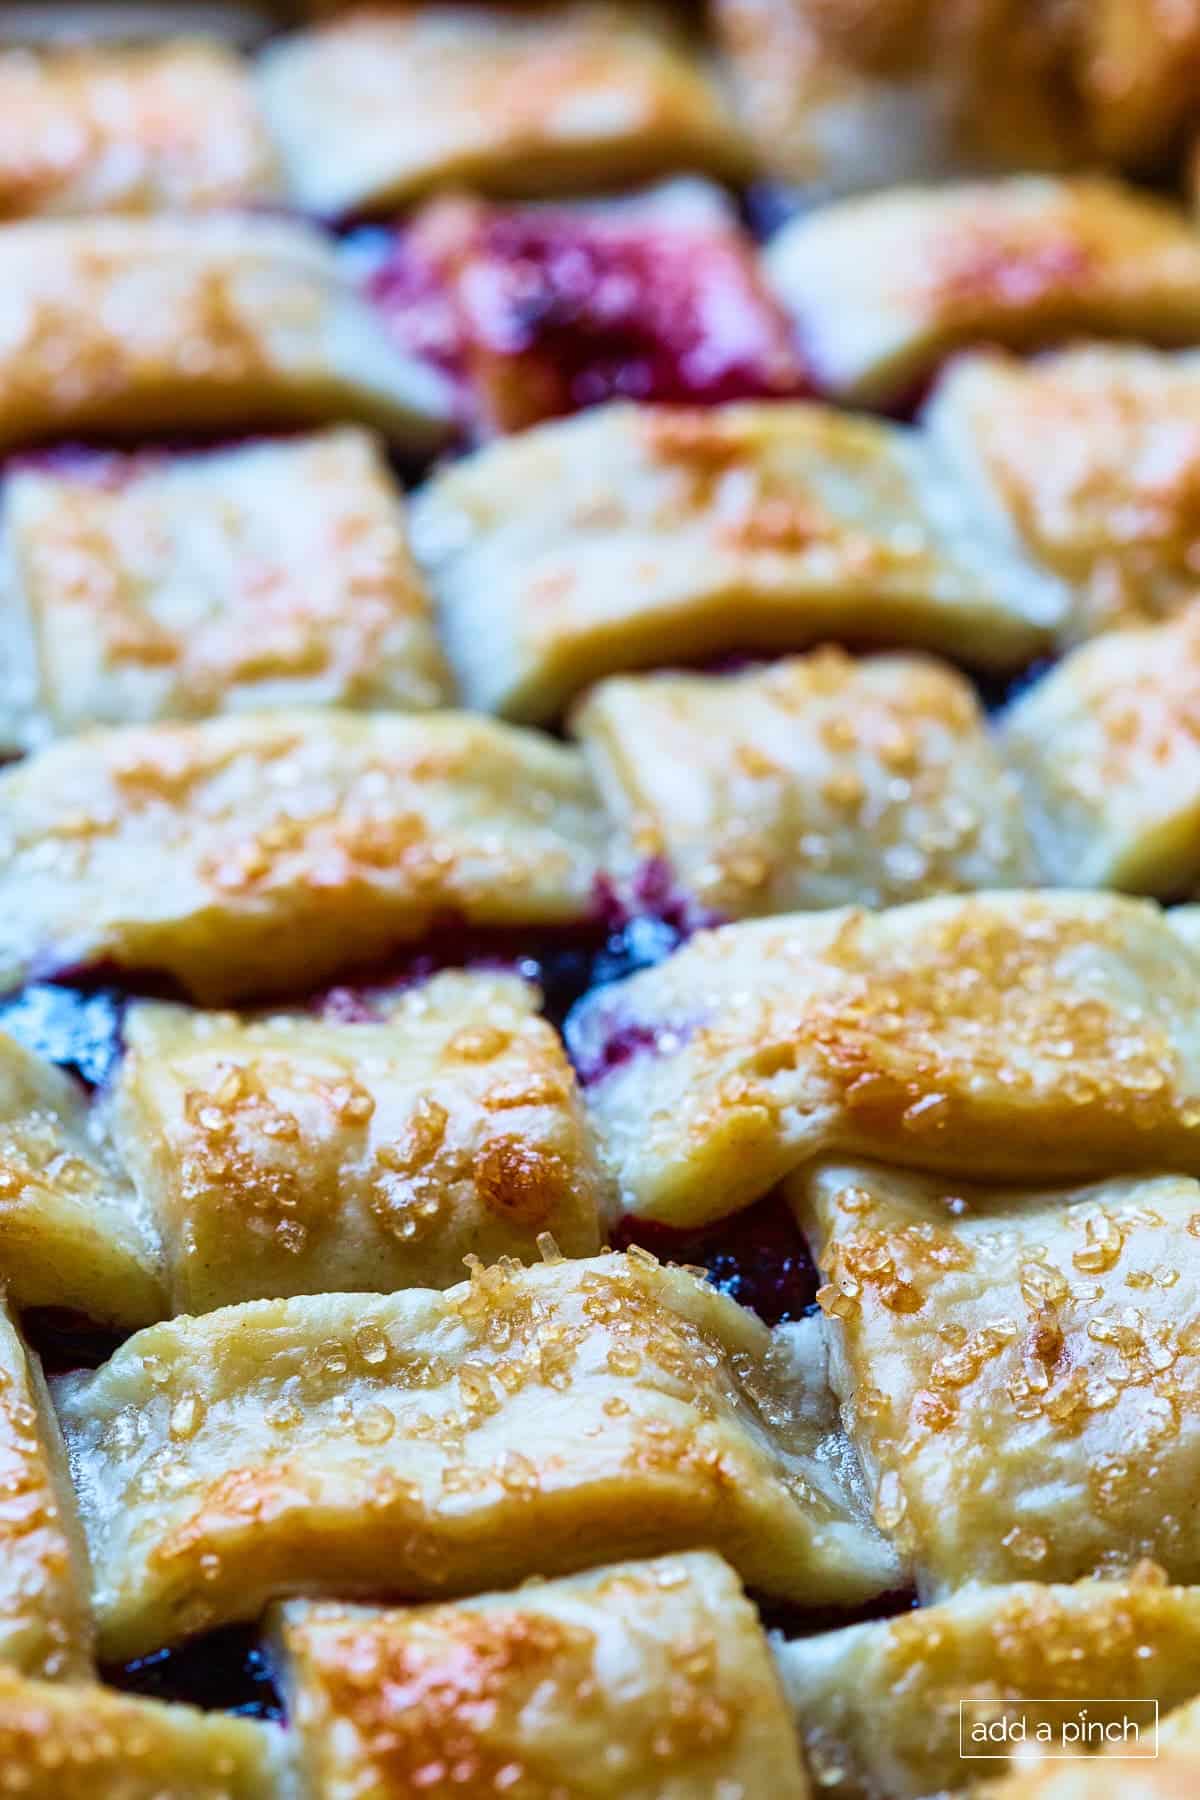
If you are making a pie that needs a lattice pie crust, like my peach pie, double the recipe for pie crust. As mentioned, place the bottom crust on the pie plate and freeze. Roll out the second or top pie crust dough and cut into 1-inch slices. Place the slices onto a piece of parchment paper on a baking sheet. Then place it in the refrigerator to chill for at least 30 minutes up to overnight.
To bake, preheat the oven according to the recipe directions. Remove the pie plate from the freezer and add the pie filling. Remove the pie crust dough strips from the refrigerator and place them on top of the pie filling in a woven pattern to form a lattice topping. Bake according to the recipe instructions.
Pie Crust Troubleshooting 101
What to Do When Pie Dough is Dry
When made by hand, each time you add a tablespoon of water, squeeze a tiny bit of the dough between your fingers to see if it holds together. If it does, test another small piece that isn’t as visibly moist. If it does not hold together, continue to add ice-cold water by the tablespoon.
What to Do When Pie Crust is Tough
Overmixing will cause your crust to be tough. Only mix your butter and shortening into the flour mixture until the fats are about the size of peas at the smallest. Then, when adding the ice-cold water, stir until the flour mixture holds together as described in the notes if your pie dough is dry.
What to Do When Pie Crust is Not Flaky
I specifically call for cold butter, cold shortening, and ice-cold water to help make the crust flaky. Freezing it for 30 minutes before adding the filling for baking also allows for the flakiest crust!
The Perfect Crust Every Time
I’ve tested this perfect pie crust recipe so many times over the years and know this recipe works with all pie fillings I’ve tried and can be made by hand fairly quickly. It always provides a flavorful, flaky pie crust sturdy enough for heavy pie fillings.
In other words, this is the perfect pie crust and the only recipe you’ll ever really need. It is perfect for sweet, custard, fruit, and savory pies.
Be sure to watch us make this easy recipe in the video below.
Frequently Asked Questions
The debate exists on using butter, shortening, lard, or some combination for the flakiest, best-tasting pie crust. I like a combination of butter and shortening for pie crusts. The shortening helps it to be super flaky, tender, and sturdy, while the butter gives it a delicious buttery flavor. The combination results in a delicious, flaky, yet perfectly sturdy crust that works for even heavier pie fillings.
Cold fats in your pie dough are a must! It helps the crust to be flaky, tender, and so delicious when the bits of cold butter and shortening melt in the hot oven as the crust bakes. If butter and shortening are too warm in the crust before baking, it can be hard, greasy, and even crumbly.
Absolutely, and I do! You’ll find this crust in my quiche recipe and another savory pie favorite – tomato pie!
Favorite Pie Recipes
Classic Pumpkin Pie
Best Pecan Pie
French Silk Pie
Coconut Cream Pie
Cherry Pie
Here’s my basic pie crust recipe. I think you’ll love it for all sorts of delicious pies. It is a definite must-make recipe!
Pie Crust Recipe
Ingredients
- 1 1/2 cups (180 g) all-purpose flour
- 1/2 teaspoon (1.3 g) kosher salt
- 1/4 cup (46 g) shortening, cold
- 1/4 cup (56.5 g) butter , cold, plus more for buttering pie plate or skillet
- 4-5 tablespoons (57-71 g) ice water
Instructions
- Butter a 9-inch pie plate or skillet and set aside.
- In a large bowl, combine the flour and the salt. Cut in the shortening and butter with a pastry cutter or two forks until the mixture resembles a coarse meal.
- Gradually add enough ice water to the mixture while mixing with a wooden spoon until a ball of pie dough is formed.
- Pour the pie dough onto a lightly floured sheet of plastic wrap and form into a disc. Lightly flour the top of the pie dough and place another sheet of plastic wrap on top. Rolling from the center, roll until the dough is about a 1/8-inch thickness. Remove the bottom piece of plastic wrap, fold the dough over and lay across the pie plate and remove the top piece of plastic wrap. Press the pie dough lightly into the bottom and sides of the pie plate. Crimp the edges of the pie dough. Cover the pie plate with a piece of the plastic wrap and place in the freezer for at least 30 minutes to overnight.
- If pre-baking, use a fork and lightly prick the bottom and sides of the pie dough.Then preheat the oven to 425º F and bake the pie crust for about 8 minutes.
- If not pre-baking, simply fill the pie crust with pie filling and bake according to instructions for the pie recipe.
Notes
Video
Nutrition
Nutrition information is automatically calculated, so should only be used as an approximation.
Enjoy!
Robyn xo
Originally published 2012.




I am going to make this crust over the weekend. This will be my very first attempt, ever, at making crust from scratch. 🙂
Do I use unsalted or salted butter?
I use salted butter, Sharon. Hope you love the pie crust.
Excellent!! I used to make a lot of pies using lard which made a great flaky crust. I made a pumpkin pie today with this recipe. Very flaky and the butter adds a nice flavor. My new favorite.
Thank you so much, Diane. So happy you loved this crust recipe.
The best crust I’ve ever made. It was so easy to work with. I double it and made chicken pot pie. This is a keeper for sure! Thank you.
Thank you, Lori. I love it with chicken pot pie, too.
You’ve earned my trust! This is, as you’ve said, the perfect pie crust. I don’t usually leave comments or reviews but after tasting how light and flaky this crust turned out, I wanted to let you know what a fan i am of this recipe. I decided to use all butter and it was amazing. Thanks so much! I’m looking forward to trying more of your recipes.
Thanks so much for your comment, Mary. I’m so glad this crust turned out so well for you. I hope you do find many more recipes that you love. xo
if I am making a chicken pot pie with this crust do I have to freeze it? I have a small freezer and don’t have room in the freezer. Can I put it directly on the pot pie and cook it straight away?
Thanks
Hi Krupa,
You can put the crust directly on the pot pie if you can’t freeze it first. I have just found that the crust does better if I freeze for at least 30 minutes. Thanks
Love this recipe, as does everyone that has eaten the pies. I’m using it for fried pies and they are wonderful. I’ve shared it with friends. The only thing I do differently, is to add a tsp of baking powder. Something I learned years ago from my Home Ec teacher. Thanks for receipe.
Thanks, Kim! So glad you like this recipe!
This will be my second attempt at making a homemade pie crust in my 49 years. I can bake anything and everything else without any issues but for some reason have always been intimidated by pie crusts. I can not wait to try your recipe as you have given me a new found confidence, but I have a silly question, is the butter at room temp or cold? Couldn’t really tell from the video.
Thank you
Hi Gina,
You will use cold butter for your pie crust. Don’t be intimidated with this pie crust. I’m sure you will do fine. Thanks!
When making pie crust 4-5 tablespoons of water don’t seem like enough. The dough is crumbly and hard to roll out. I’m afraid to use too much water. Any suggestions?
Hi Sandy,
I only use 4 or 5 tablespoons of ice water for my pie crust. It might help if you watch the video of me making the pie crust that is on my post for the pie crust recipe. Hope it helps!
Hi Robyn,
Thank you for the reply. After viewing your video, I tried again, and there is still too much flour. I tried it with 1 cup of flour and it turned out great. Maybe 1 1/4 would work also.
Sandy
Sandy,
There could also be a difference in the brand of flour we used. I use White Lily all-purpose flour which is a soft wheat flour. It is less dense than many others on the market.
Hey there. I’d like to use this excellent crust recipe for a grapefruit pie that’s refrigerated rather than baked. I assume the 8 minute pre-baking time is for a crust that will bake a little longer with the filling. How long should I bake the crust by itself if it isn’t going back in the oven at all?
I made the coconut cream pie yesterday with your from scratch pie crust. It was very good.
But…there was no way I could “lightly” prick the frozen crust with a fork. It took all my strength. My oven was preheated to 425 degrees and I had to bake that crust in an aluminum pie plate for at least 23 minutes. It should have baked a couple minutes longer, but I was so far beyond the 8 minutes that I panicked and took it out. The edges were a little golden brown and tasted perfect, but the bottom crust didn’t seem baked. (My oven is calibrated correctly.) It took over 45 minutes of whisking before the custard started to boil, and I had the burner on medium. A home ec teacher friend who enjoyed a slice of the pie said I should have turned the heat up, but I was afraid it would scorch. Standing at the stove and doing nothing but stirring for that long is a huge investment of time for part of a dessert. The crust took time with the super chilled butter and shortening, the rolling it out, freezing it, etc., and the whipped cream and toasted coconut took time. I told our neighbor about the pie and he asked me to let him know the next time I make it because he’ll come over with his wife—it’s his favorite pie. Not sure I want to go through all that work again, but they are our favorite neighbors. Such a dilemma!