Three Ingredient Buttermilk Biscuit Recipe
This post may contain affiliate links. Please read my disclosure policy.
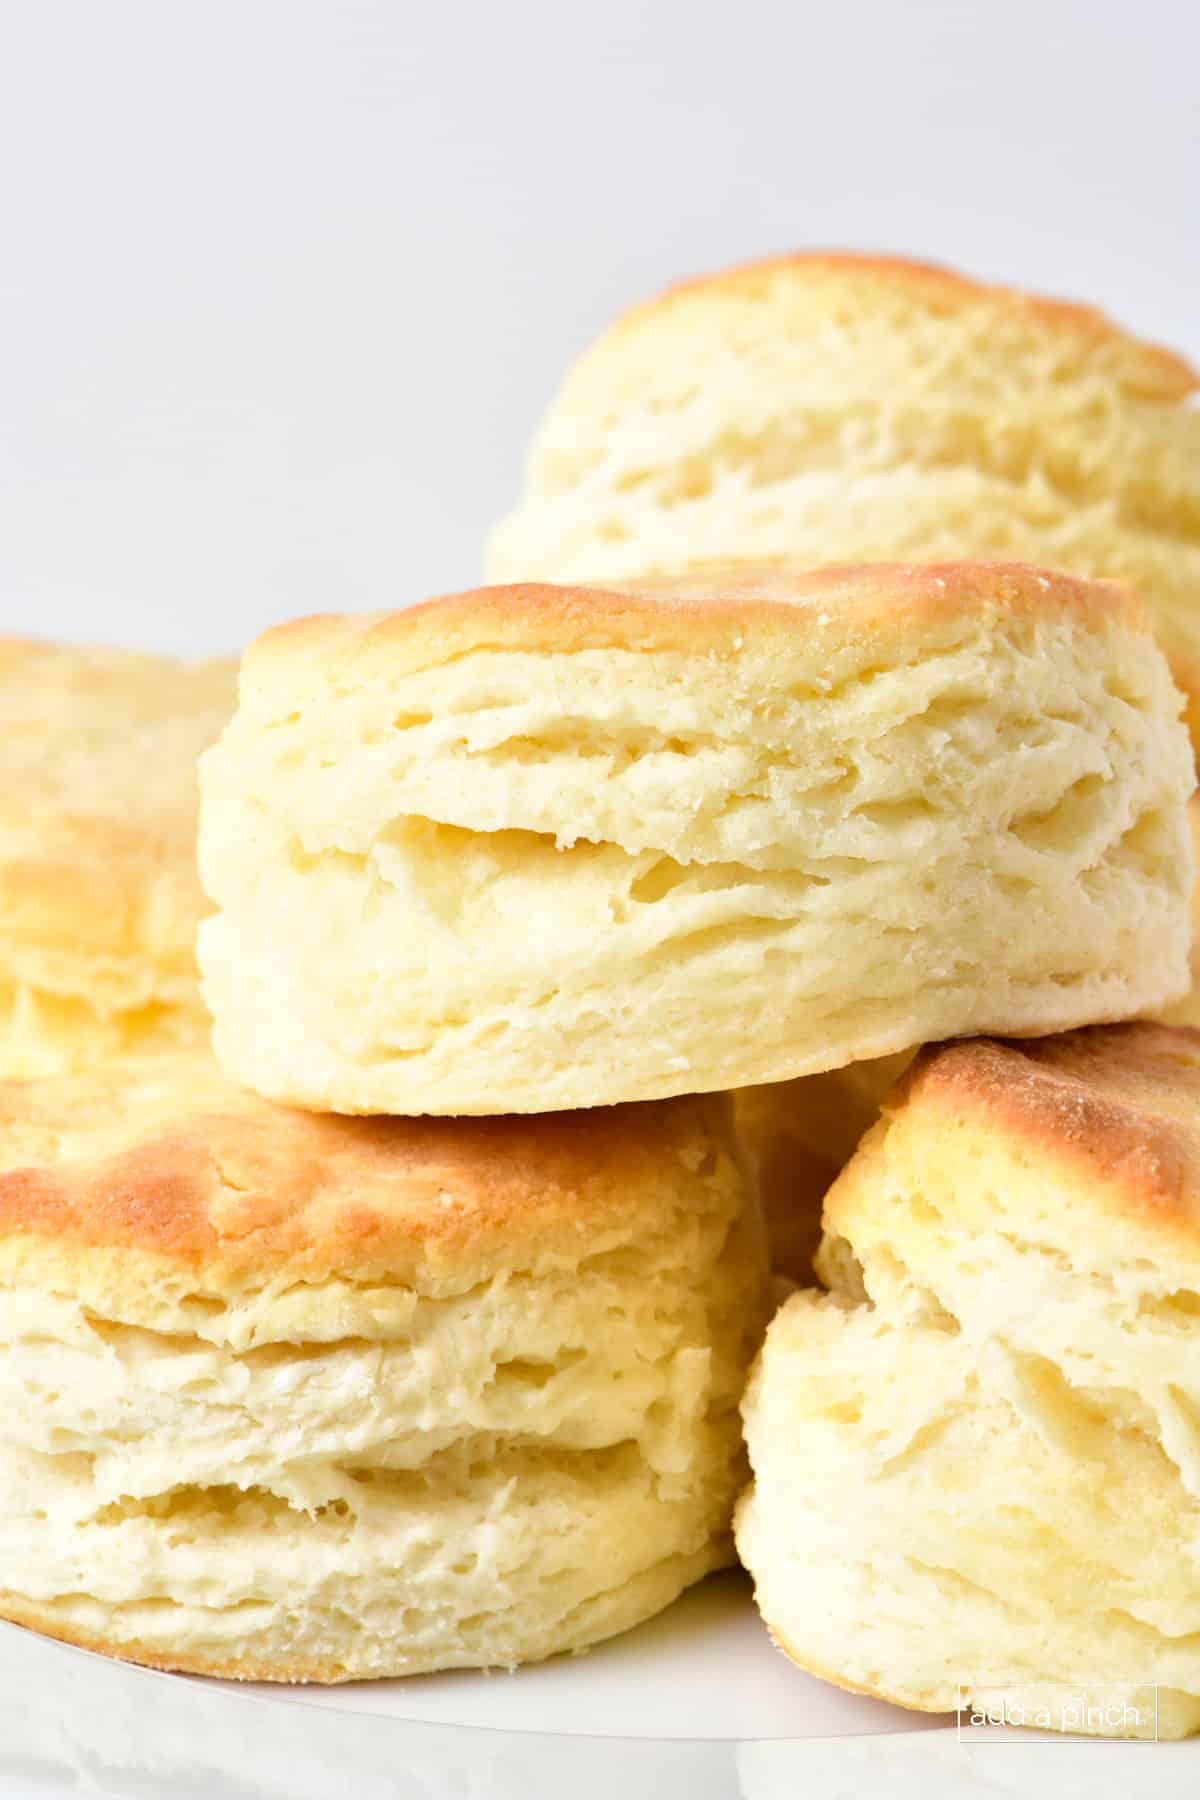
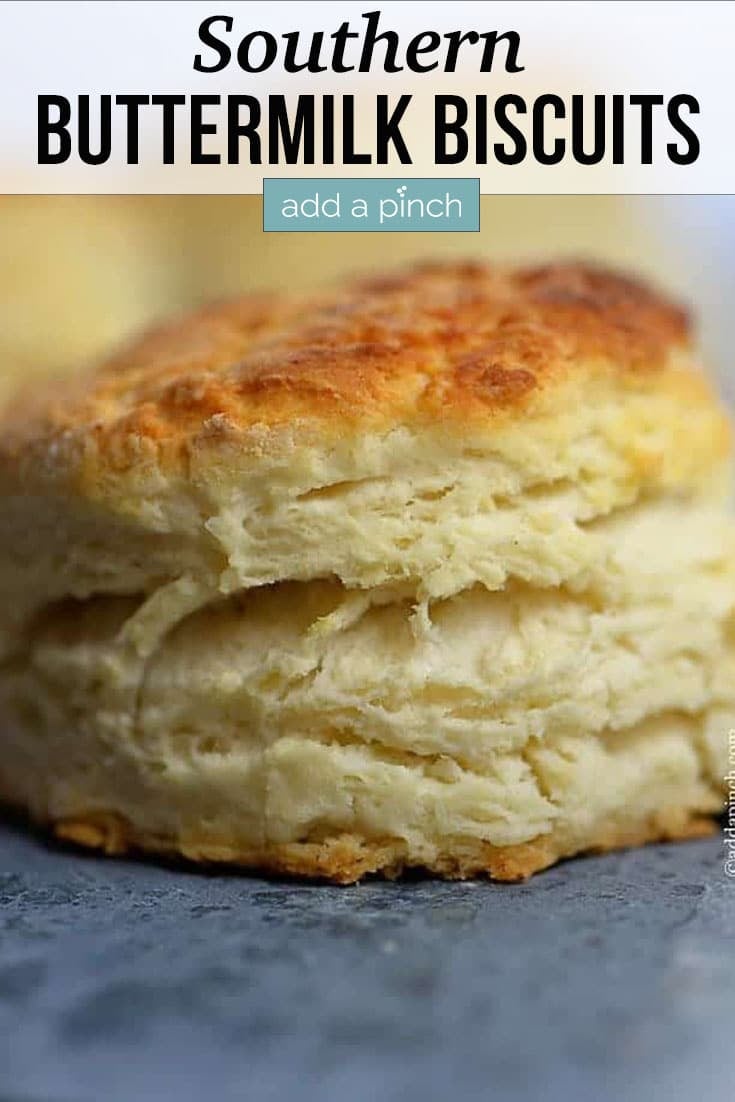
These Three Ingredient Buttermilk Biscuits are soft and loaded with flaky layers! This homemade Southern biscuit recipe is a family favorite!
Fluffy homemade biscuits, served hot and fresh from the oven, are such a favorite in my house! Pair them with crispy bacon and scrambled eggs for breakfast or serve them for supper with slices of ham, pork chops, country fried steak, or even salmon patties and gravy! Simply speaking, biscuits are a delicious favorite for any meal!
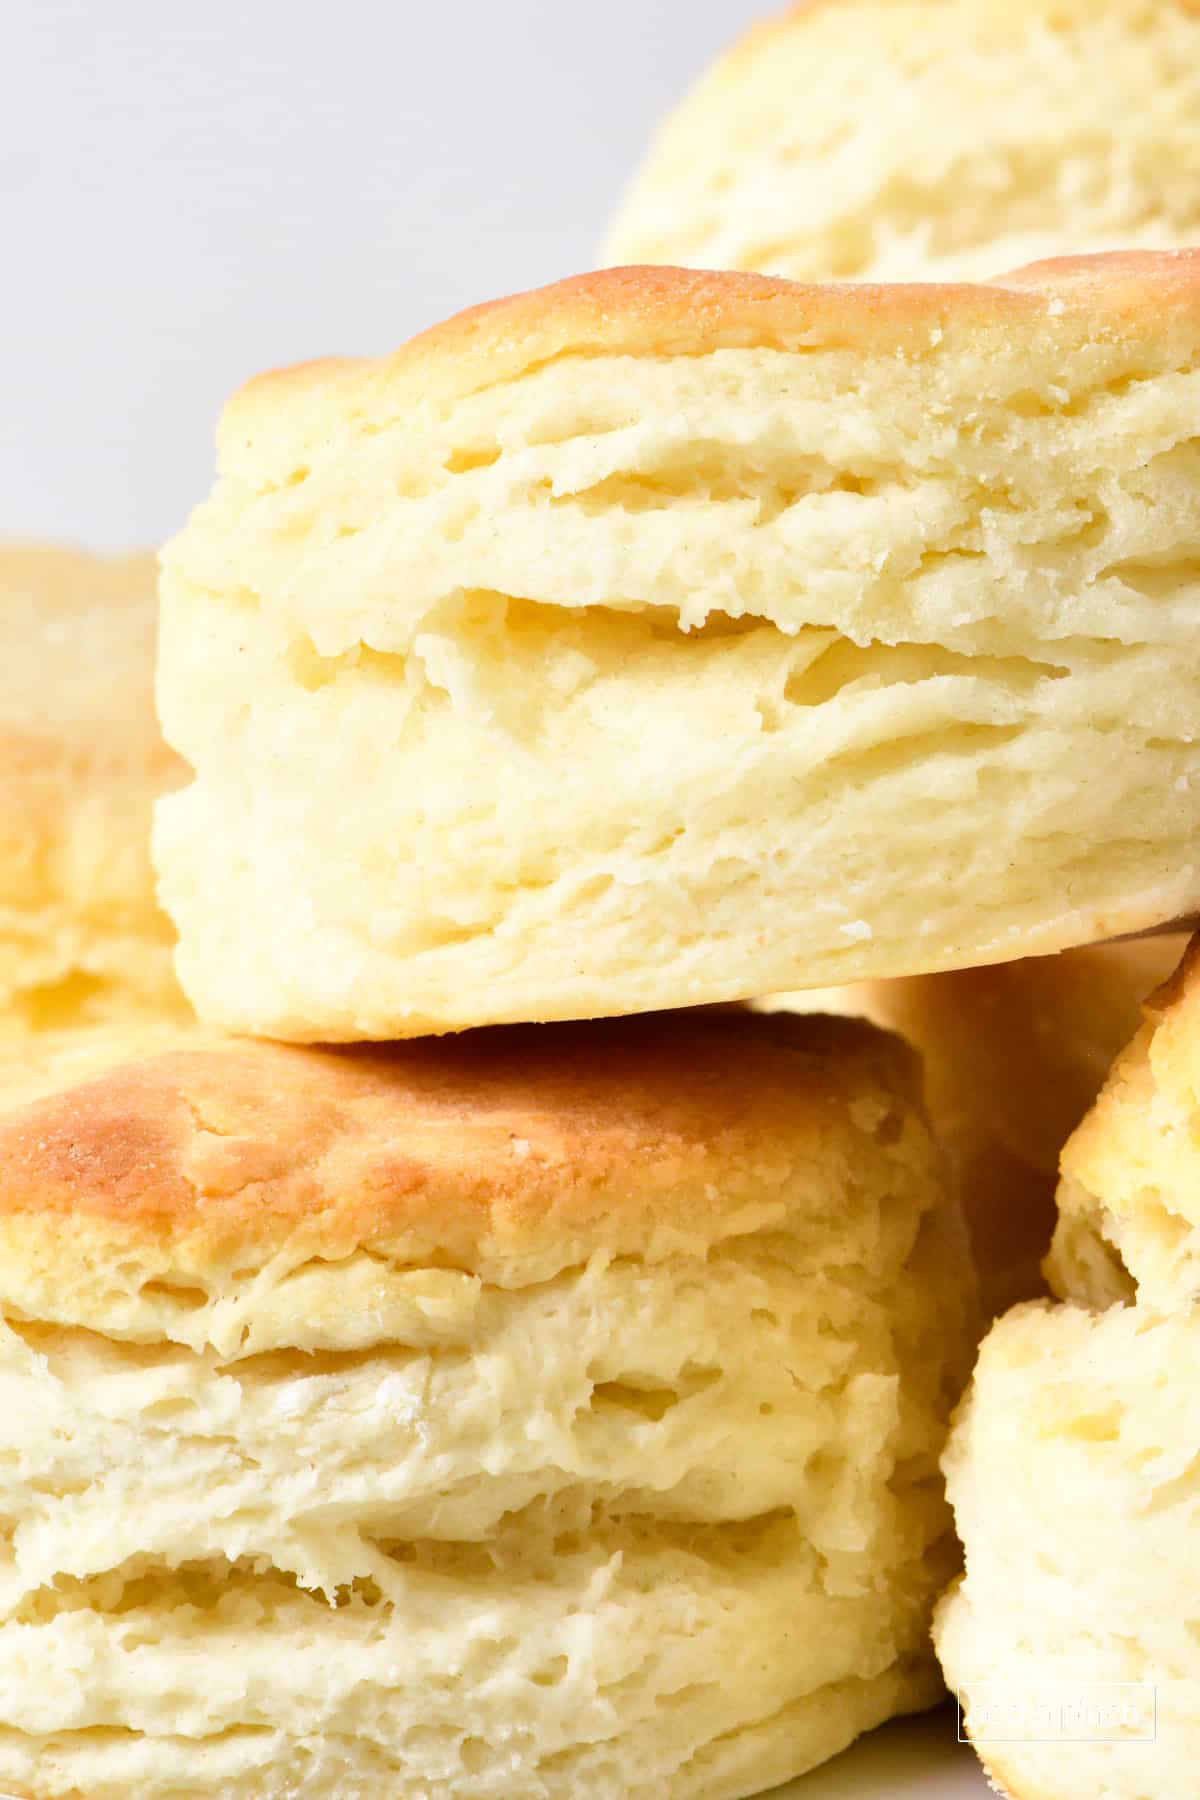
Three Ingredient Buttermilk Biscuits
Big and fluffy, hot buttermilk biscuits fresh from the oven – sometimes there’s absolutely nothing better! Believe it or not, these could not be any easier to make. Three ingredients, my time-tested biscuit-making tips, and a little tender loving care…that’s all it takes to make these favorite, iconic Southern biscuits. I think it is one of those essential biscuit recipes that most cooks will enjoy having in their recipe collection. And you won’t believe how easy they are to make!
These are the biscuits that I watched my Mama and Grandmother make thousands of times growing up and have made hundreds more times myself. So, making these is second nature to me after making them for so many years, and the process is simple and honestly very relaxing. I hope some of my tips can help you in your biscuit-making journey!
Why You’ll Love This Recipe
- Few ingredients – All you need is three simple ingredients! The recipe even gives options for the shortening and gives you recipes to make a substitute for the self-rising flour and buttermilk, just in case you don’t have them on hand!
- Delicious, soft, fluffy, and flaky – The recipe makes the BEST buttermilk biscuits! And, these ingredients work together so well for incredible taste, flaky layers, and super big, fluffy Southern buttermilk biscuits.
- Easy to make – Dough mixes easily in minutes. Time-tested tips for working the biscuit dough to give you the best biscuits with so many layers. This recipe has been tested thousands of times by my grandmother, mother, and me, so the recipe methods and tips have been used for such a long time!
How to Make Three Ingredient Buttermilk Biscuits
These three ingredients work beautifully together to make the magic of these scrumptious biscuits happen!
Here’s what you’ll need:
Ingredients
Be sure to see the recipe card below for the full listing of ingredients, instructions, notes, and estimated nutritional information.
- Flour – Use Self-Rising flour. I prefer to use soft winter wheat flour that’s fine and silky for this biscuit recipe. It makes the softest, most tender biscuits.
- Fat (Shortening, Butter, or Bacon Fat) – You can use solid vegetable shortening (Crisco shortening or a similar product), salted butter, or even bacon fat, according to your preference. It’s best to use COLD fat. The fat adds moisture to the biscuit dough and helps it to be flaky and flavorful. I’ve used butter in these photos, but use shortening at times as well.
- Buttermilk – If you don’t have buttermilk on hand, use this quick and easy buttermilk substitute recipe. Just like it is great to use cold fats, it’s best to use cold buttermilk when making biscuits too. Buttermilk gives amazing flavor and makes some very tasty biscuits!
Step-by-Step Instructions
Prep. Preheat oven to 475º F. (This is important – don’t forget to preheat the oven.) Place a layer of parchment or Silpat onto a rimmed baking sheet, or lightly coat that baking sheet or a cast iron skillet with vegetable shortening or butter. Set aside.
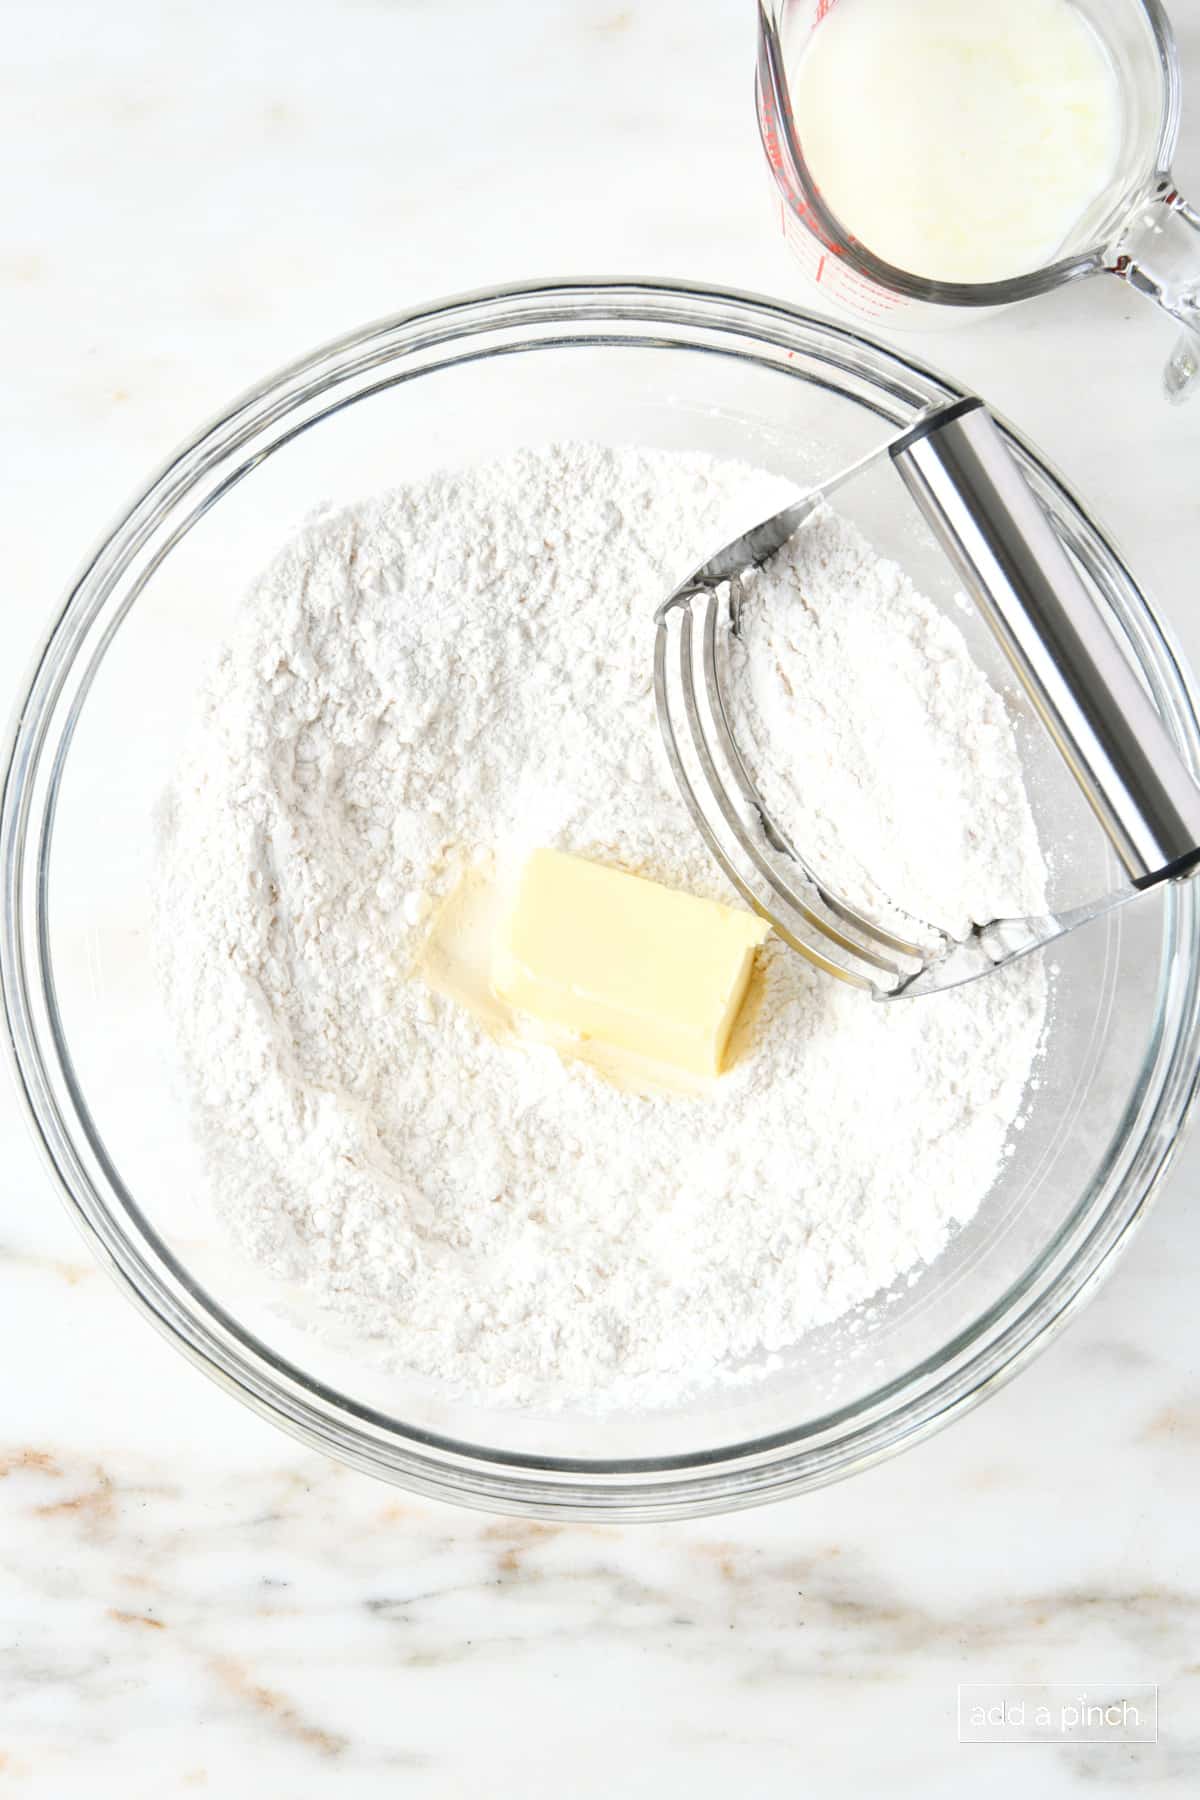
Cut in the fat. Add the flour to a large mixing bowl. Then, add the cold shortening, butter, or bacon fat (depending on which one you use) and combine with flour by cutting it in with a pastry blender, two forks, or knives until it’s well combined and looks like a coarse meal.

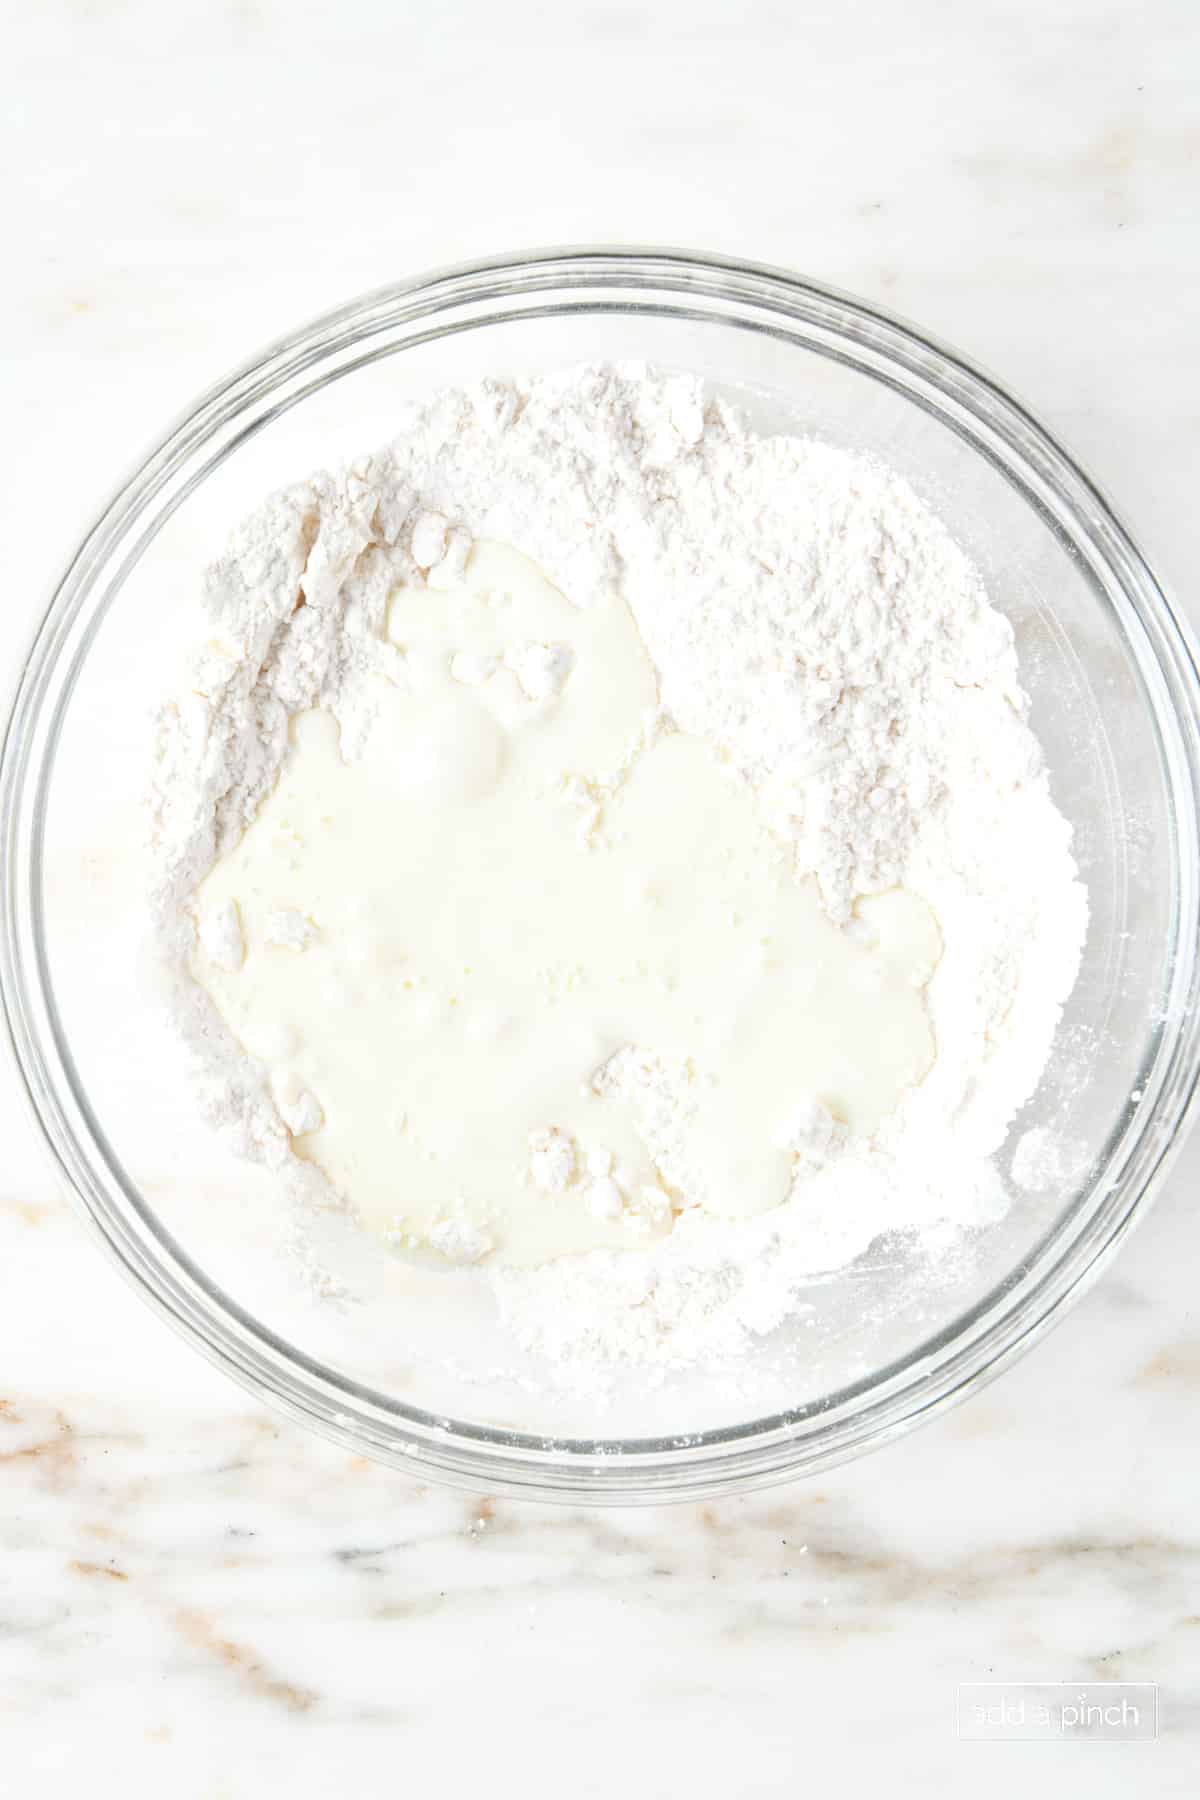
Add the buttermilk. Slowly pour in buttermilk and stir gently until just combined. Do not overmix! Overmixing the dough can result in tough, dry, and flat biscuits instead of fluffy, light, and delicious biscuits.
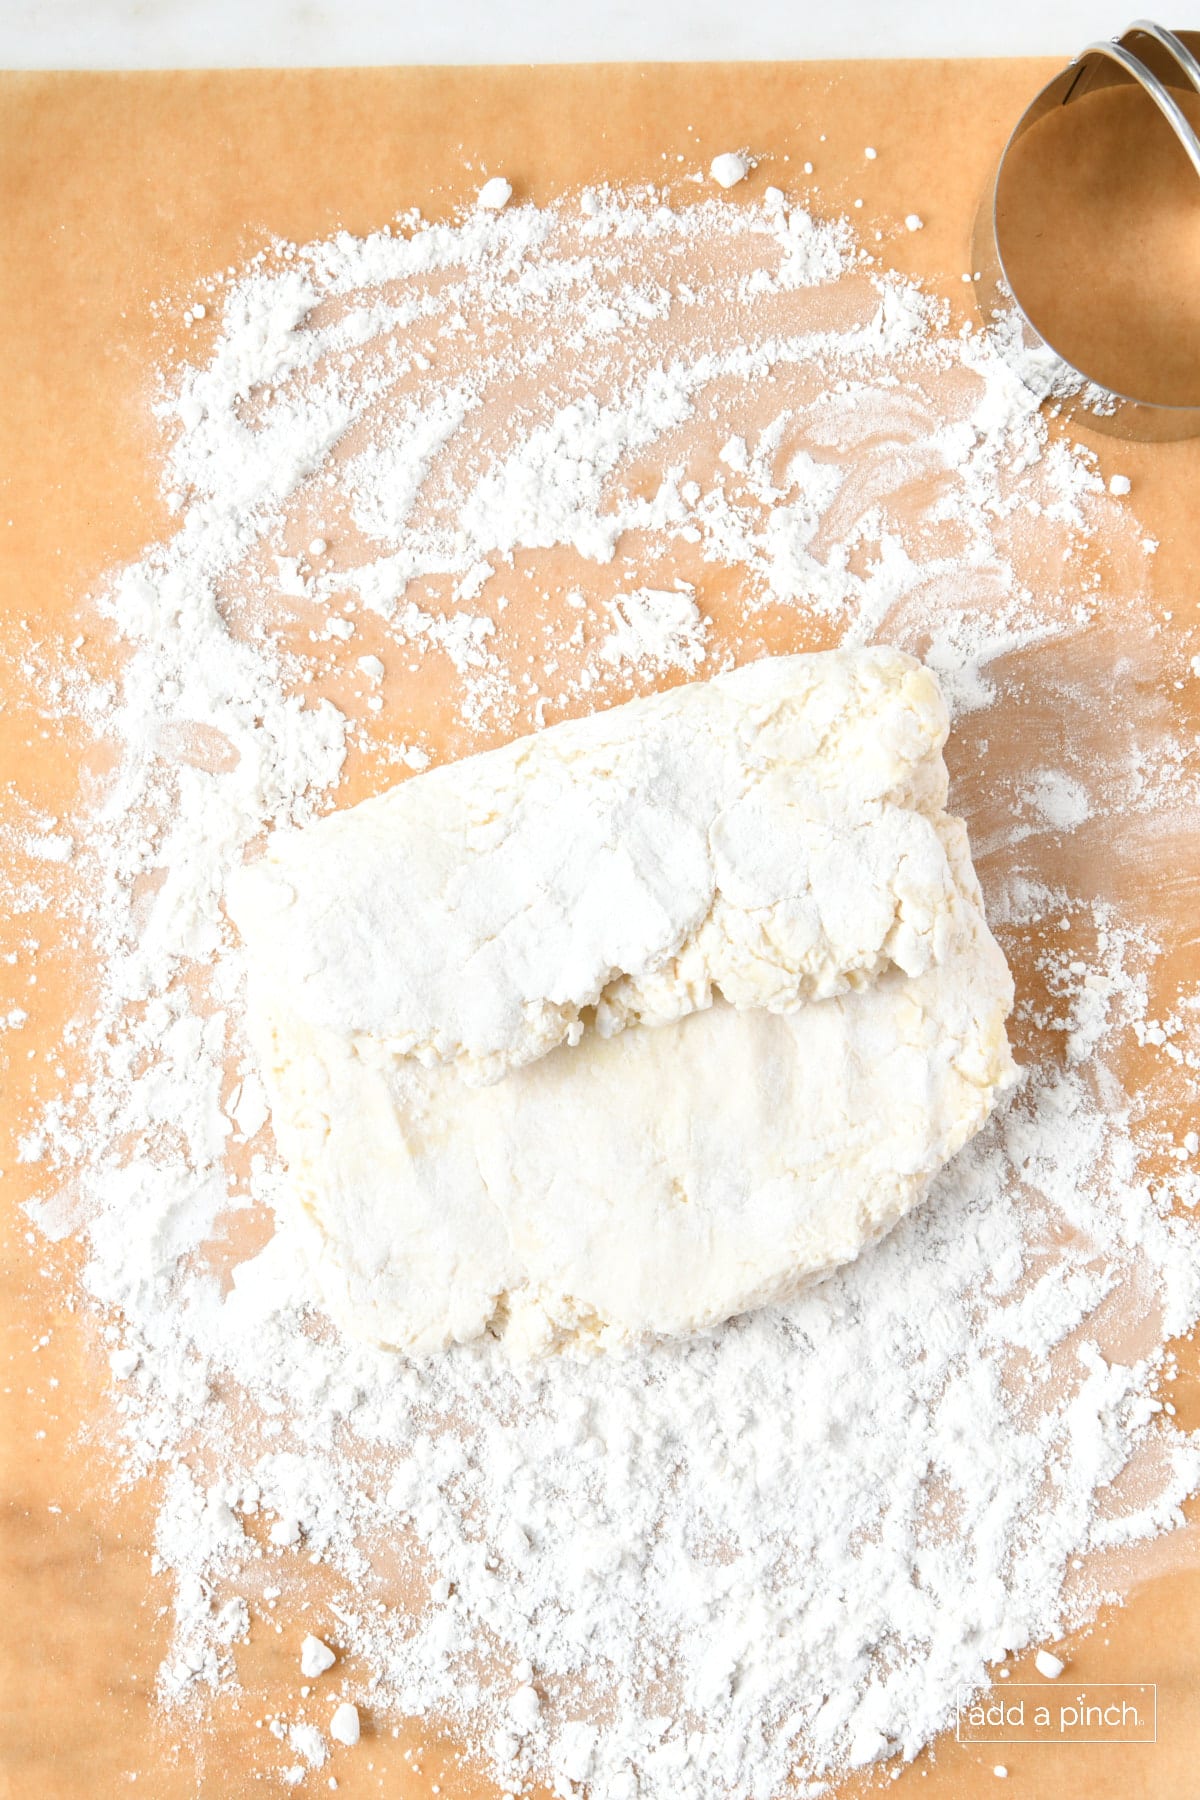
Pat and fold. Pour biscuit dough onto a floured pastry cloth, parchment, paper towels, or dough board. Gently pat out the dough and shape it into a rectangle. Then fold until you’ve reached about 1/2 inch rectangle. * See Tip to follow.
Tip: Fold The Biscuit Dough for Layers
First, gently shaped dough into a rectangle. Then, fold in one side toward the middle. Next, fold in the other side toward the center. Turn the dough and gently pat the dough to flatten some. Then, fold each side into the center again and repeat the folding process until you’ve reached about a 1/2-inch thick rectangle. This will just take a couple of minutes – and it is so worth it! Folding helps to give all those scrumptious, flaky layers of the baked biscuit.
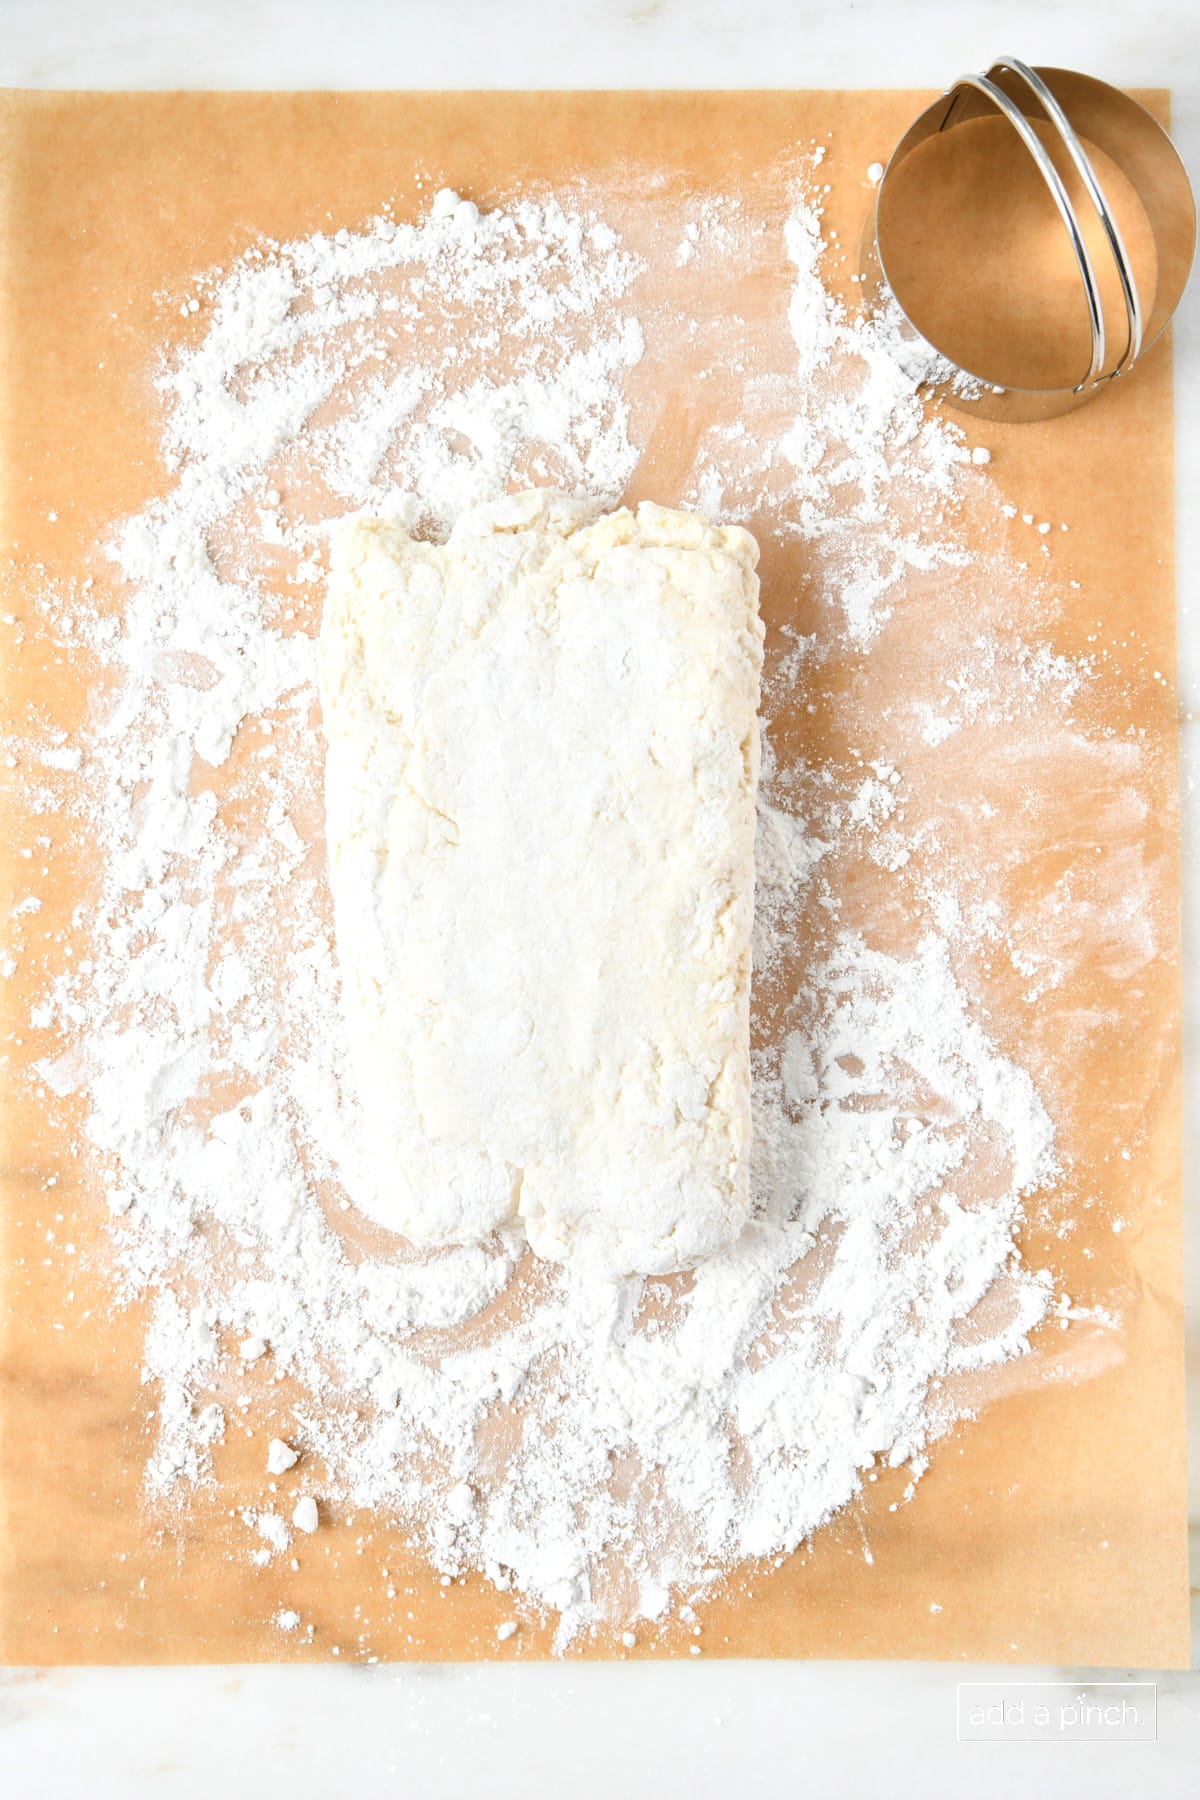
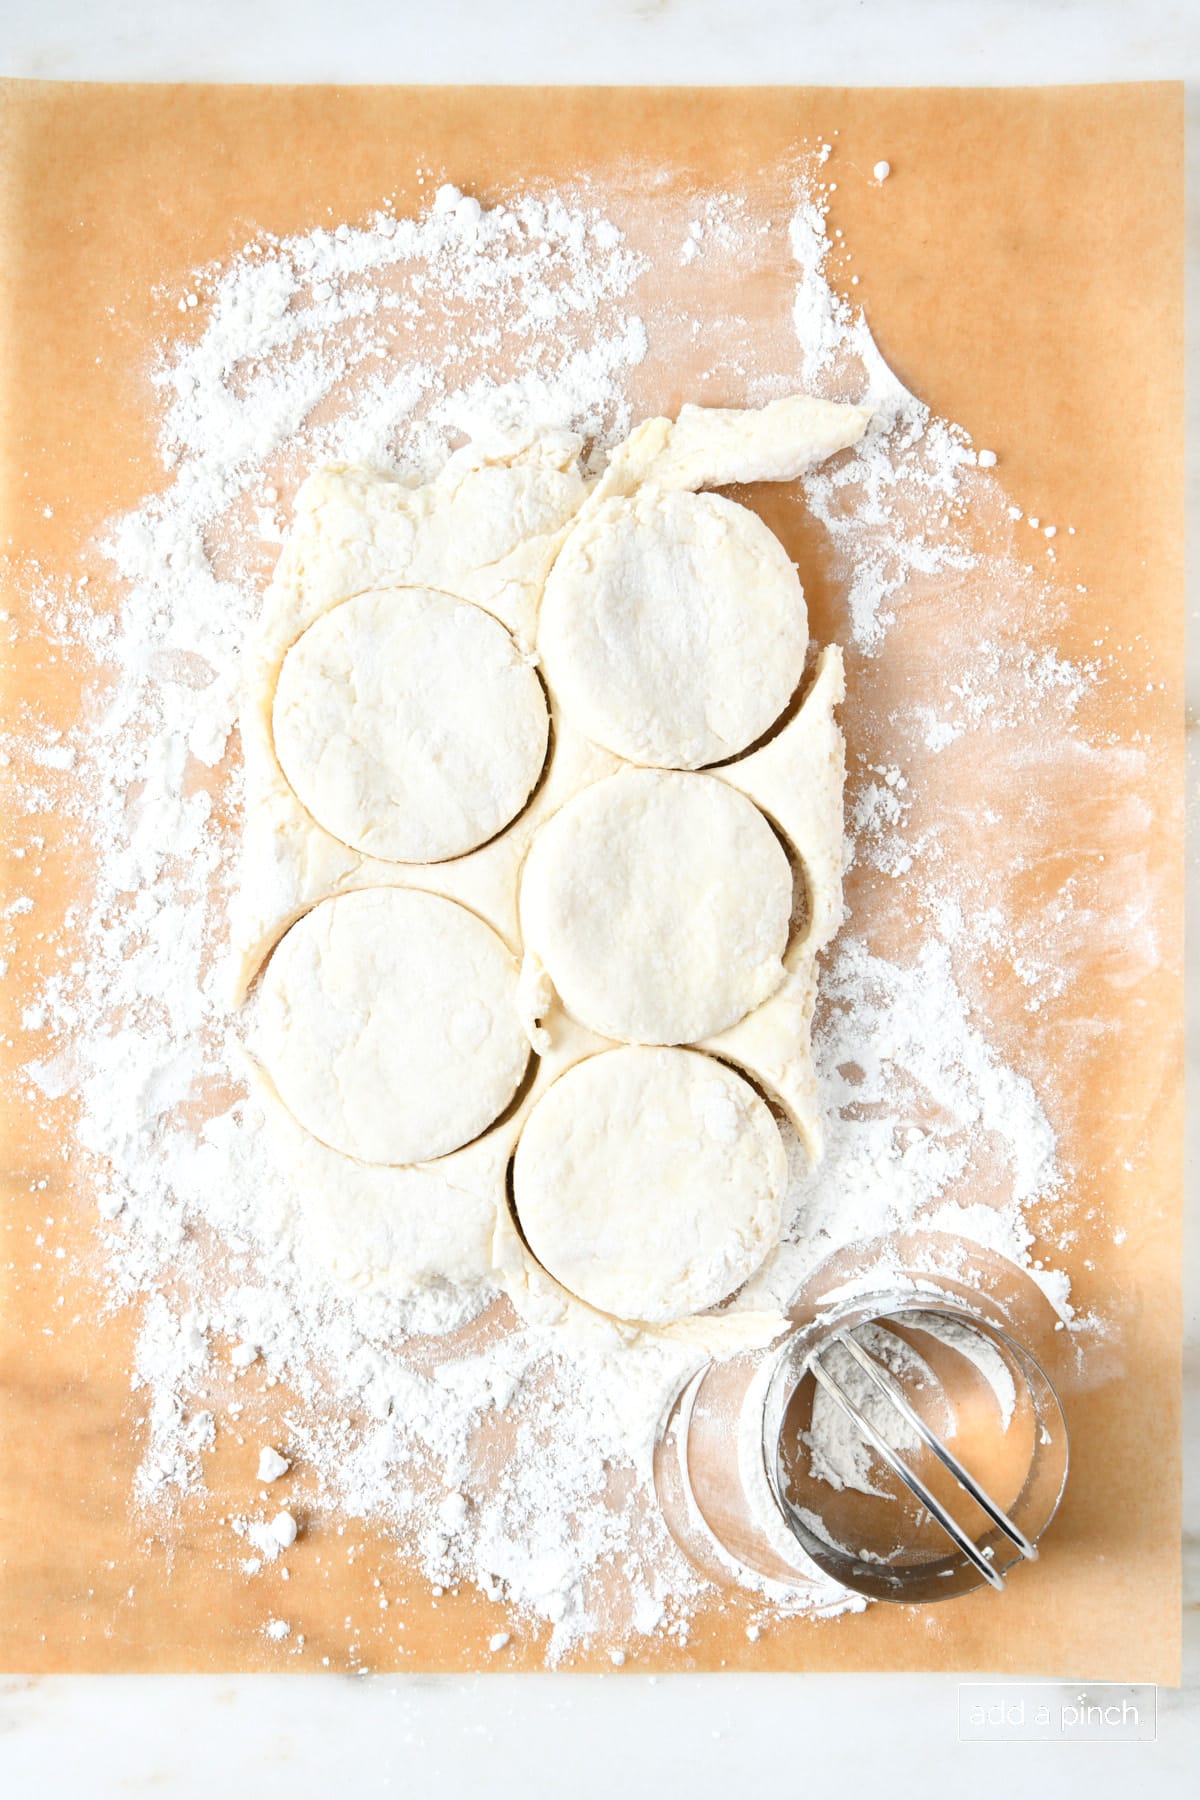
Cut and arrange to bake. Use a sharp-edge 2-inch biscuit cutter and cut in a straight-down motion. Do not twist. Place biscuits onto a prepared baking sheet pan or a prepared skillet. You can decide to allow them to touch slightly or space them just a bit apart. *See touch/space tips to follow.
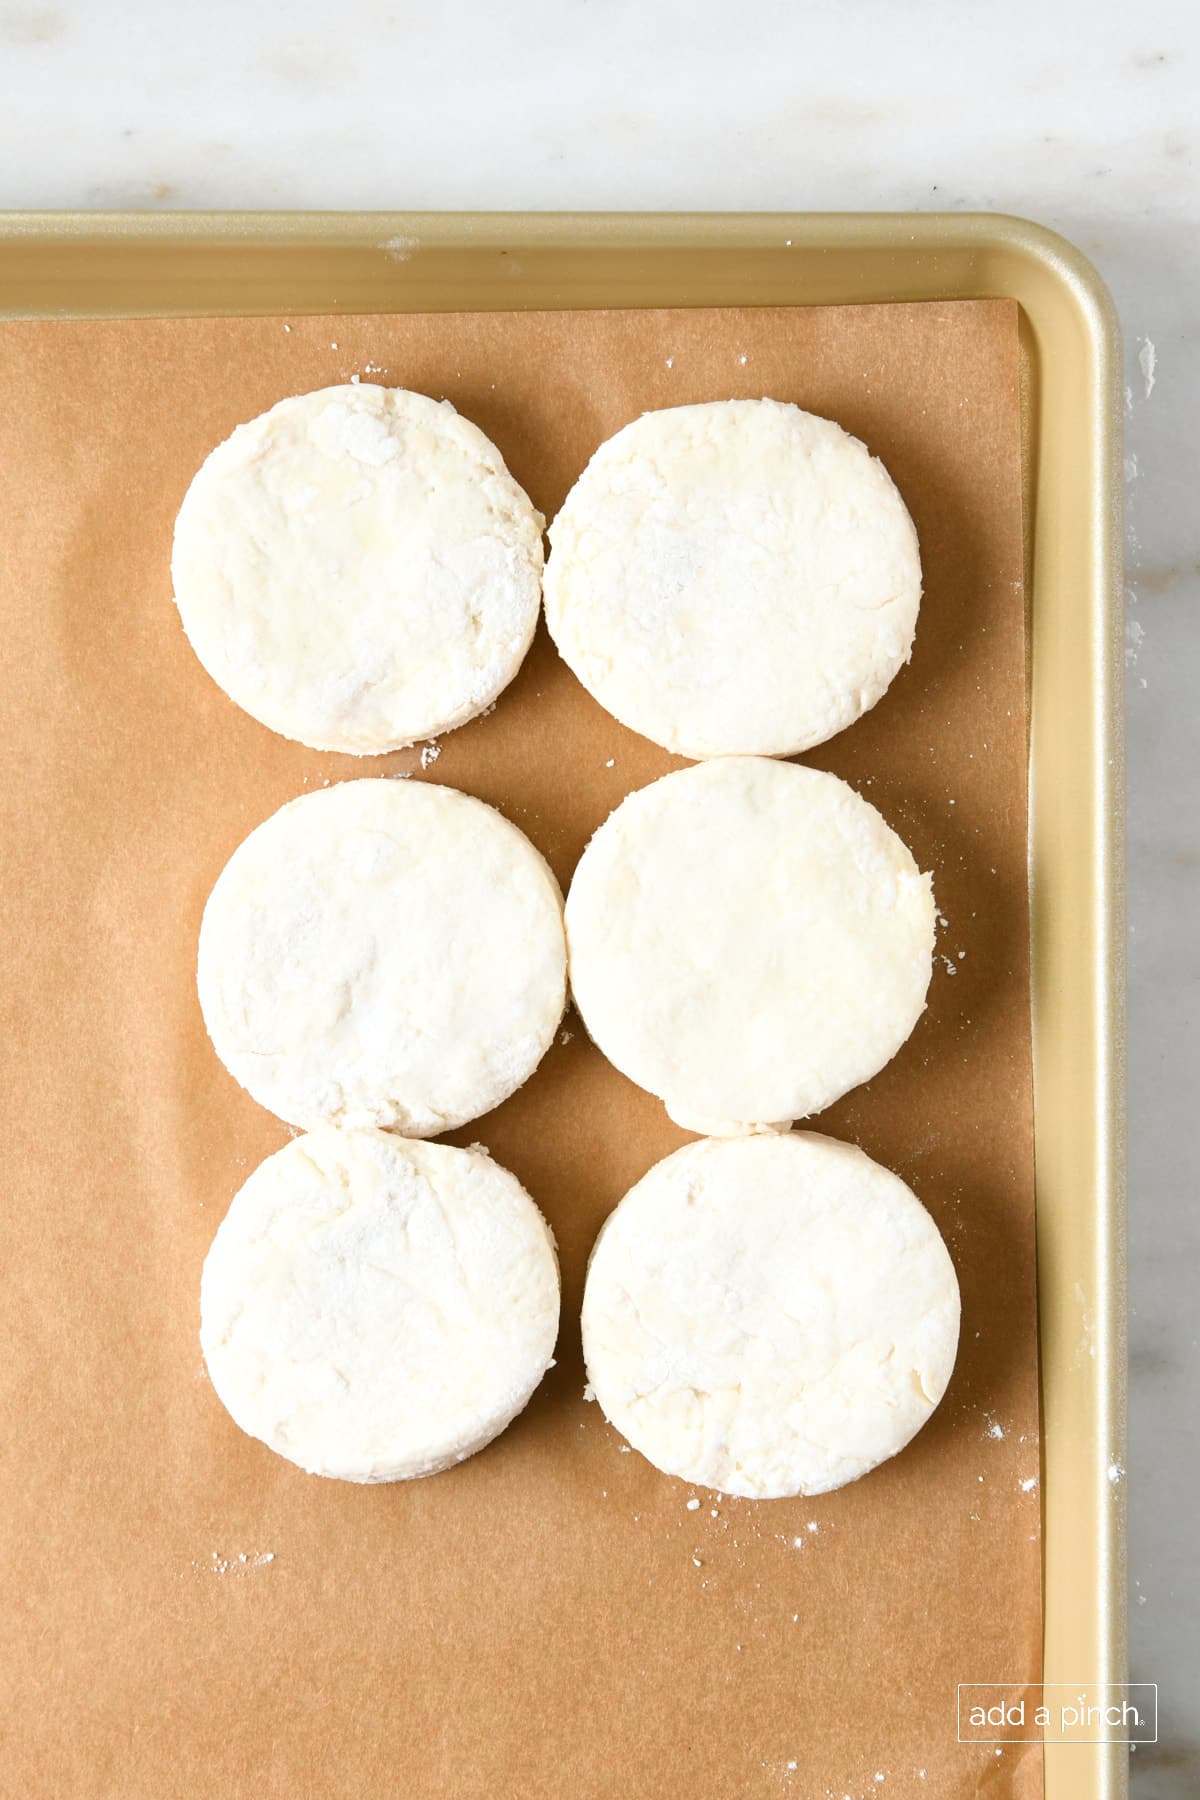
Bake. Put the pan in a preheated oven and bake for about 10-12 minutes until the biscuits begin to turn a golden brown. Placing them in a really hot oven allows them to rise quickly and turn golden in just a few minutes.
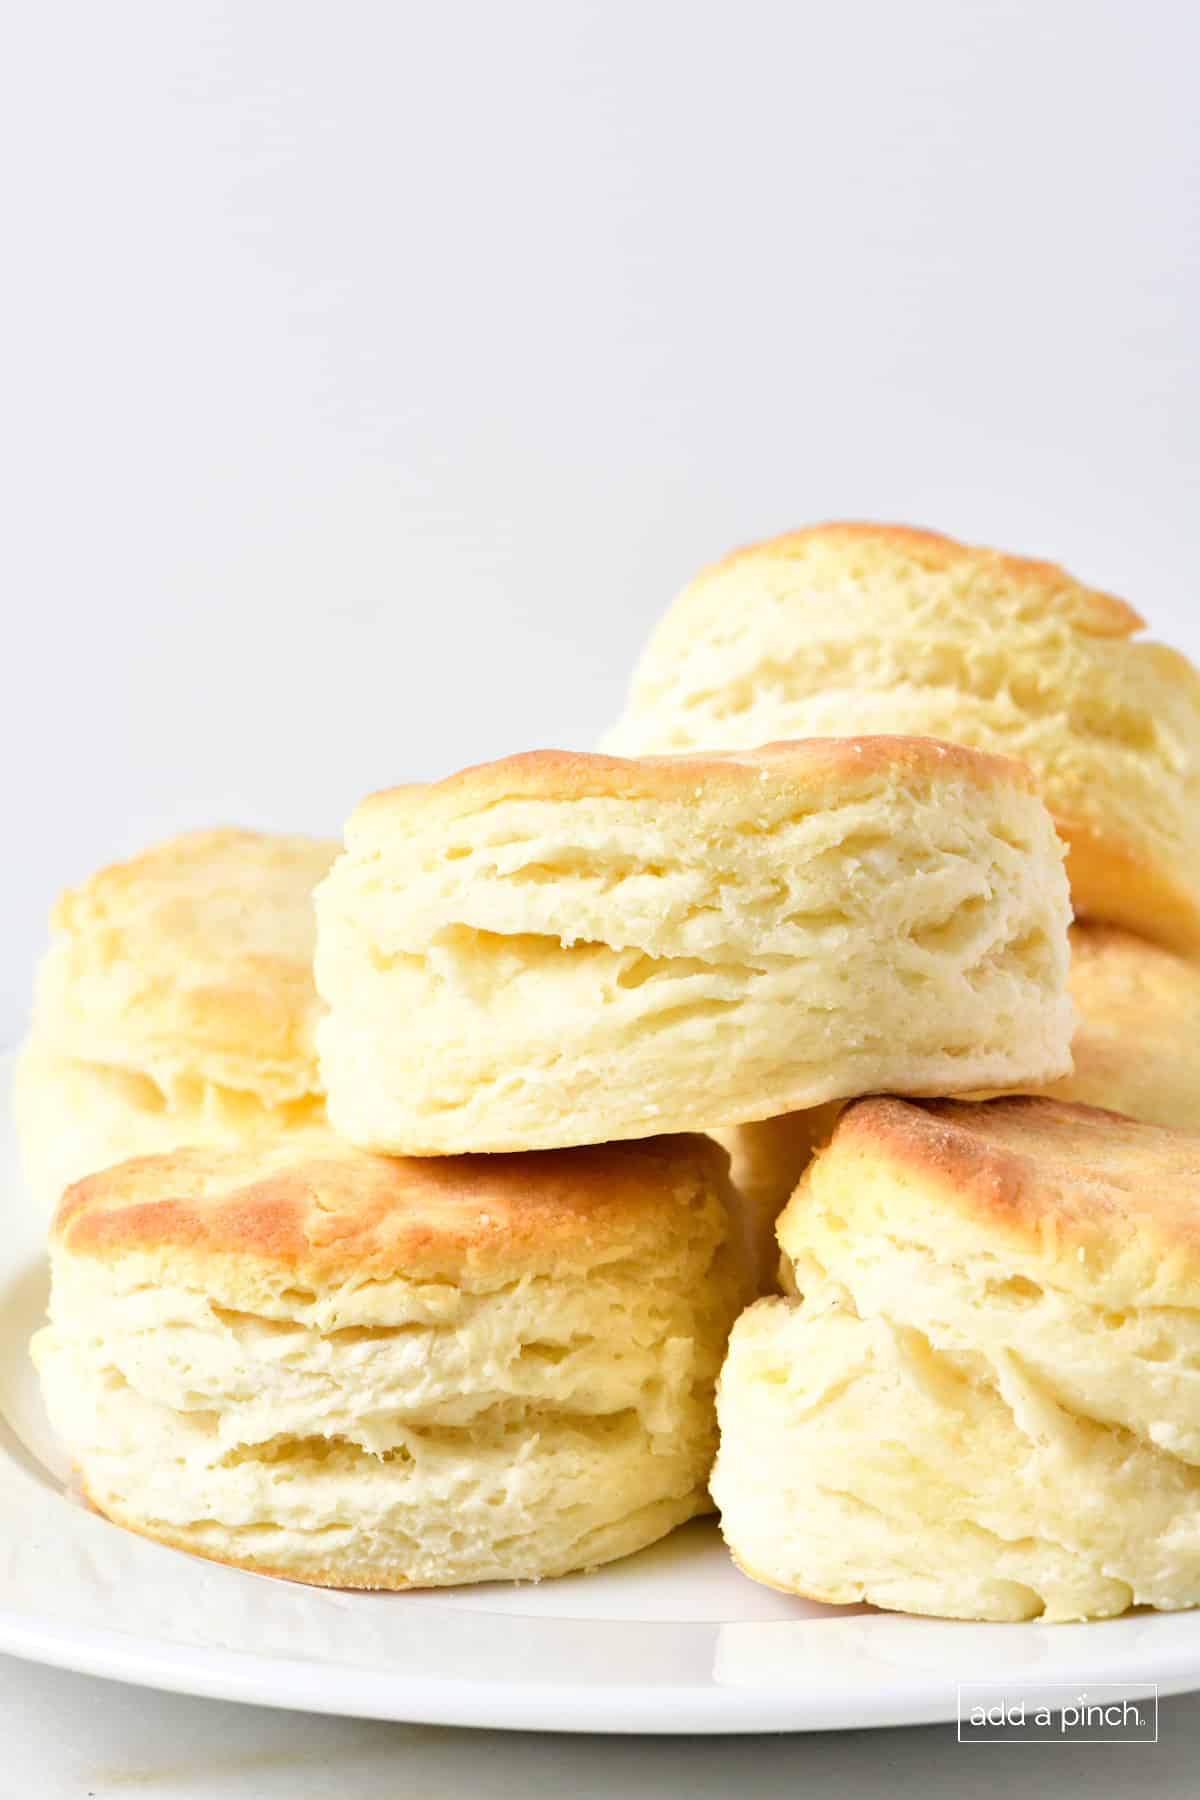
Serve and enjoy. Remove from oven and serve warm. Add a pat or two of butter and enjoy with homemade peach or muscadine jelly or a drizzle of honey. They are perfect to serve for any meal!
Storage Tips
To store. Allow biscuits to cool completely and cover well, or place them in an airtight container. Store in a cool, dark place or in the refrigerator for 4-5 days.
To freeze. Let the baked biscuits cool completely. Then, wrap each individually in freezer paper and place in an airtight freezer container or seal well in a freezer bag. Freeze for up to 3 months.
To reheat. Thaw in the refrigerator and reheat as desired in the microwave or oven.
Tips For the Best Buttermilk Biscuits!
- Cold Fat is Important. Make sure it’s COLD, just like you’d use for my flaky pie crust. Fat adds moisture and flavor to the biscuit. The little bits of cold fat in the dough will release little pockets of moist air inside as the biscuits bake. As a result, you’ll get tender and flaky biscuits with a golden, crisp top.
- Preheat the oven. Be sure to take the time to turn on your oven and let it preheat before you put your biscuits in. Putting them in a hot oven helps the dough start to rise from the beginning for tall, flaky biscuits.
- Don’t over-mix or over-work dough. Because mixing too much can make the biscuit dough tough, prevent a good rise, and prevent you from getting those beautiful, light biscuits we all love!
- Pat and fold. As I have noted, don’t overwork your dough. Therefore, gently pat out the dough and fold it into layers. Gently mold the edges and slightly flatten into a rectangle.
- Cut sharp and straight. Use a sharp-edge biscuit cutter and cut straight down. Don’t twist. Avoid using a cutter with a rounded edge like a glass – it can crimp the dough closed and prevent a good rise.
- Touch or Space. Simply place your biscuits so that they touch on the pan during baking for a higher rise. Or, space them slightly apart to show defined, visible layers after baking.
- Just make them! In short, these are easy to make – and you can make these amazing biscuits with those beautiful layers. After all, it’s three ingredients that are easy to work with and these are some of the most scrumptious biscuits you’ve ever tasted!
Frequently Asked Questions
They are a Southern staple and are enjoyed in most parts of the United States. They are a quick bread that differs from rolls in that biscuits usually don’t require yeast and are a flakier and heavier bread. In other parts of the world, the term “biscuit” can be used for what many Americans refer to as scones or cookies.
Basically, because cold fat (shortening, butter, or bacon fat), when cut into the flour, helps to suspend it all throughout the dough. Then, the little bits of cold fat melts throughout the biscuit as it bakes, making air and bits of steam that help the bread rise and be fluffy. It helps create a tender crumb to the biscuit with flaky layers and a gives the dough a good rise. Conversely, warm fat will just mix into the dry flour and not give that air and steam that helps them to rise and be fluffy.
You can use either of these fats in this recipe, and both are delicious! Here are some of the ways they differ:
Shortening biscuits can have a lighter, softer, bit more of a cake-like crumb texture than butter.
But, biscuits made with butter seem to rise a bit higher, have a buttery flavor, and tend to brown more on top and bottom than those made with shortening.
More Delicious Biscuit and Bread Recipes
Here’s my Three Ingredient Buttermilk Biscuit recipe that I turn to time and again!
Three Ingredient Buttermilk Biscuit Recipe
Equipment
- Baking Sheet rimmed
Ingredients
- 2 cups self-rising flour + more for flouring board and cutter
- 1/4 cup shortening, butter or bacon fat, use cold
- 3/4 cup buttermik
Instructions
- Preheat oven to 475º F. Lightly coat rimmed baking sheet or cast iron skillet with vegetable shortening. Set aside.
- Add flour to a large mixing bowl. Cut in shortening with a pastry blender, two forks, or knives until well-combined. Slowly pour in buttermilk and stir gently until just combined. Do not overmix.
- Pour biscuit dough onto a floured pastry cloth, paper towels, or dough board. Gently pat or roll to about 1/2-inch thick. Cut out biscuits using about a 2-inch biscuit cutter. Place biscuits into skillet or on baking sheet pan, leaving about an inch between biscuits to allow them to rise and cook fully. Place in preheated oven and bake about 10-12 minutes. Remove from oven and serve.
Notes
Storage Tips
To store. Allow biscuits to cool completely and cover well, or place them in an airtight container. Store in a cool, dark place or in the refrigerator for 4-5 days. To freeze. Let the baked biscuits cool completely. Then, wrap each individually in freezer paper and place in an airtight freezer container or seal well in a freezer bag. Freeze for up to 3 months. To reheat. Thaw in the refrigerator and reheat as desired in the microwave or oven.Nutrition
Nutrition information is automatically calculated, so should only be used as an approximation.
Enjoy!
Robyn xo
Originally published in February 2011.



I’m learning to make biscuits and this was a great recipe to start with. No they didn’t come out perfect but practice makes perfect. I almost got the consistency just right. I will try this again until I get it right. I do think I may have folded too much. I did use Whitelily, buttermilk, and I grated my butter instead of cutting into the flour with a pastry cutter. I got a rise but not like I wanted. Thanks for such a great recipe great for beginners like me. 😊❤️
This recipe was very easy to make. My biscuits took about 15 minutes to cook but I think I made mine larger in diameter than the recipe called for. Overall I’m very pleased with how simple and tasty this was. I will be using the recipe again in the future 🙂
Good afternoon Robyn, thank you so much for all of your recipes the ones I have tried I love them Thanks again, stay blessed
Love the three ingredient biscuits