Easy Graham Cracker Crust Recipe
This post may contain affiliate links. Please read my disclosure policy.

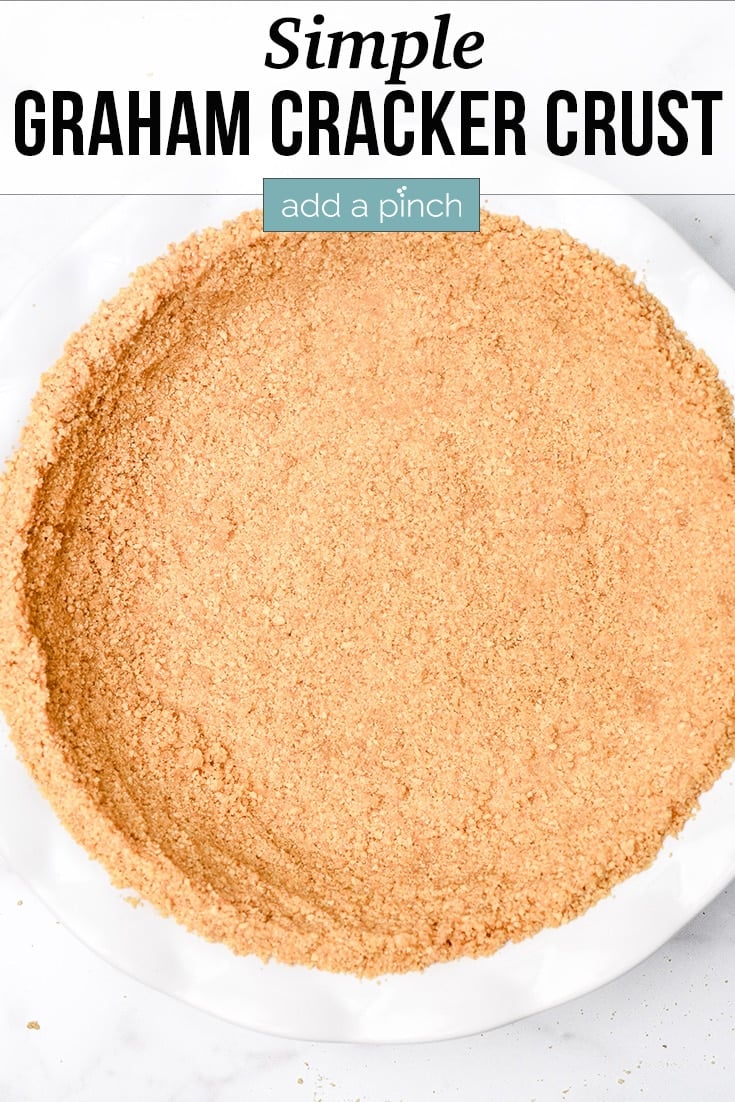
This Graham Cracker Crust Recipe is an easy, buttery, crunchy homemade crust made with just 3 ingredients and ready in 5 minutes! It’s a failproof, versatile recipe perfect for many desserts, like pies, cheesecakes, tarts, and more.
You’ll never need to buy store-bought crust again after you make this perfect graham cracker crust. This homemade graham cracker crust makes any pie or cheesecake more special! This recipe, one of the first crusts I ever made on my own, has been a staple in my kitchen for years. You’ll use simple pantry ingredients to create a time-tested crust that’s so much better than store-bought. Whether you’re making a key lime pie or a rich tart, this holds up great and comes together easily.
Why You’ll Love This Graham Cracker Crust Recipe
- Quick and Easy: Ready in 5 minutes with simple prep and no rolling.
- Just 3 Simple Ingredients: Just graham cracker crumbs, sugar, and butter for classic flavor.
- Make-Ahead Ease: Prepare and store in the fridge or freezer to make easy desserts.
- Versatile Crust: Great for no-bake or baked desserts like pies, cheesecakes, or tarts.
Ingredients for Graham Cracker Crust
Be sure to see the recipe card below for the full listing of ingredients, instructions, notes, and estimated nutritional information.
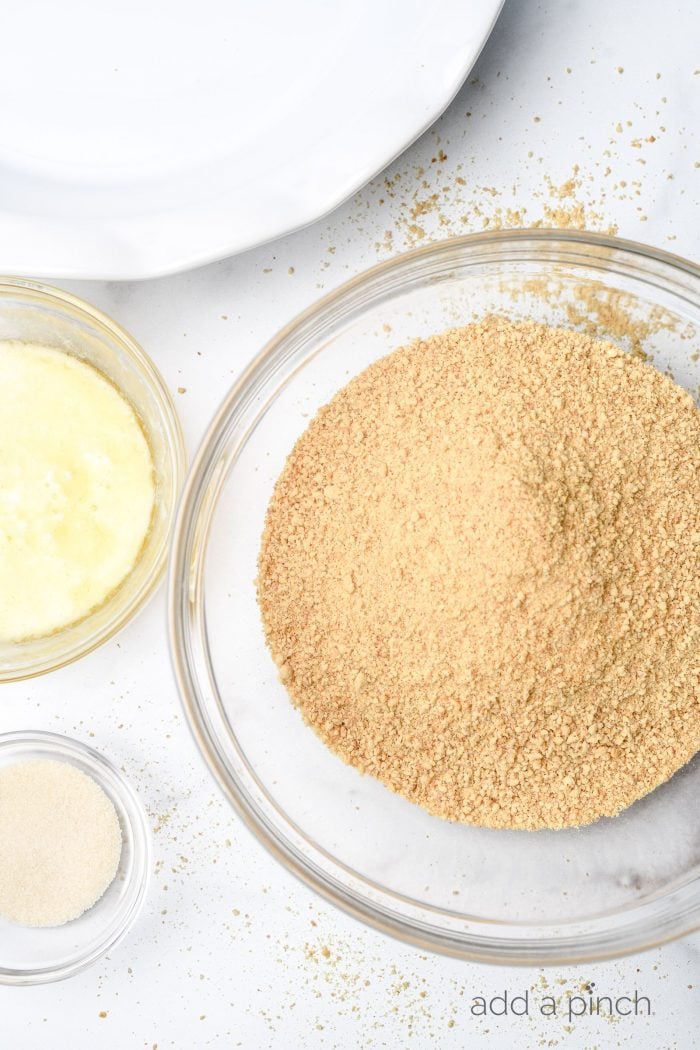
- Graham Cracker Crumbs: 2 cups (about 14 to 14 1/2 sheets) for the base of crust.
- Sugar: 2 tablespoons granulated sugar or brown sugar (or a mixture of each) for sweetness.
- Butter: 6 tablespoons melted, salted butter to hold the crust. Recommend salted, but can use unsalted if prefer.
How to Make Graham Cracker Crumbs
- With Food Processor: Add broken graham cracker sheets to a food processor and pulse until crumbs are formed.
- With Zip-Top Bag: Add graham cracker sheets to a zip-top bag and roll with a rolling pin until crumbs are formed.
Step by Step Instructions
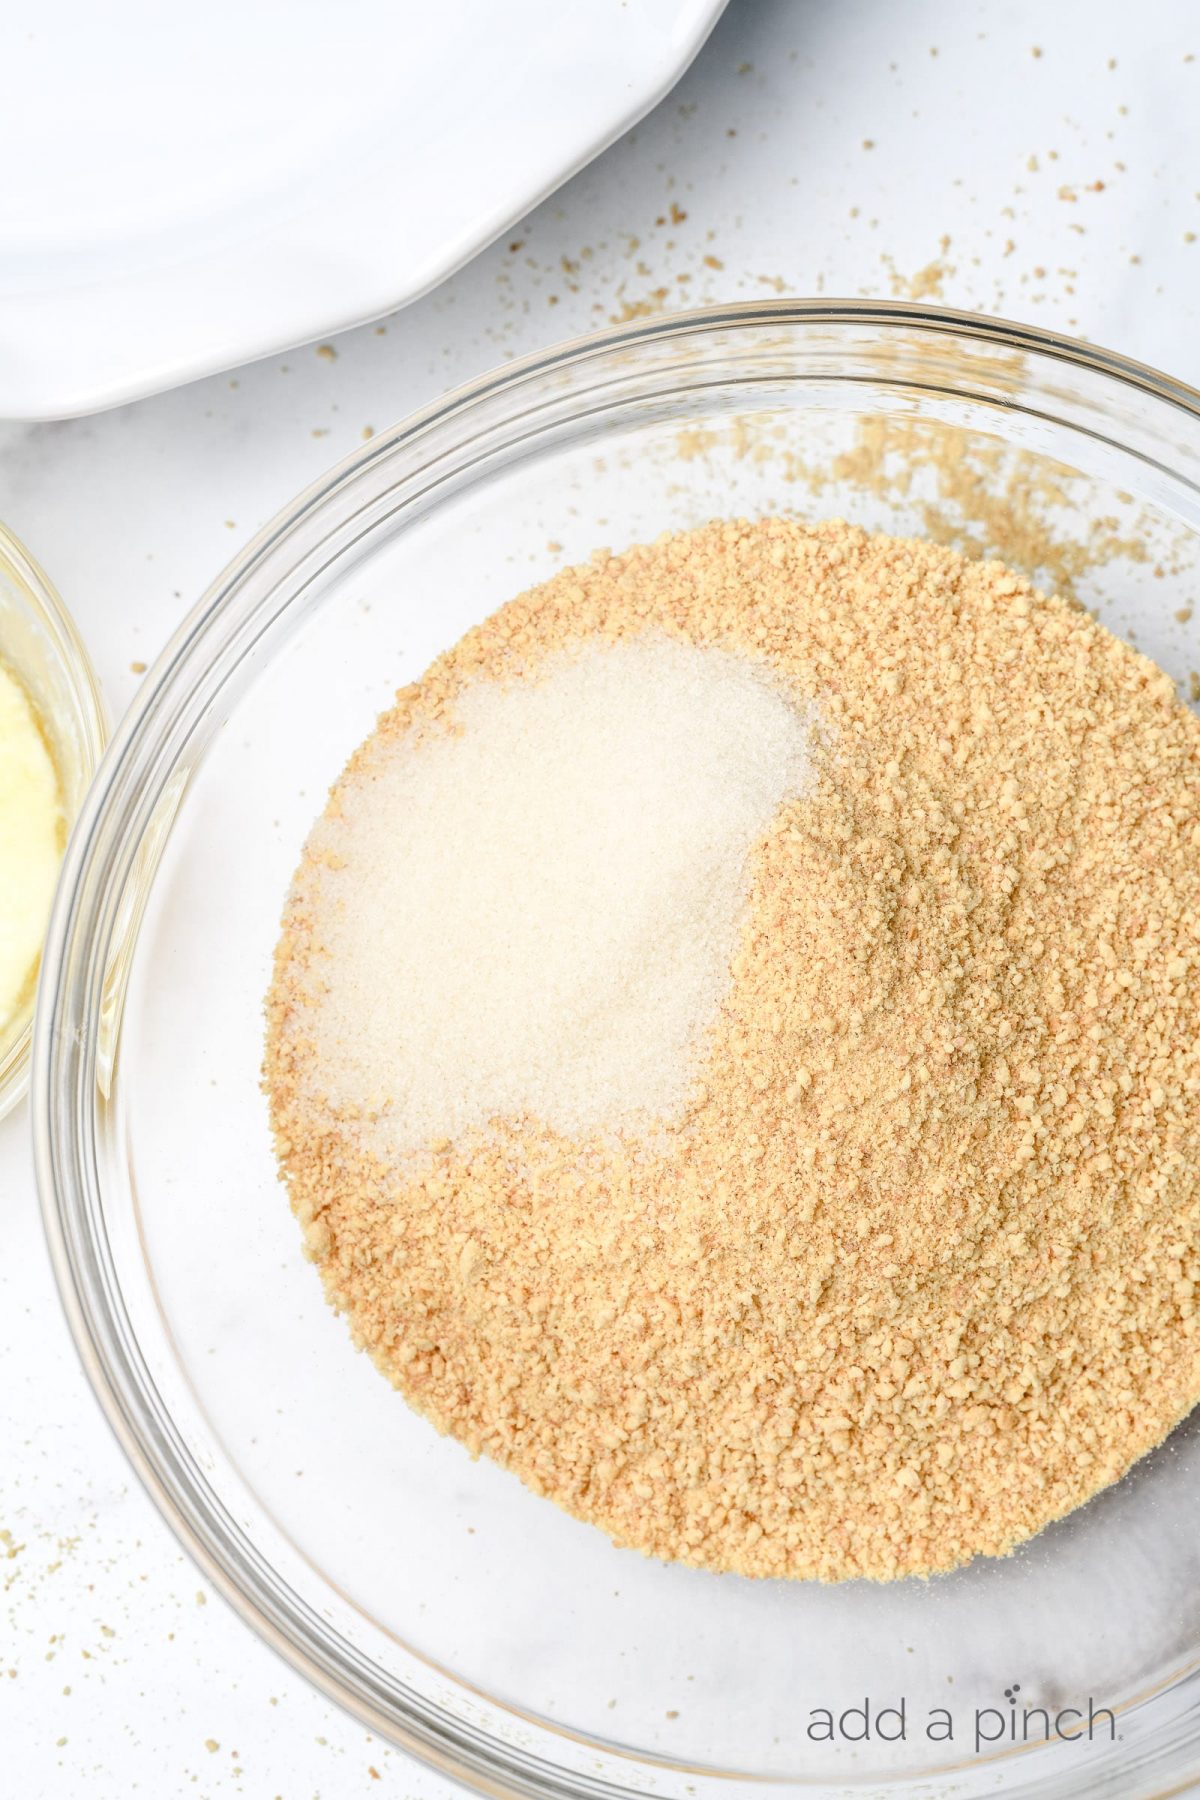
- Pulse graham crackers in a food processor until crumbs form, or place crackers in zip- top bag and roll with rolling pin unti crumbs form. Then add to mixing bowl along with sugar and stir until well combined.
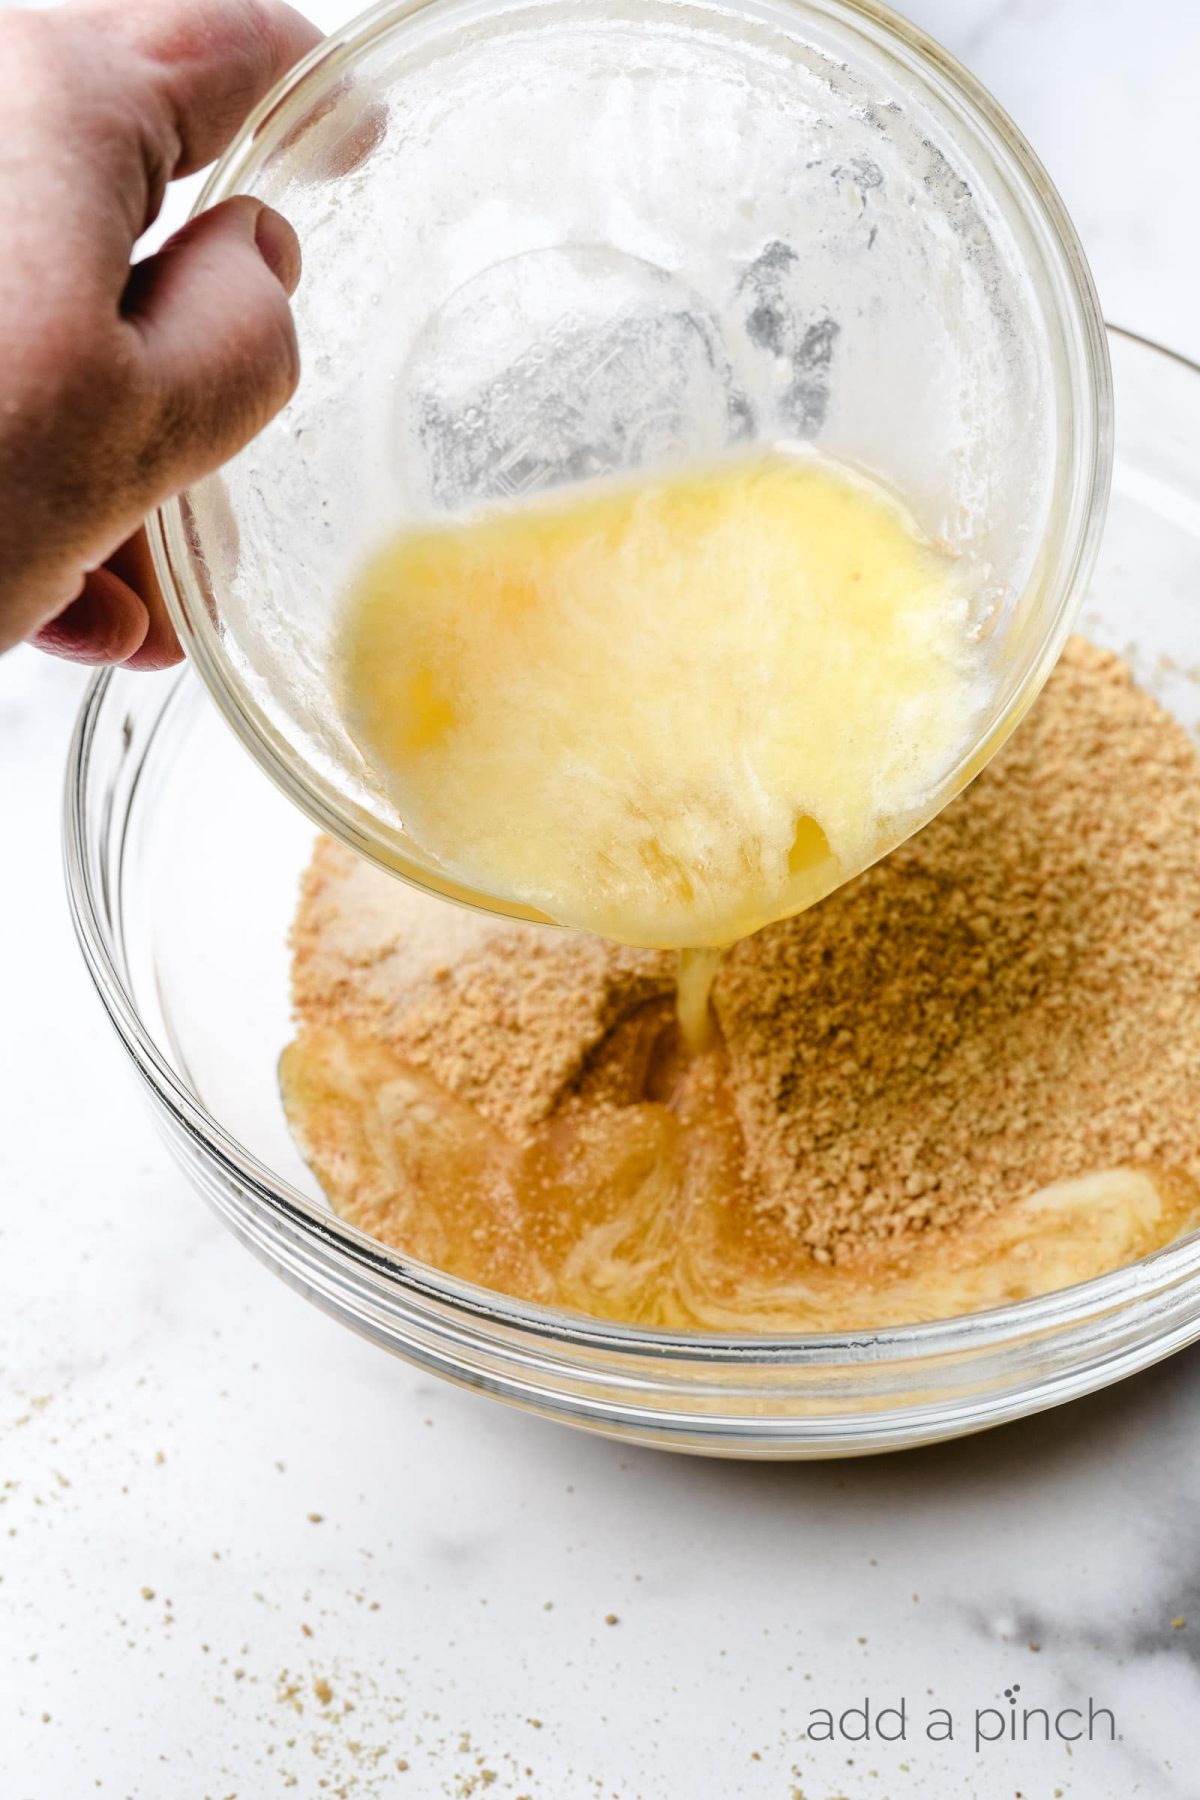
- Pour melted butter into mixing bowl with graham cracker crumbs and sugar mixture.
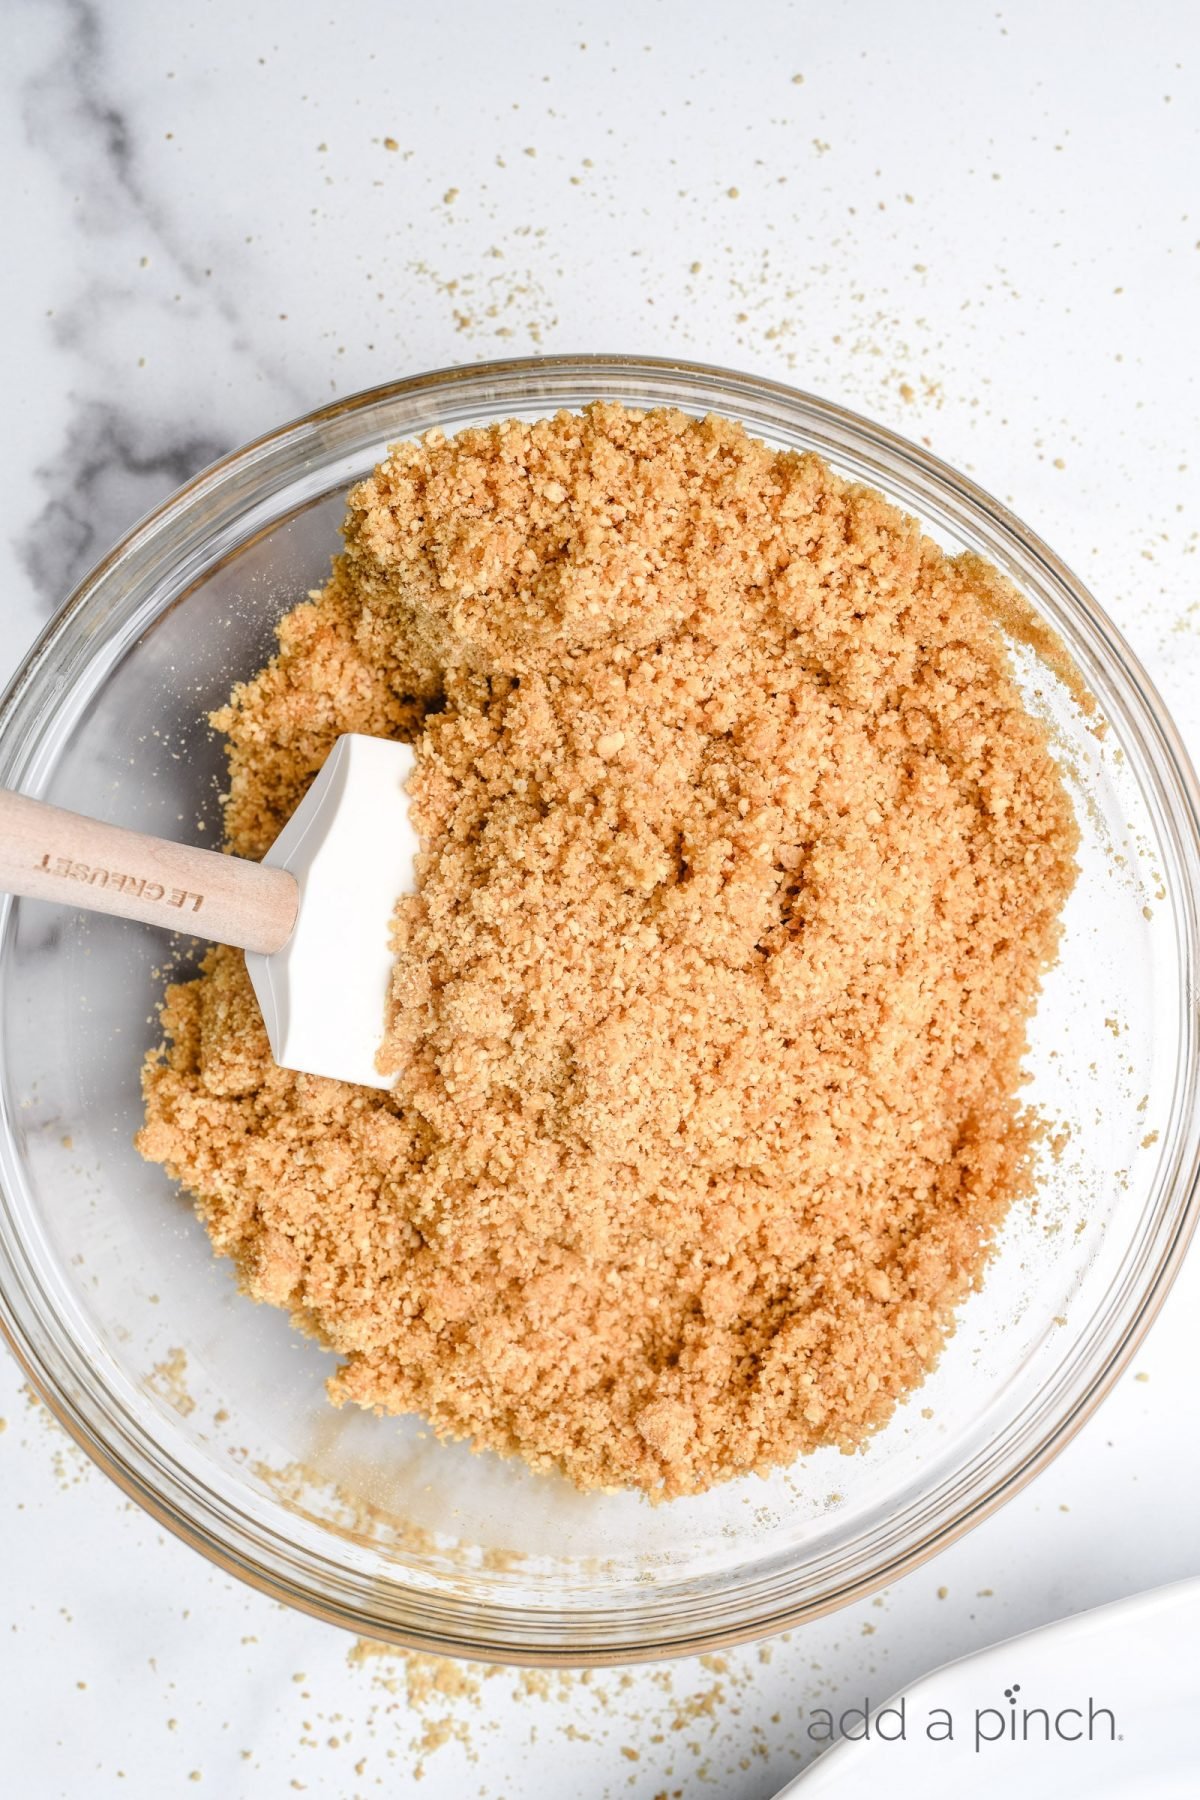
- Stir melted butter into the crumb mixture until well combined and looks like wet sand.
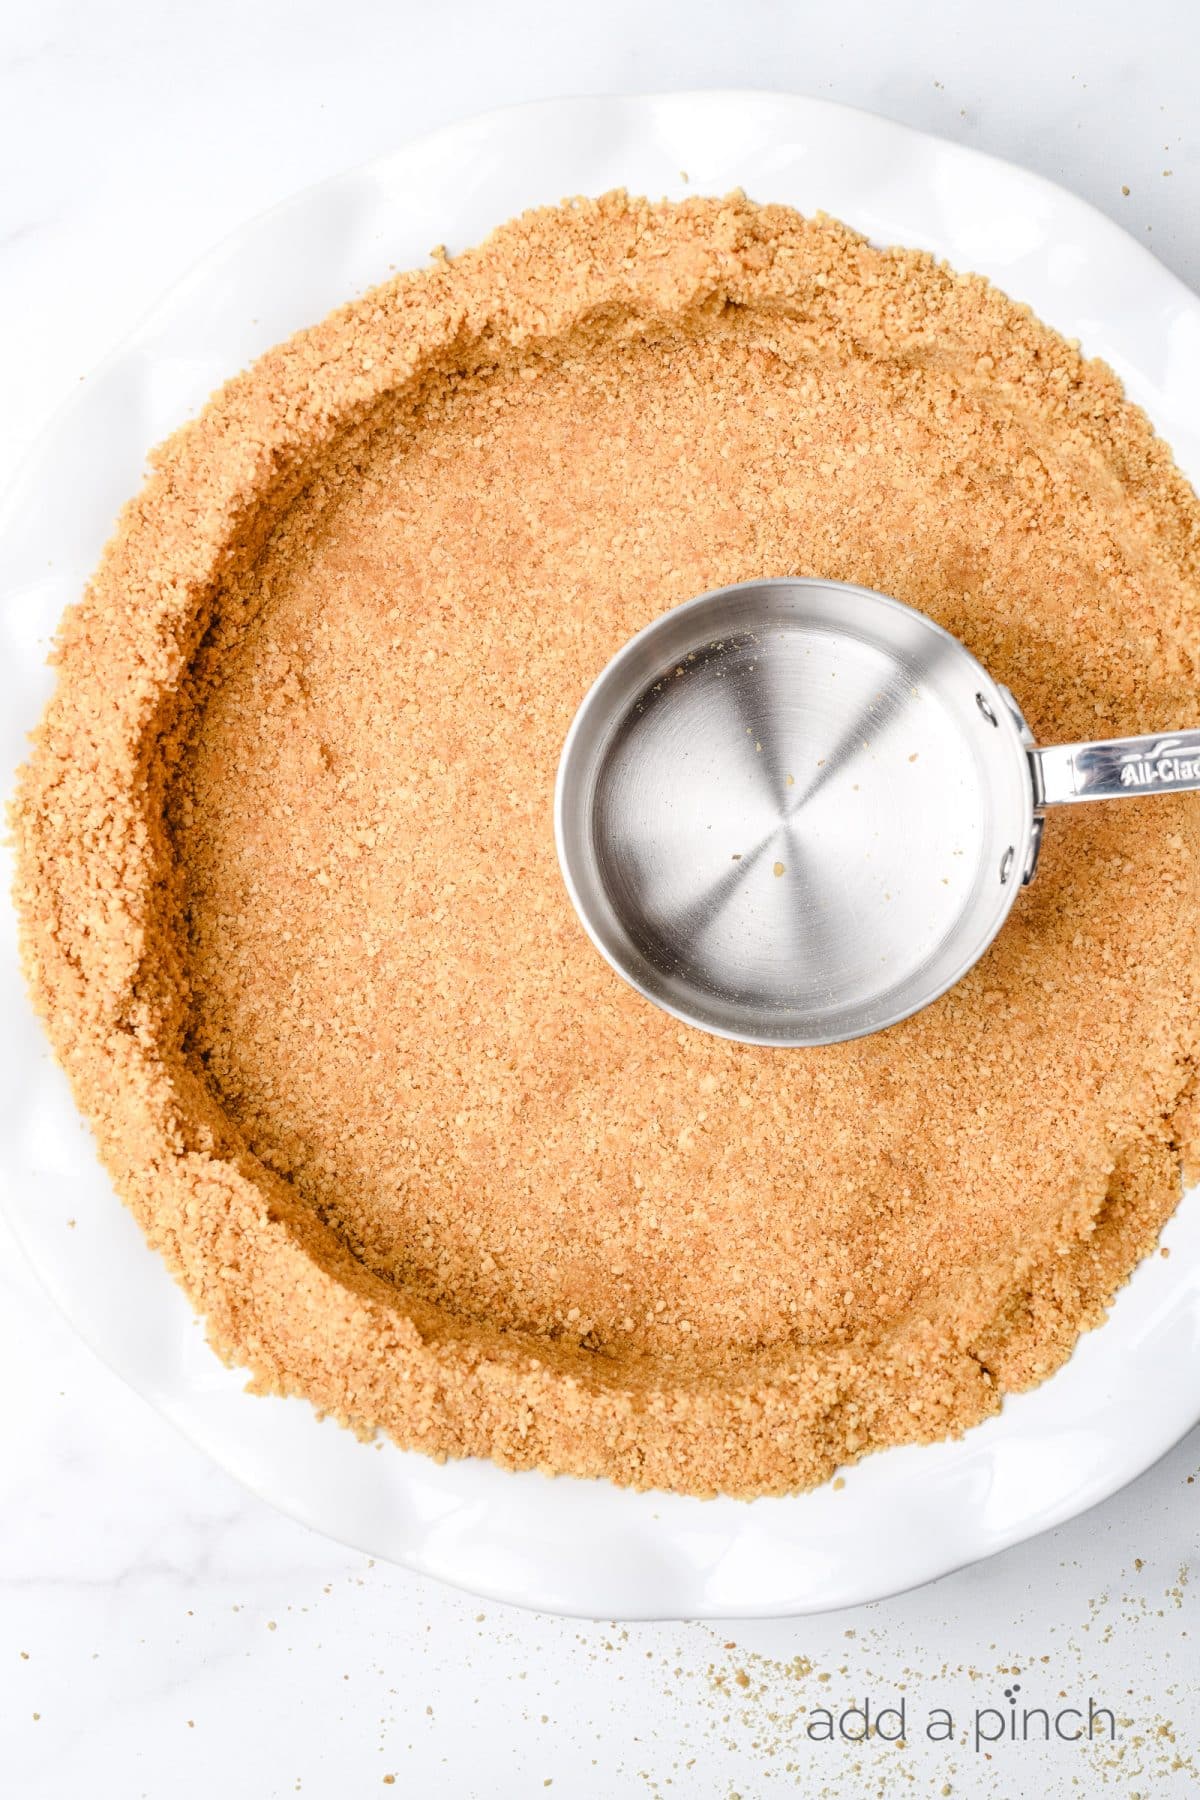
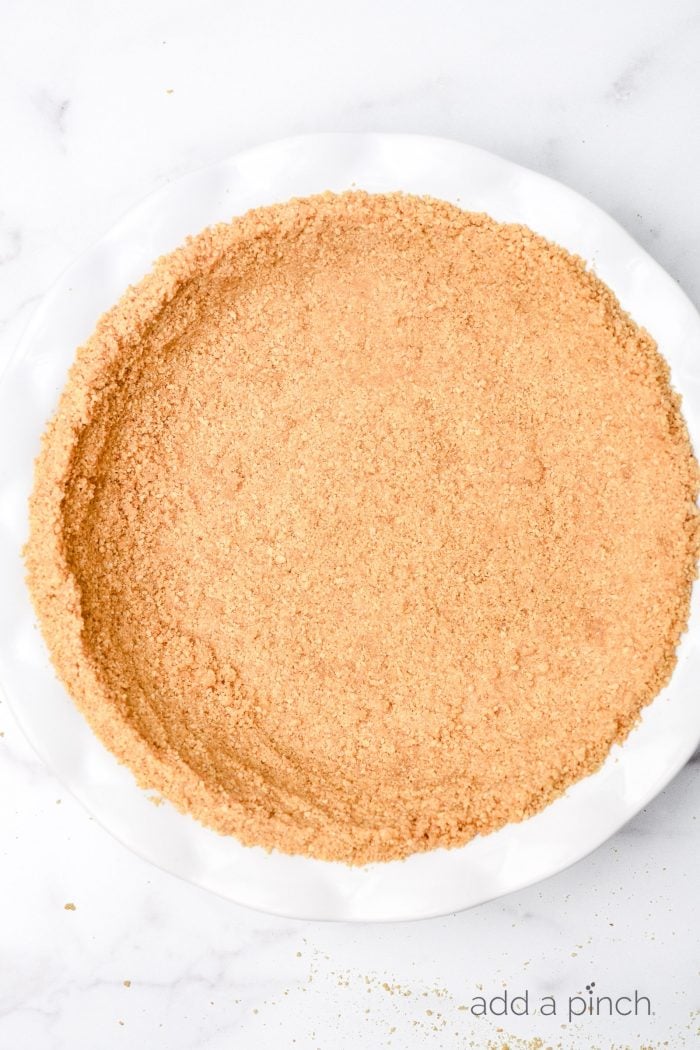
- Pour mixture into a pie plate. Press into the bottom and up the sides firmly with a dry measuring cup.
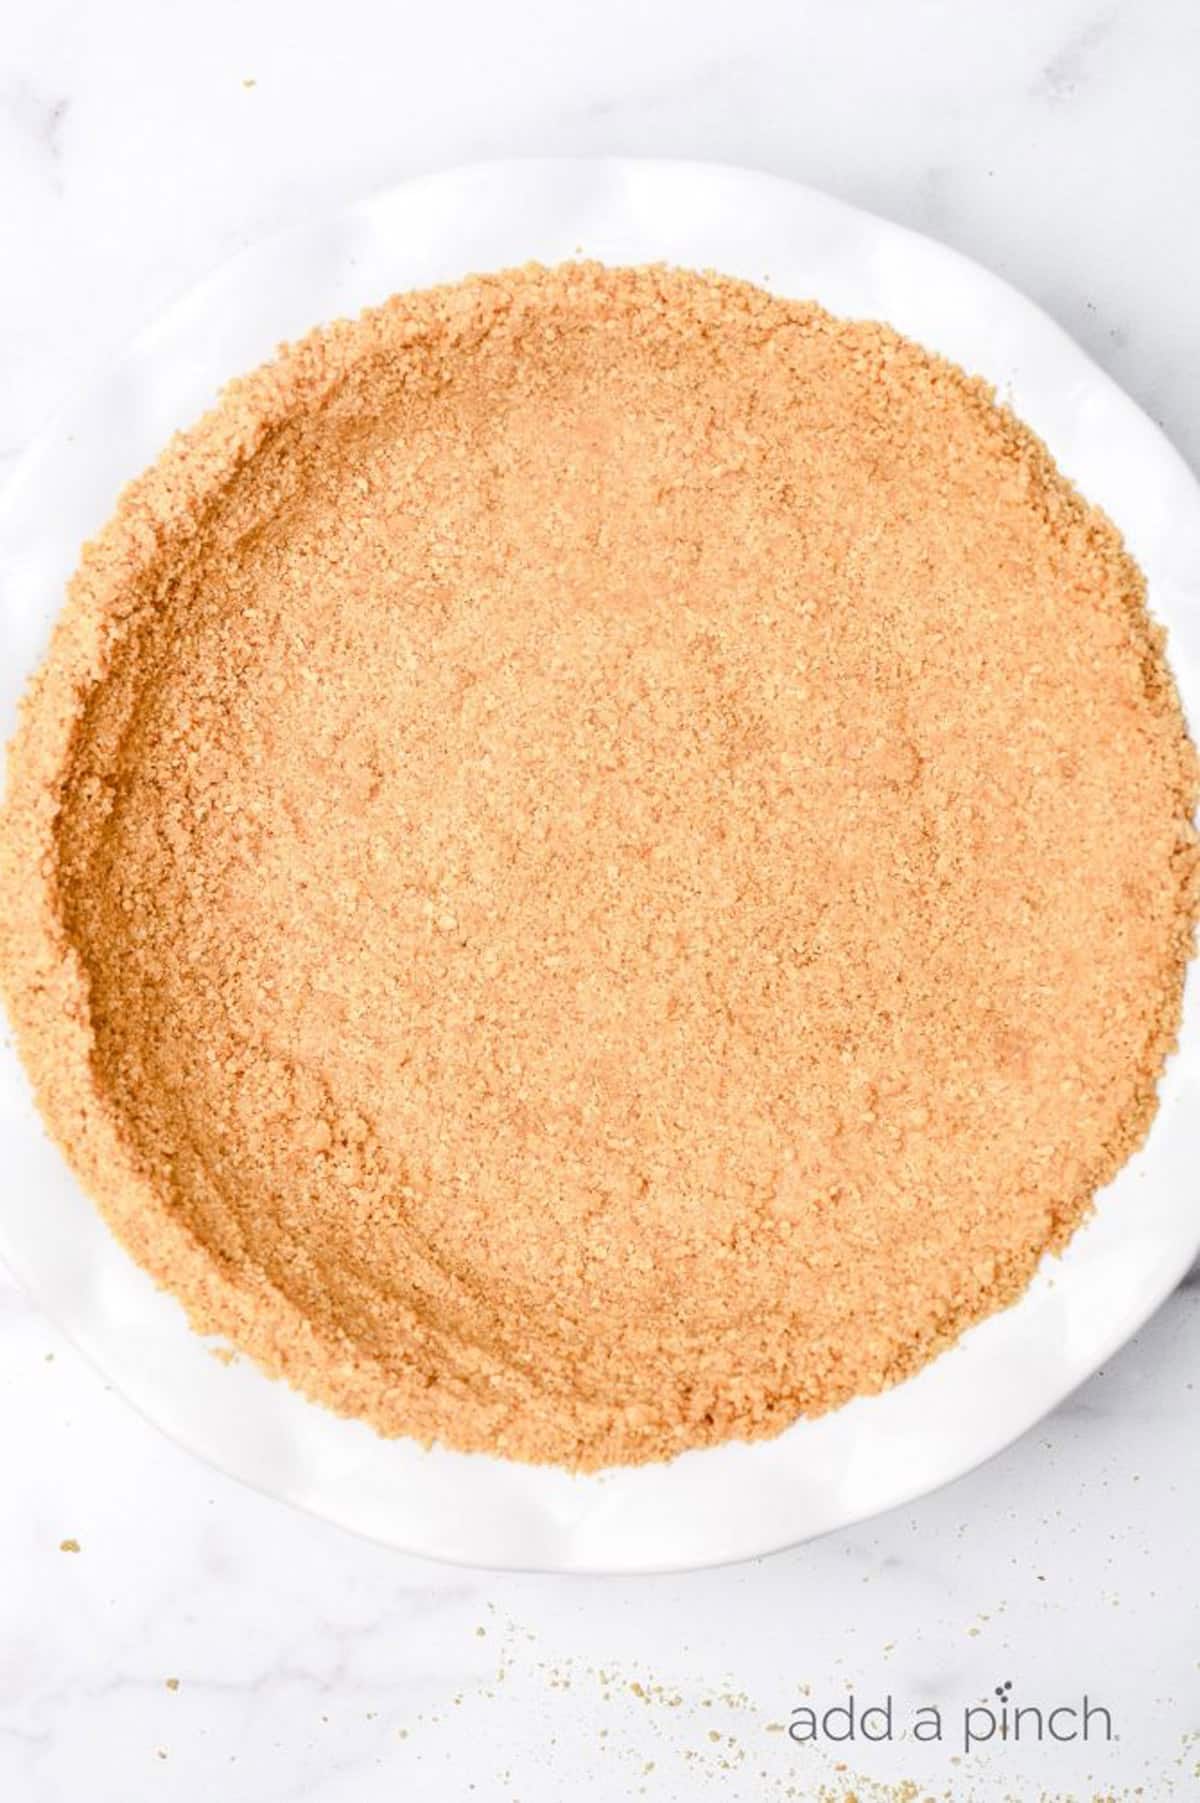
- Use the homemade graham cracker crust as directed for your pie dessert recipe. For a no-bake recipe, chill the crust for 1 hour until firm before filling. For a baked crust, preheat oven to 375°F and bake for 6-8 minutes until lightly golden and fragrant. Cool completely before adding any no-bake type pie filling.
Recipe Variations
- Gluten-Free: Use gluten-free graham crackers for this option.
- Dairy-Free: Use vegan butter for a dairy-free crust.
- Chocolate Crust: Use chocolate graham crackers for a chocolate crust in certain recipes.
Recipe Success Tips
- Use Correct Texture and Measure Crumbs: Use fine crumbs for a firm crust; coarse crumbs may crumble.
- Press Firmly into Plate: Use a measuring cup to firmly compact the mixture for sturdiness.
- Chill Crust for No-Bake: Refrigerate to set the crust without baking.
- Don’t Over-Bake: For a baked crust, watch to prevent burning or over-baking.
- Cool Crust Completely: Let the crust cool before adding filling. Avoids soggy crust.
Storage Instructions
- Store No-Bake Crust: Wrap tightly with plastic wrap and store in the refrigerator for up to 1 week.
- Store Baked Crust: Wrap tightly with plastic wrap and store in a cool, dry place for up to 1 week.
- Freeze: Wrap in plastic wrap and foil, or place in a large freezer-safe bag, and freeze for up to 3 months. Thaw in the refrigerator before using.
- Make-Ahead: Prepare the crust up to 1 week ahead for easy dessert assembly.
Frequently Asked Questions
Not always, it depends on the recipe of the dessert you’re making. For no-bake desserts, chilling works fine. Check the recipe instructions to see if it should be pre-baked before filling.
Make sure you’ve used enough butter and the crust has been firmly pressed into the pie plate. Avoid reductions in sugar and butter. Also, make sure the butter has not cooled before mixing it with the graham cracker crumbs.
Cool baked crusts completely before adding the filling. You can also pre-bake no-bake crusts briefly for extra sturdiness.
Yes. Pre-made crumbs work fine. Use 2 cups for this recipe.
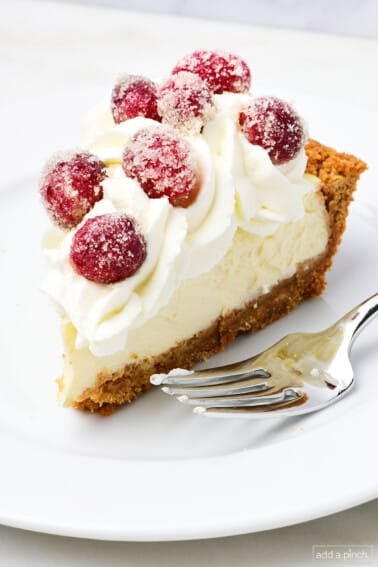
The perfect crust for my Easy Cheesecake Pie, KK’s Chocolate Chip Cookie Pie, No-Bake Lemon Cream Pie, and Key Lime Pie, this is one I turn to time and again!
Why This Graham Cracker Crust is a Must
With its simple ingredients and easy preparation, this graham cracker crust is the perfect crust for many desserts. It’s a delicious, versatile, time-tested recipe you’ll turn to over and again!
Easy Graham Cracker Crust Recipe
Equipment
Ingredients
- 2 cups (200 g) graham cracker crumbs, about 14 full sheets of graham cracker
- 2 tablespoons (24 g) granulated sugar
- 6 tablespoons (84 g) salted butter, melted
Instructions
- Add the graham cracker crumbs and the sugar to a medium bowl. Stir well to combine. Pour in the melted butter and stir into the graham cracker crumb mixture until well combined.
- Pour the graham cracker mixture into a pie plate and press firmly into the bottom and up the sides of the pie plate.
No Bake Graham Cracker Crust
- Once the graham cracker mixture has been pressed into the pie plate, place in the refrigerator to chill until firm, about 1 hour.
Baked Graham Cracker Crust
- Preheat the oven to 375º F. Once the graham cracker mixture has been pressed into the pie plate, place in the oven to bake until lightly golden brown and fragrant, about 6-8 minutes. Remove from the oven and allow to cool completely before adding filling.
Notes
- Store No-Bake Crust: Wrap tightly with plastic wrap and store in the refrigerator for up to 1 week.
- Store Baked Crust: Wrap tightly with plastic wrap and store in a cool, dry place for up to 1 week.
- Freeze: Wrap in plastic wrap and foil, or place in a large freezer-safe bag, and freeze for up to 3 months. Thaw in the refrigerator before using.
- Make-Ahead: Prepare the crust up to 1 week ahead for easy dessert assembly.
Nutrition
Nutrition information is automatically calculated, so should only be used as an approximation.
Enjoy!
Robyn xo


Love your down to earth recipes.
Thanks so much, Linda!
This has become my go to pie crust. I always just made it the way a recipe said or the box said. Since I found your recipe it’s the only one I use. Thank you.
Perfect Graham cracker crust!
I have shared so many of your recipes with future brides. They love them, and you!
Thanks, Kathy. That is so sweet!
Hi Robyn,
Graham crackers aren’t so readily available in Australia, so I was wondering if you could recommend another type of sweet biscuit to use instead? And roughly how many grams of graham crackers makes up 2 cups of crumbs?
Hi Robyn
Love your recipes, love your blog! Wanted to ask, are graham crackers the same as digestive biscuits?In the UK, everyone makes cheesecakes and key like pie with crushed McVities Digestive biscuits (the rest of the recipe is the same).
Many thanks!