Air Fryer Chicken Tenders Recipe
This post may contain affiliate links. Please read my disclosure policy.
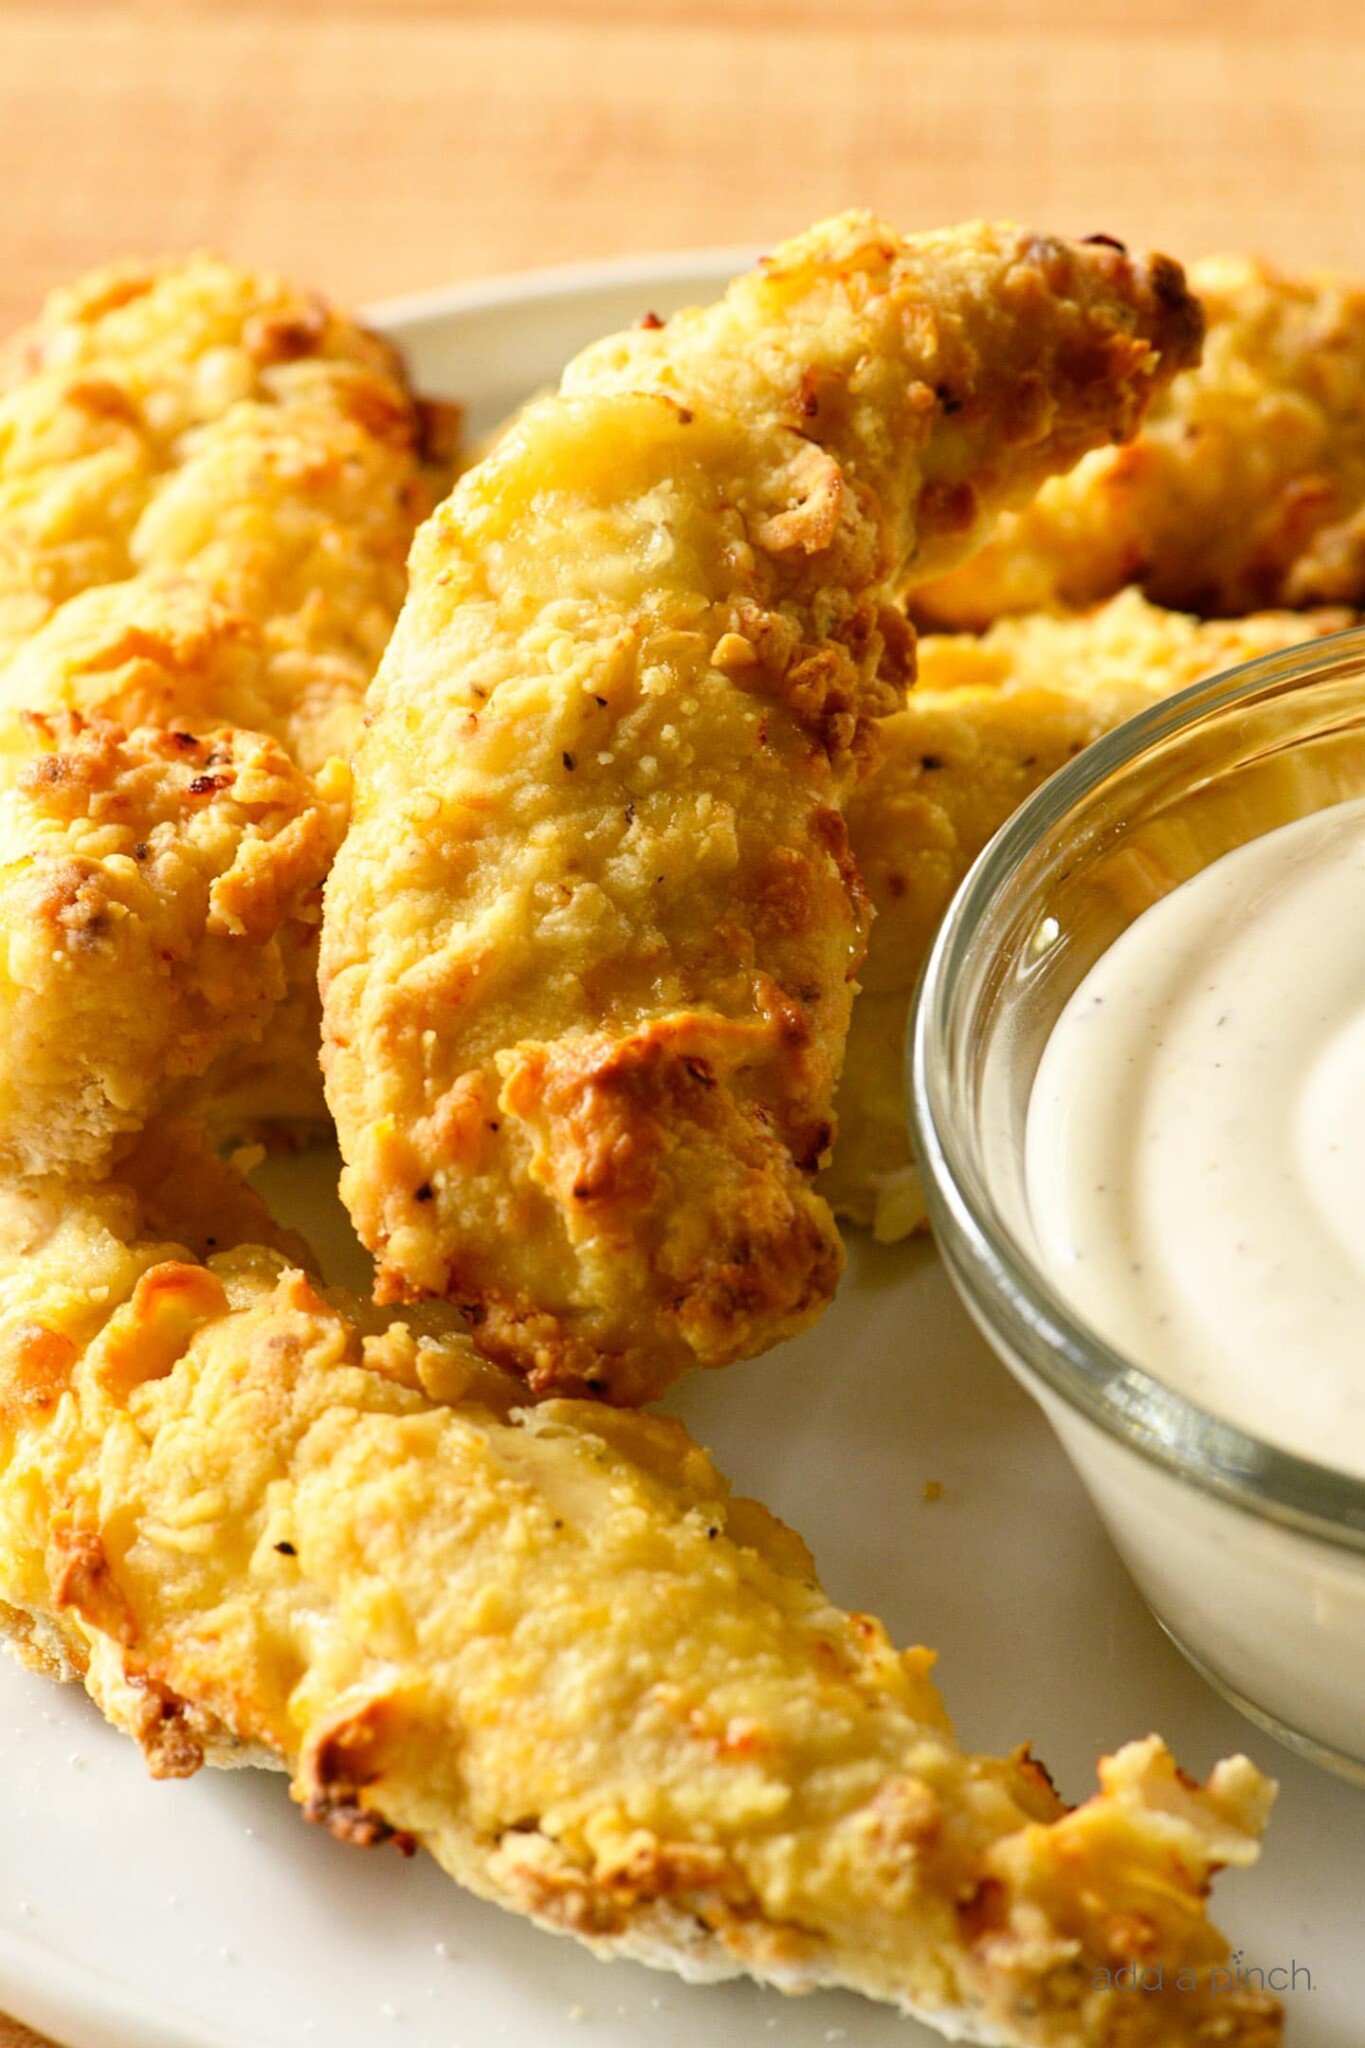
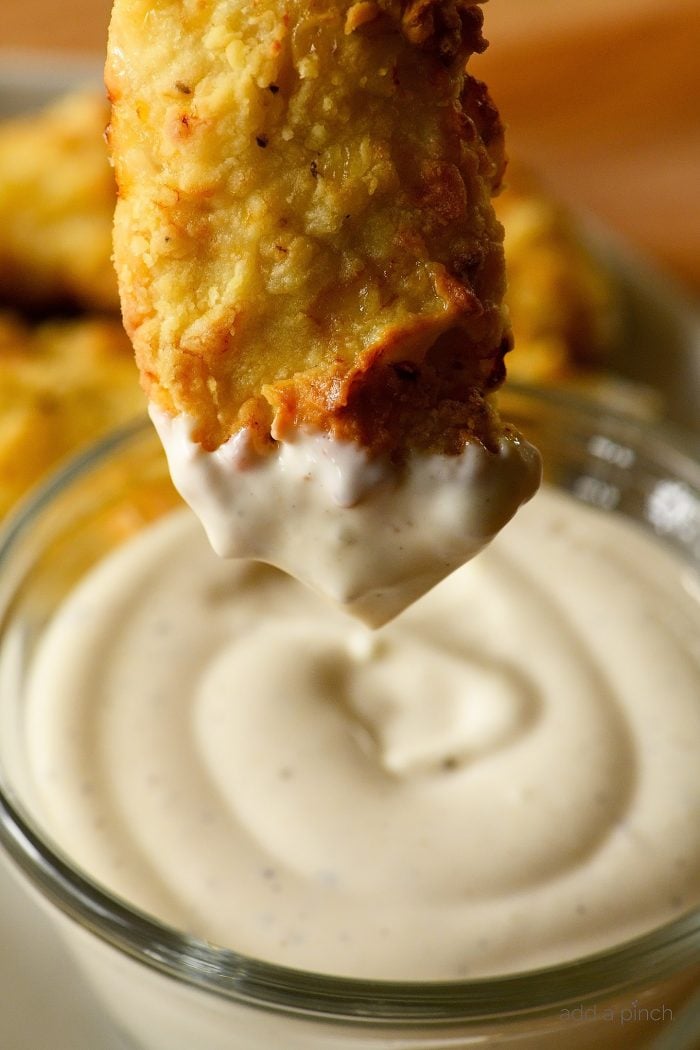
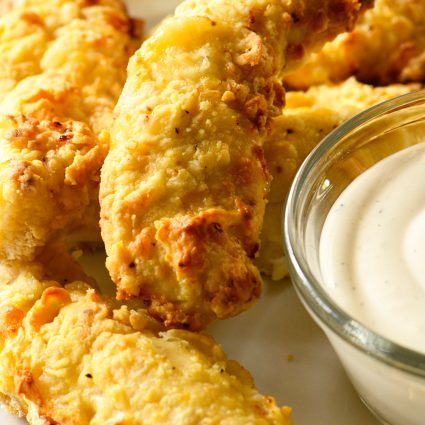
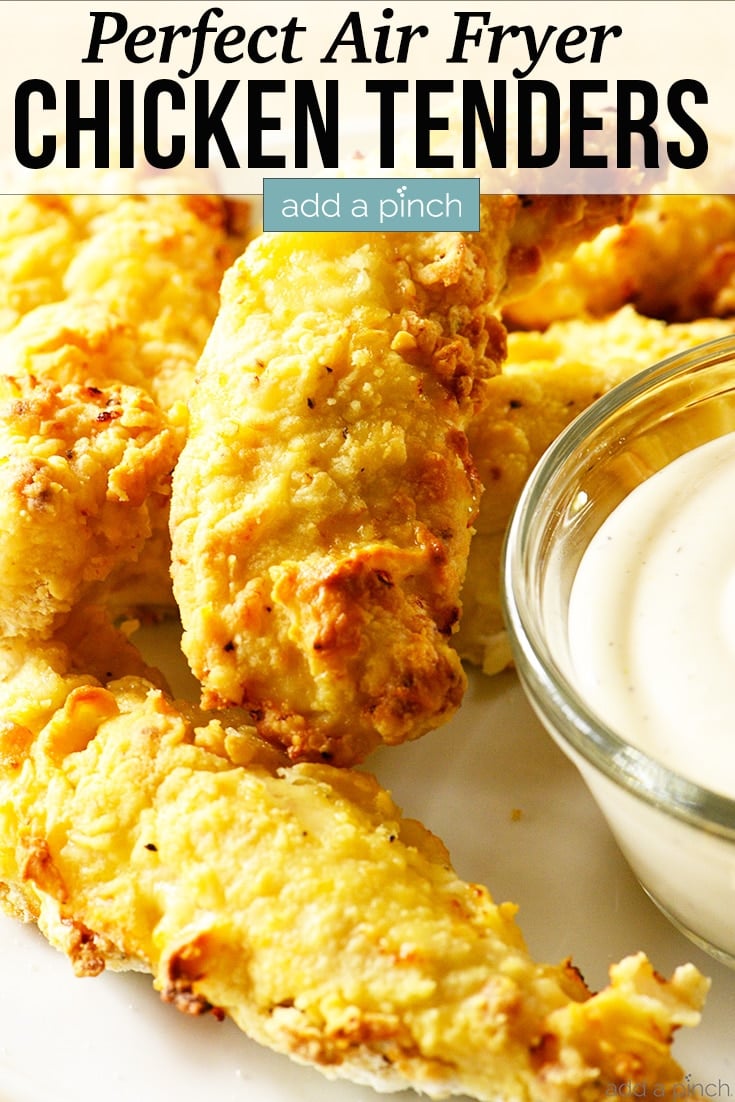
This Air Fryer Chicken Tenders recipe makes crispy, tender, and delicious chicken fingers that bake to perfection in the air fryer.

If you are looking for something to serve with these air fryer chicken tenders, try my sweet potato wedges. I recommend serving them both with buttermilk ranch dressing, comeback sauce, or the Avocado dressing included in the sweet potato wedges recipe!
Crispy Air Fryer Chicken Tenders
These easy chicken tenders are so flavorful and delicious! They marinate in a buttermilk marinade and are then coated in a light, crispy flour coating and then baked in the air fryer to golden brown perfection. Since they are cooked in the air fryer, they are not greasy but have a crispy exterior and a tender juicy inside.
How to Make Air Fryer Chicken Tenders
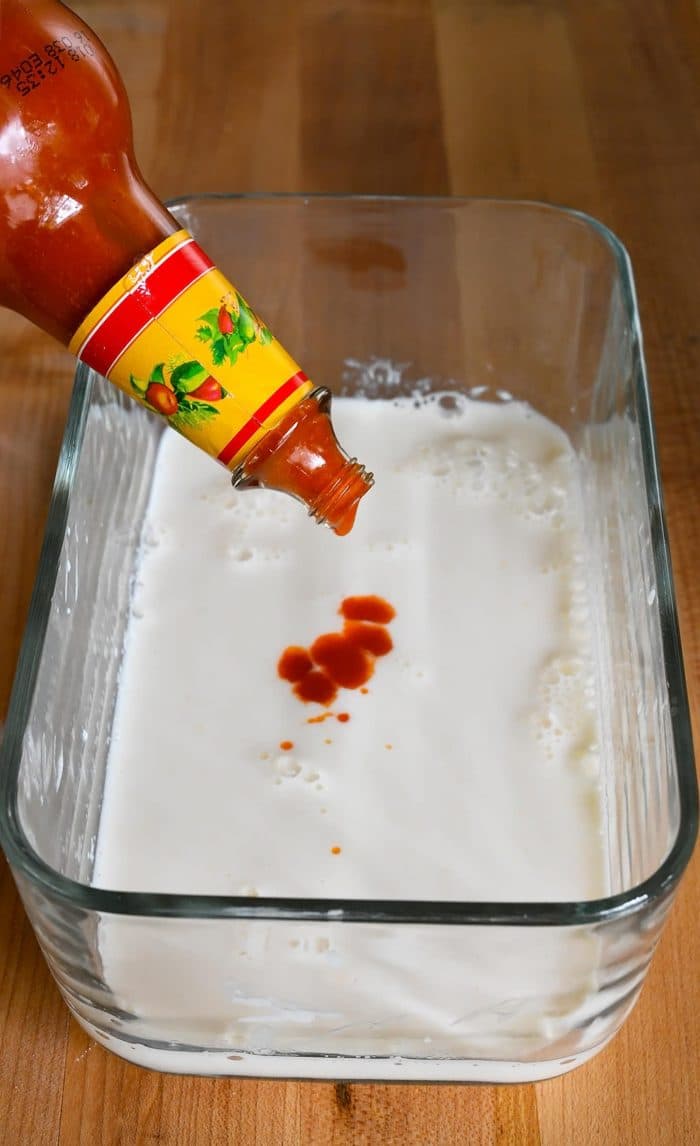
I start by seasoning my buttermilk with a little bit of hot sauce. You can add as little or as much as you like. I generally use about 1/2 teaspoon per cup of buttermilk, but again, if you like a little more of a spicy kick for your chicken tenders, you can add a little bit more. I would recommend experimenting before adding a great deal more, especially if you are serving to children or to someone that doesn’t like much spice in their foods.
Once you’ve added the hot sauce, give it a quick stir into the buttermilk and then add your chicken tenders. If you can, cover them with wrap or a tight fitting lid and then let them soak in the buttermilk mixture overnight. It makes them even more delicious! If not, let them soak in the buttermilk mixture while you are preparing all of the other ingredients. Every little bit helps!
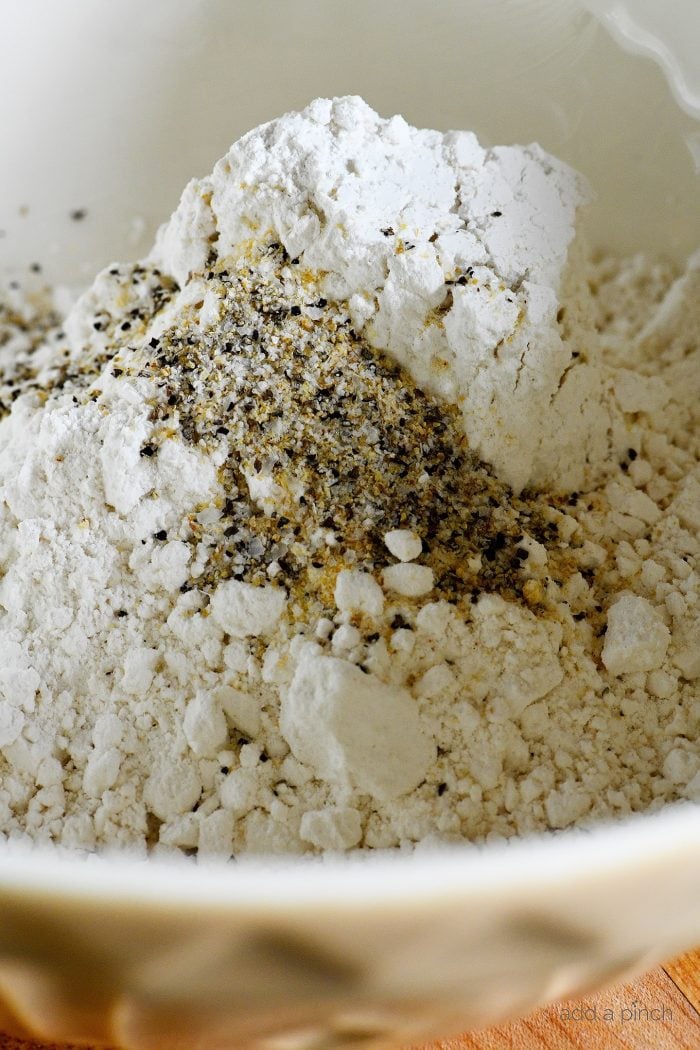
When ready to cook, mix together your flour and Stone House Seasoning in a bowl or dish that you’ll use for dredging your chicken tenders. Once I have both in my bowl, I like to run a whisk through them to mix them together well and remove any of those lumps in the flour! 🙂
Next, add just about 1/4 cup of your buttermilk mixture into your flour mixture and whisk together.
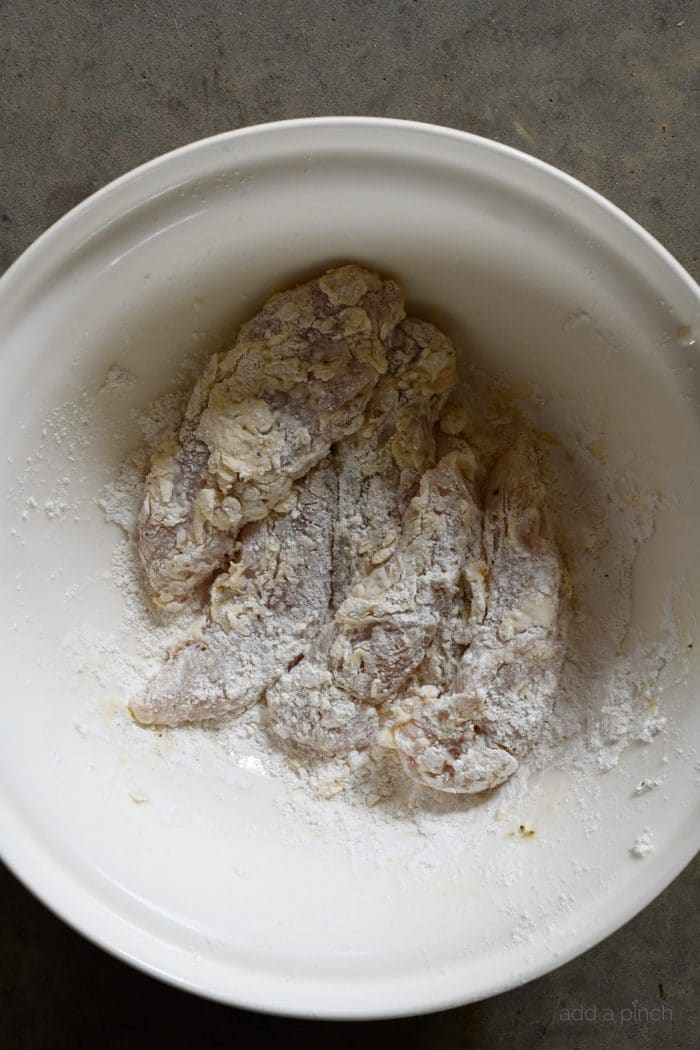
Next add a few of your chicken tenders at a time to the flour mixture and make sure that they are well coated. I like to gently press the flour mixture into the chicken tenders to make sure that as many of the clumps adhere to the chicken as possible. This is messy business at this point. I recommend being close by to a sink for washing your hands. Another recommendation is to have a wet hand (the hand you take the chicken from the buttermilk with) and a dry hand (the hand that you handle the flour and coated chicken tenders with). It makes it a little bit less messy, but you’ll still want to be close to a sink! 🙂
Once I have them well coated. I spray my air fryer basket well with nonstick cooking spray or olive oil spray. I then add my chicken tenders to the preheated air fryer basket. Then, spritz the chicken tenders with the olive oil spray or cooking spray.
I like to work in batches only cooking the amount of chicken tenders at a time that will allow for good air flow around them so that they cook evenly and quickly. The number will depend on the size of your chicken tenders and the size of your air fryer.
And for me, it works out fine. I start serving as soon as the first batch is cooked and then pop the second batch into the air fryer basket to cook while we begin supper. Then, if anyone wants more chicken tenders, they are freshly cooked and warm straight from the air fryer!
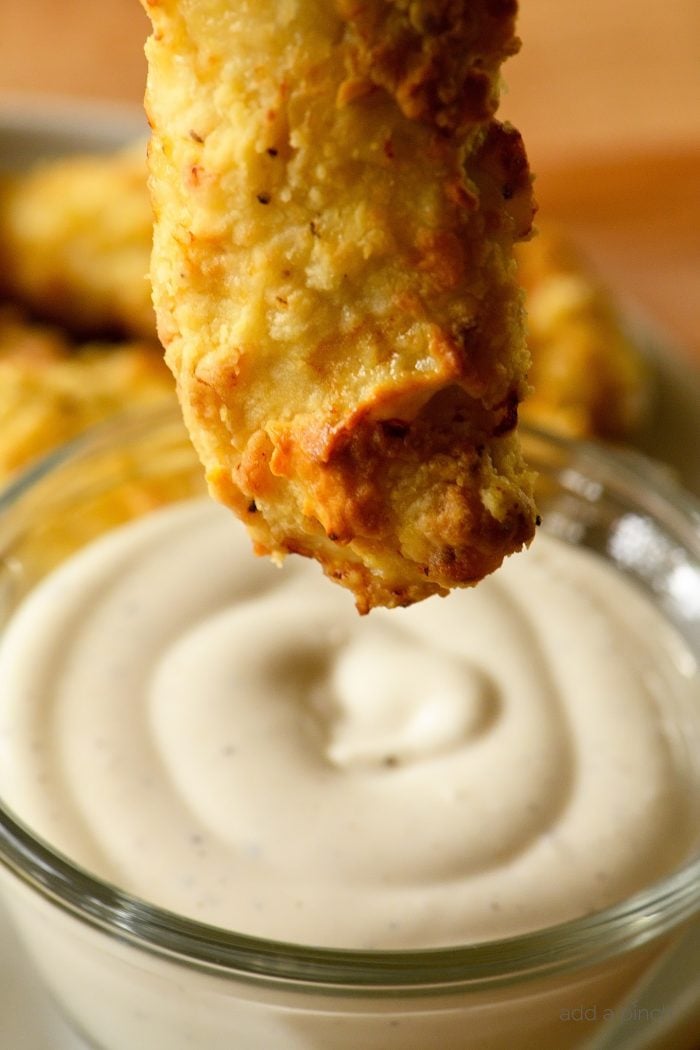
Cook your chicken tenders at 370º F for 20 minutes, flipping halfway through and spritzing the top side again with olive oil or cooking spray. Once your chicken tenders have cooked through, remove them from the air fryer and serve with your favorite dipping sauces! We like homemade ranch dressing, comeback sauce, and honey mustard to name a few! A few delicious suggestions for side dishes that we always love are sweet potato fries, coleslaw, potato salad, or fruit salad! Yum!
Here’s my Air Fryer Chicken Tenders Recipe. I hope you love them as much as we do!
Air Fryer Chicken Tenders Recipe
Equipment
Ingredients
- 1 cup buttermilk
- 1/2 teaspoon hot sauce, or more, if desired
- 2 pounds chicken tenders
- 1 cup all-purpose flour
- 1 1/2 teaspoons Stone House Seasoning
- olive oil spray
Instructions
- Add hot sauce to buttermilk and whisk together to combine. Add chicken tenders to the buttermilk mixture and refrigerate overnight, if possible. If not possible, allow the chicken tenders to soak in the buttermilk as you prepare your other ingredients.
- Preheat air fryer to 400º F.
- Add flour and Stone House Seasoning to a bowl or a large, shallow dish. Whisk to combine. Pour in 1/4 of the buttermilk mixture and whisk to incorporate.
- Remove half of chicken tenders, a few at a time, from the buttermilk and place into the flour mixture. Coat all sides of the chicken tenders with the flour mixture. Lightly press the flour mixture onto the chicken tenders to make sure that the clumps of the breading adhere to the chicken tender.
- Spray the air fryer basket with nonstick cooking spray or olive oil spray. Arrange chicken tenders in the air fryer basket, making sure that they are not touching so air can flow around the chicken tenders as they cook. Spritz the chicken tenders with the olive oil spray (or nonstick cooking spray) and set the timer for 10 minutes.
- Using tongs, turn the chicken tenders over in the air fryer basket and spritz the chicken tenders with the olive oil spray (or nonstick cooking spray) and set the time for another 10 minutes.
- As the first batch of chicken tenders finishes, prepare the second half of the chicken tenders for cooking and repeat the steps for cooking.
Nutrition
Nutrition information is automatically calculated, so should only be used as an approximation.
Enjoy!
Robyn xo


Everything worked out great. I am inclined not to use spray oils in Our Air Fryer, clean-up is a bit more difficult. But, the olive oil on a paper towel worked out great. Love the hot sauce, we used Sriracha… it was great! Not as messy as I had expected, the latex gloves made it even better.
Thanks for the tips, Ken!
I made these air fryer chicken tenders and they were somewhat messy to make, a lot of the crust just crumbled off, but they had the best flavor I have ever tasted. I have the Power Air Fyer with the shelves, so I cooked them all at once. They didn’t brown enough on 10 minutes so I added a few more minutes until they were beautifully browned. I love this recipe and will continue to use it. Thank you for sharing.
Hi Trina,
This can be a little messy but oh, so good, aren’t they? I’m so glad you liked this recipe. Thanks! xo
Mine came out still white floury with weird dark/kind of hard/too crunchy spots 🙁 will try again another time. Maybe i should have sprayed them w oil- i def forgot to spray the pan w oil
Nancy, I spray the air fryer basket well before adding chicken tenders with either nonstick cooking oil spray or olive oil spray. I spray the floured chicken tenders after I place them in the basket. Halfway through cooking, I turn the tenders and spray the tops of those tenders as well. When I place the second batch in the air fryer, I repeat those steps. I hope this helps.
Fabulous! I’m so glad I decided on the Power Air Fryer Oven because I was able to fit 12 (yes, 12!) tenders in at once. They cooked beautifully and were crispy. I’m never frying tenders in a deep fryer again!
So glad you enjoyed them too, Jan! xo
The airfryer that I bought is called POWER AIR FRYER. It has three “shelves” made of wire and they’re removeable. It also has a rotisserie which one may attach a rotisserie basket and/or six skewers. It’s large enough to hold a whole chicken or roast. I use it often but not as much as my two Instant Pots, yeah, I said two. Anyway, I’m very happy with my air fryer! The recipe was great, BTW.
Glad to hear you enjoyed it! Thanks Marv!
By about the third trial, I got it figured out. I soaked the chicken in milk for at least one hour. Then-sliced chicken into nugget size. Preheated air fryer to 400. Roll in flour mixture (I use salt, pepper and Cavender’s in flour.). Roll nuggets one at a time in shallow layer of vegetable oil. Cook one layer of nuggets for 5-6 minutes. Melt in your mouth.
And folks, I can’t cook.
I just made this recipe. While the chicken had a good flavor, the tenders did not look like the pics. Mine were more “naked” in appearance. I let the chicken sit in the buttermilk for at least 30 min before rolling them in the flour mixture. I will give this recipe another try, but the next time, I might make the batter with egg – dipping the chicken first in flour and seasonings, then egg, then the flour mixture again. Maybe the buttermilk needed a double dip of flour too? I halved the recipe. I only put enough tenders in the bottom of the air fryer as not to crowd. I made two batches at the recommended temp. Since the batter wasn’t really on my chicken (like shown), I cut the time to 5 min after flipping. When both batches were finished, I cranked the temp up to 425 and cooked for 8 more min. Now, I wanted to say that I have a different air fryer, but have been successful with it many times including chicken recipes. I also preheated as suggested which I never do.
The seasoning is definitely worth making and trying in different recipes!
Hi Lyndy,
I am sorry your chicken didn’t brown like mine did in the recipe photos I took when I made it. I’ve not had an issue with that as they always turn out browned.
I think it could possibly be because you halved the recipe and there may not have been enough batter on the chicken for it to brown as it should have.
I am happy to hear that you like the seasoning! Thanks!
This were very very good, just keep an eye on them with the power air fryer xl 10 minutes on each side was too much, 7 minutes on each side worked for us.